Summary:
One of our new “Duck Pulls” next to one of the original drawer pulls for the kitchen.
Emma and I have moved into a new apartment, and that means lots of new projects to make it feel like home! In deference to the fire risk we have decided to leave the kitchen more or less alone, but that doesn’t mean we can’t have a bit of fun. These drawer pulls use standard rubber ducks filled with epoxy, and fit the existing ~M4 screw holes in the cabinets.
Overall this was a pretty painless process, and the ducks are holding up well after a month or two of active use. If that changes I will update this page.
Process:
We first removed the squeaker from each duck, and used a heated steel rod to cut a secondary air hole on/near the bottom of each duck. This helped the air escape when filling.
The threads were cut to length from an 8-32 threaded rod (home depot). All but one of our drawers were the same thickness so most of the ducks are interchangeable. Once cut we then quickly filed one end to clean up the the threads.
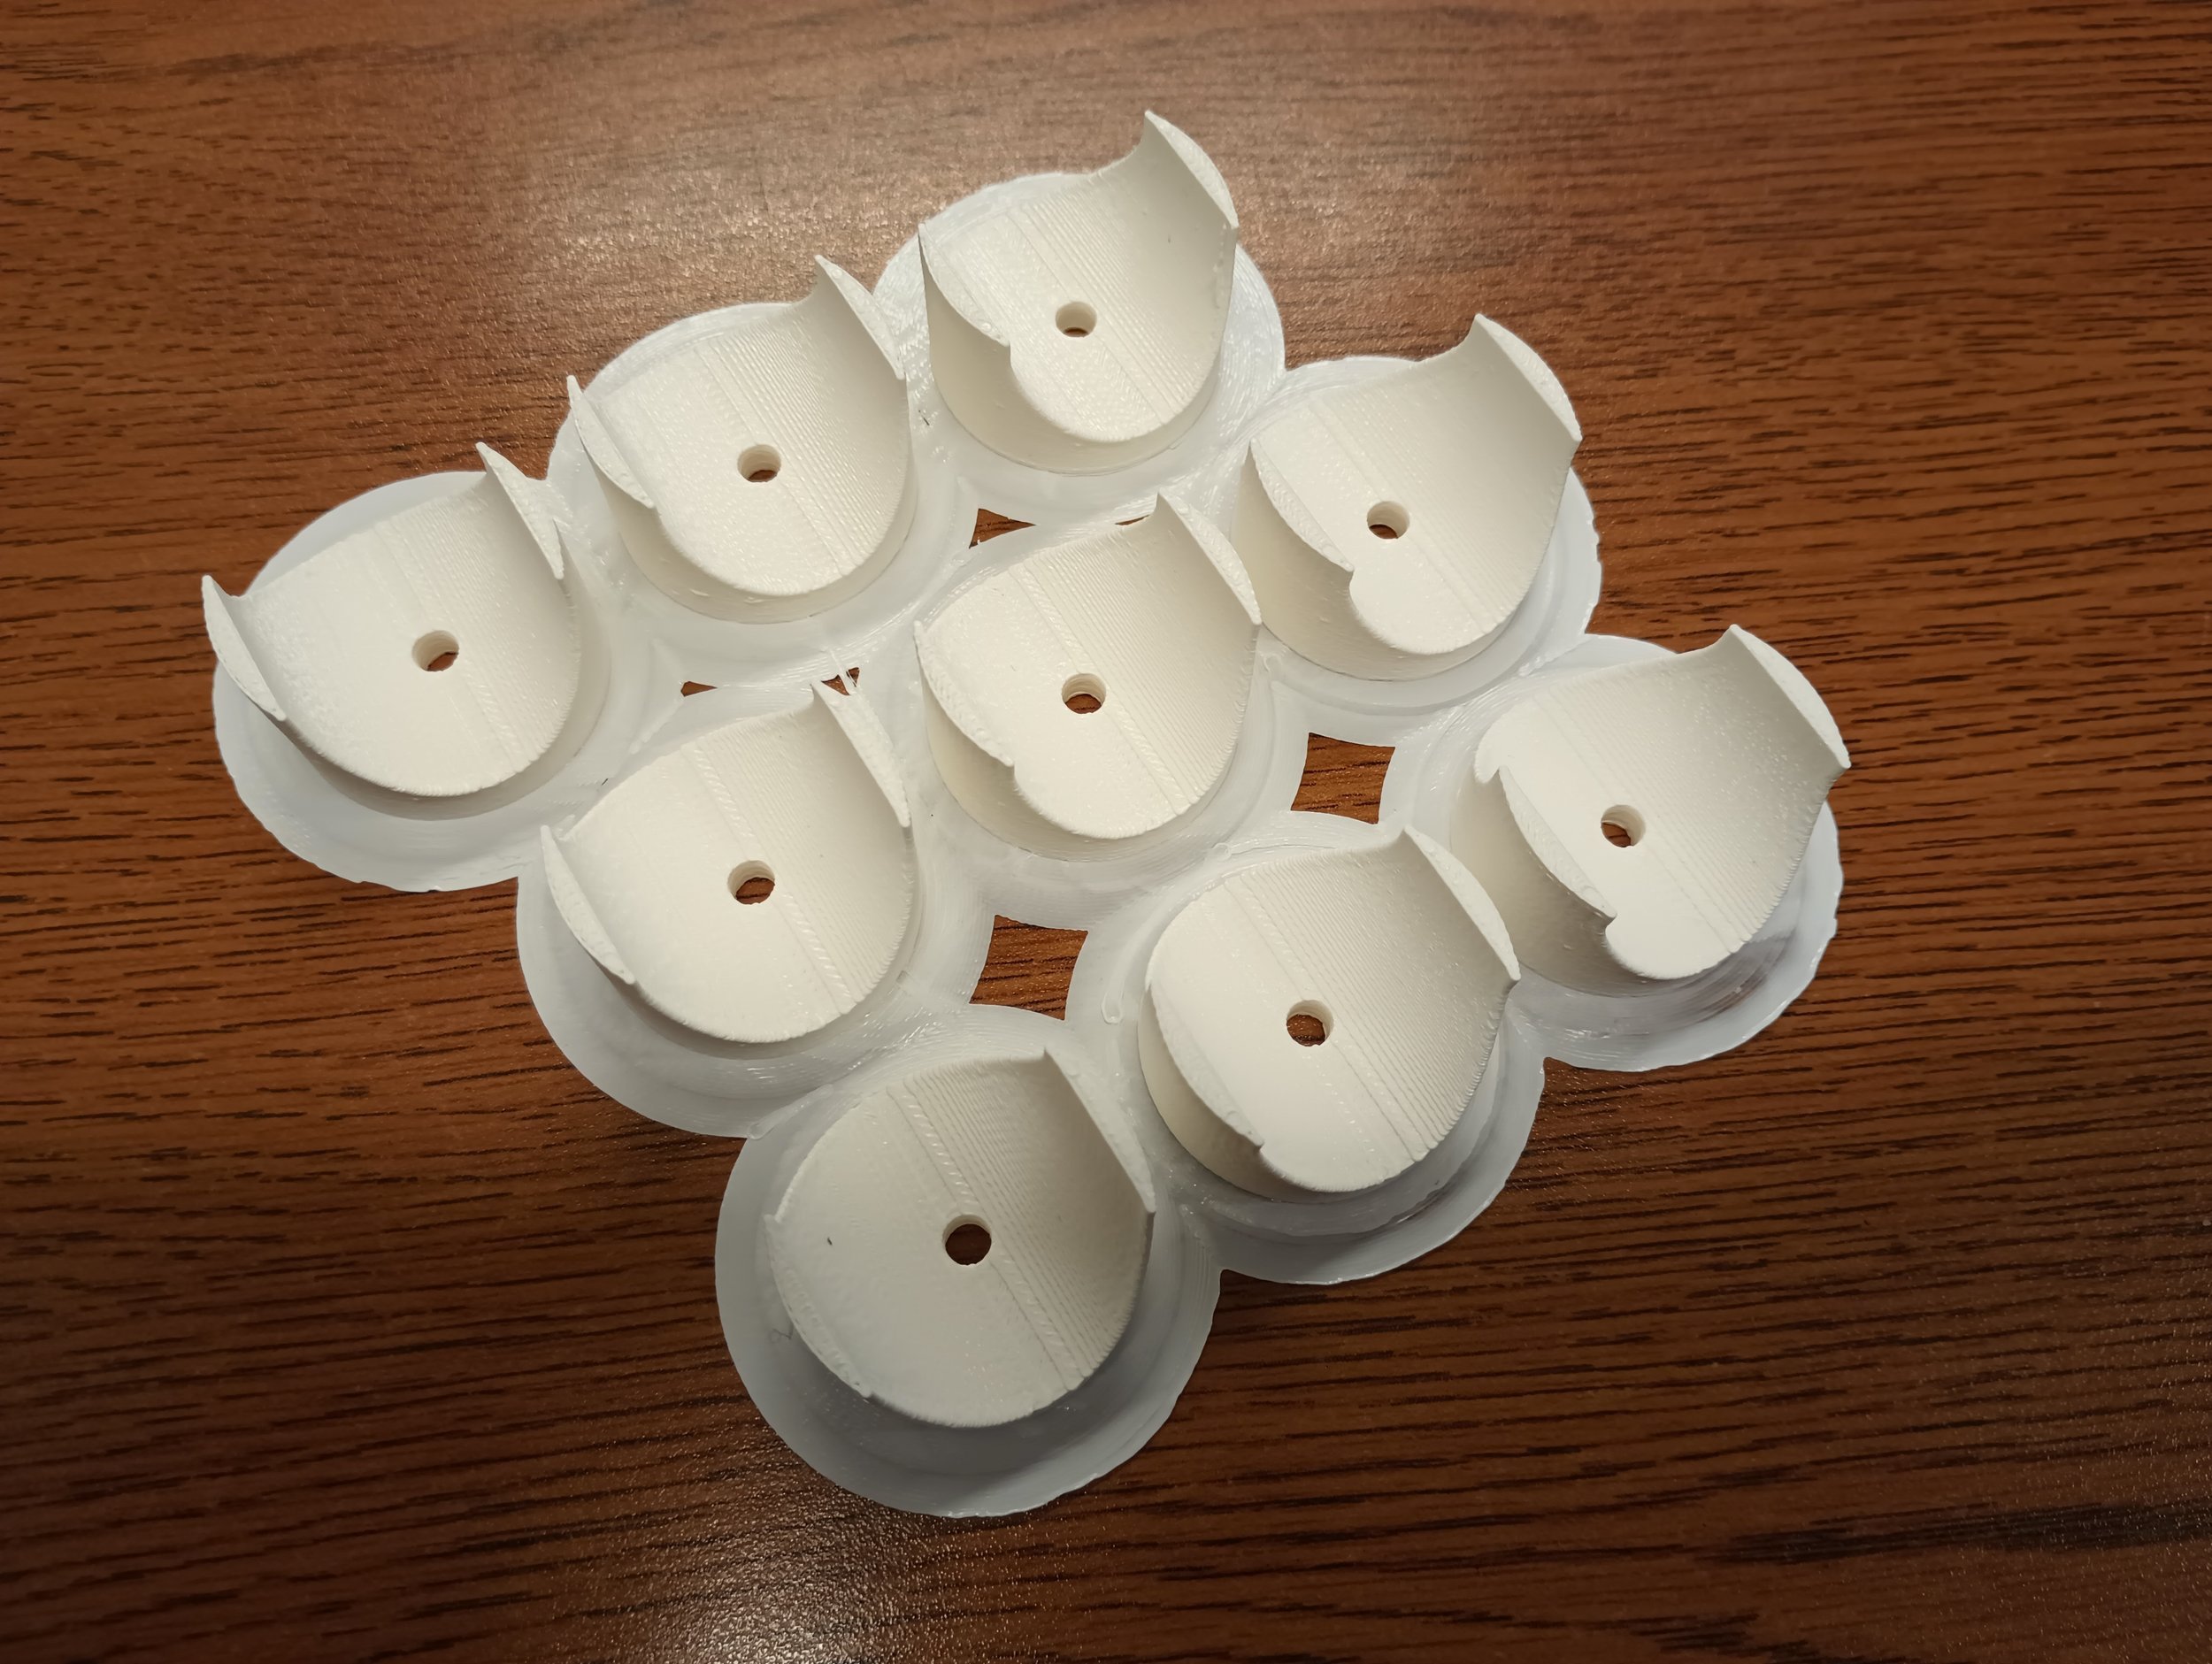
With the ducks and threads prepared, we mounted the ducks on their jigs as shown, and filled each one nearly to the top using a dosing syringe. We then placed each threaded rod (with it’s associated jig) onto each duck and cleaned up any excess epoxy resin as needed.
The ducks were then allowed to dry for a day, before being mounted on their drawer or cabinet. To avoid marring the wood (our landlords will presumably want to put the old ones back) we have added an M3 rubber o-ring to the nut side of each door. We are using standard lock-nuts and have had no issues with pullout or unscrewing thusfar.
Getting all our ducks in a row… (post-pour and waiting 24hrs to set, the white printed pieces are the same thickness as our cabinets).
11/28/2022: Overall this process worked well, and I would repeat it for a new custom installation. If we were doing the project again for resale or if we knew we would be moving frequently it might be worth trying to use sealed screw inserts instead.


