The Tooling Plate:
I need to hold a number of irregular flat piece for an upcoming tooling project, and that seemed like the perfect excuse opportunity to make a fixture plate.
Most of my stock is 6in or smaller, so I went with a 7in x 1in square piece of ATP5 (similar to MIC6) cast aluminum plate. The hole pattern is 3/4in along the diagonals and follows the NYC CNC convention of having combined reamed/threaded holes. The holes are reamed to 1/4in with a depth of 3/8in, and are threaded 1/4-20 for the remaining 5/8in. The plate is held to the table by a pair of 1/2-13 x 1.25in SHCS along the center line of the part, and there are two dedicated (not part of the hole grid) 1/4in reamed holes for locating the main plate on a vise-attachment.
To start with I expect to mostly use the fixture plate as a superglue arbor, but I also made some quick toe-clamps to help with glue-ups and provide a second option. I have a set of Mitee Bite hex clamps from the ME72 side panels, but since the screws are not long enough those will have to wait for now. That is the one downside to these combined tapped/reamed holes, they place the threads 3/8 below the plate surface. Thus far using pins or pins and parallels has worked great for establishing a reference surface, so I’ll likely hold off on making something dedicated until I’ve completed a few more projects.
Fabrication:
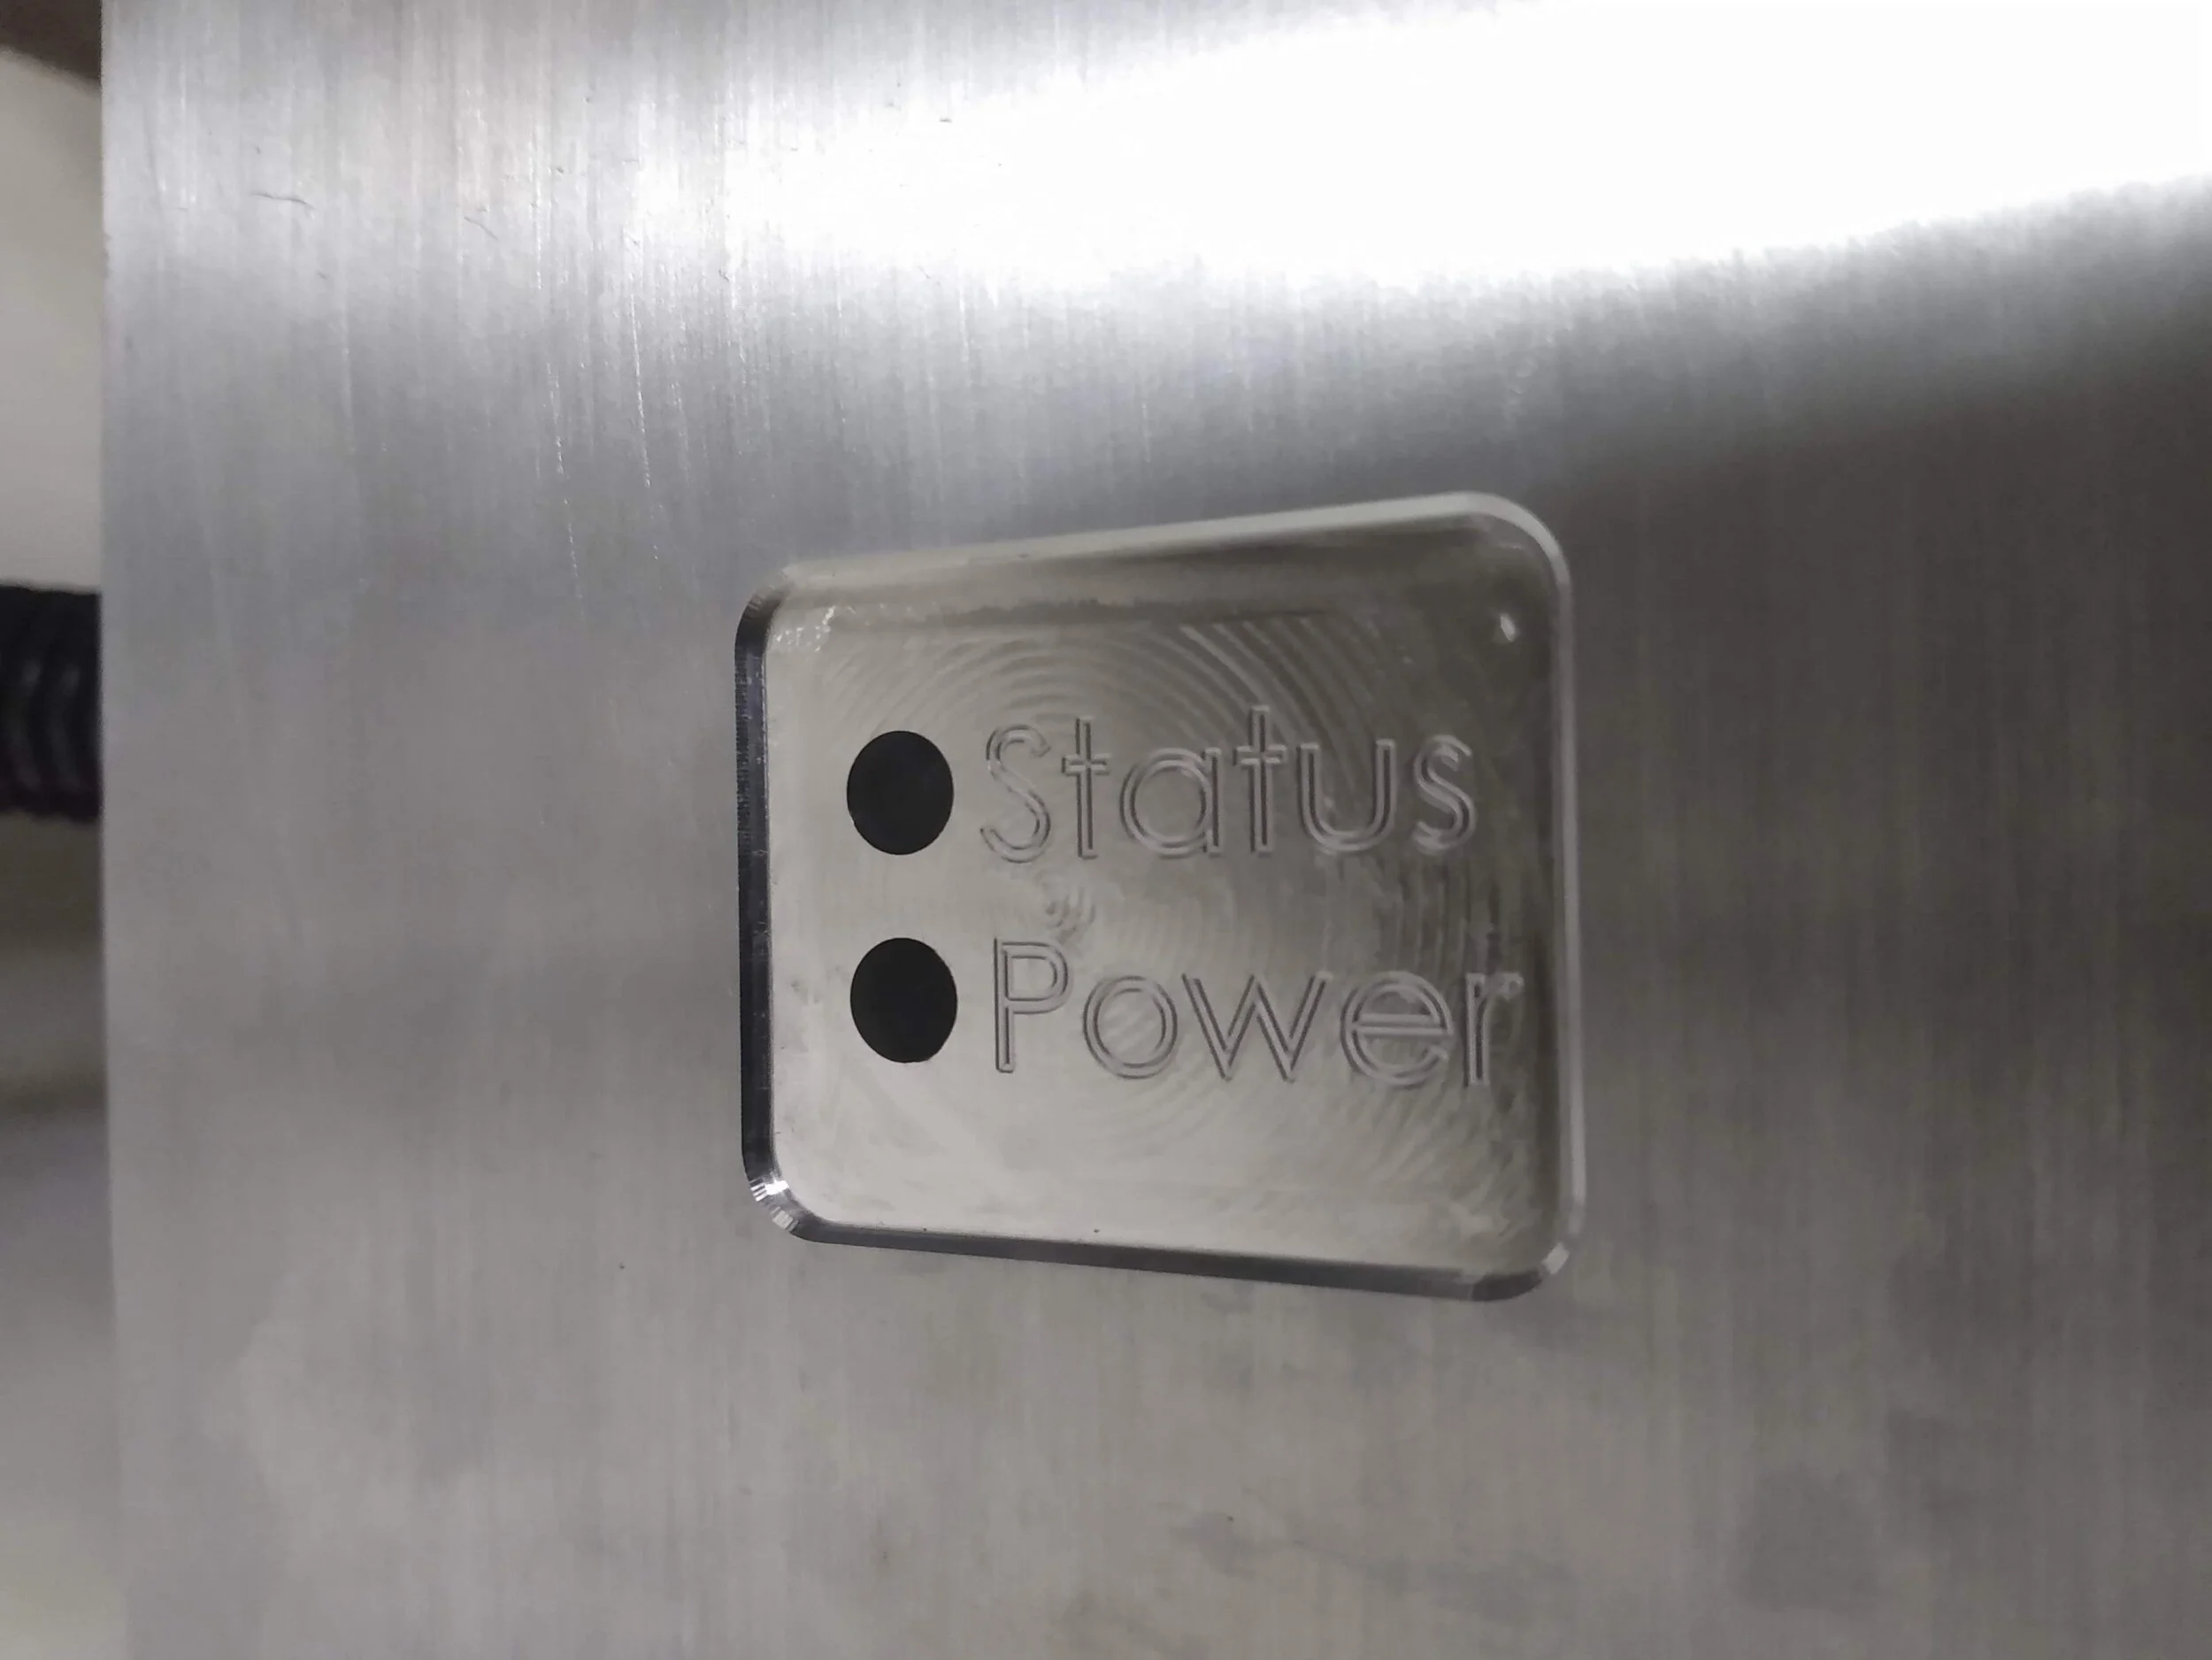
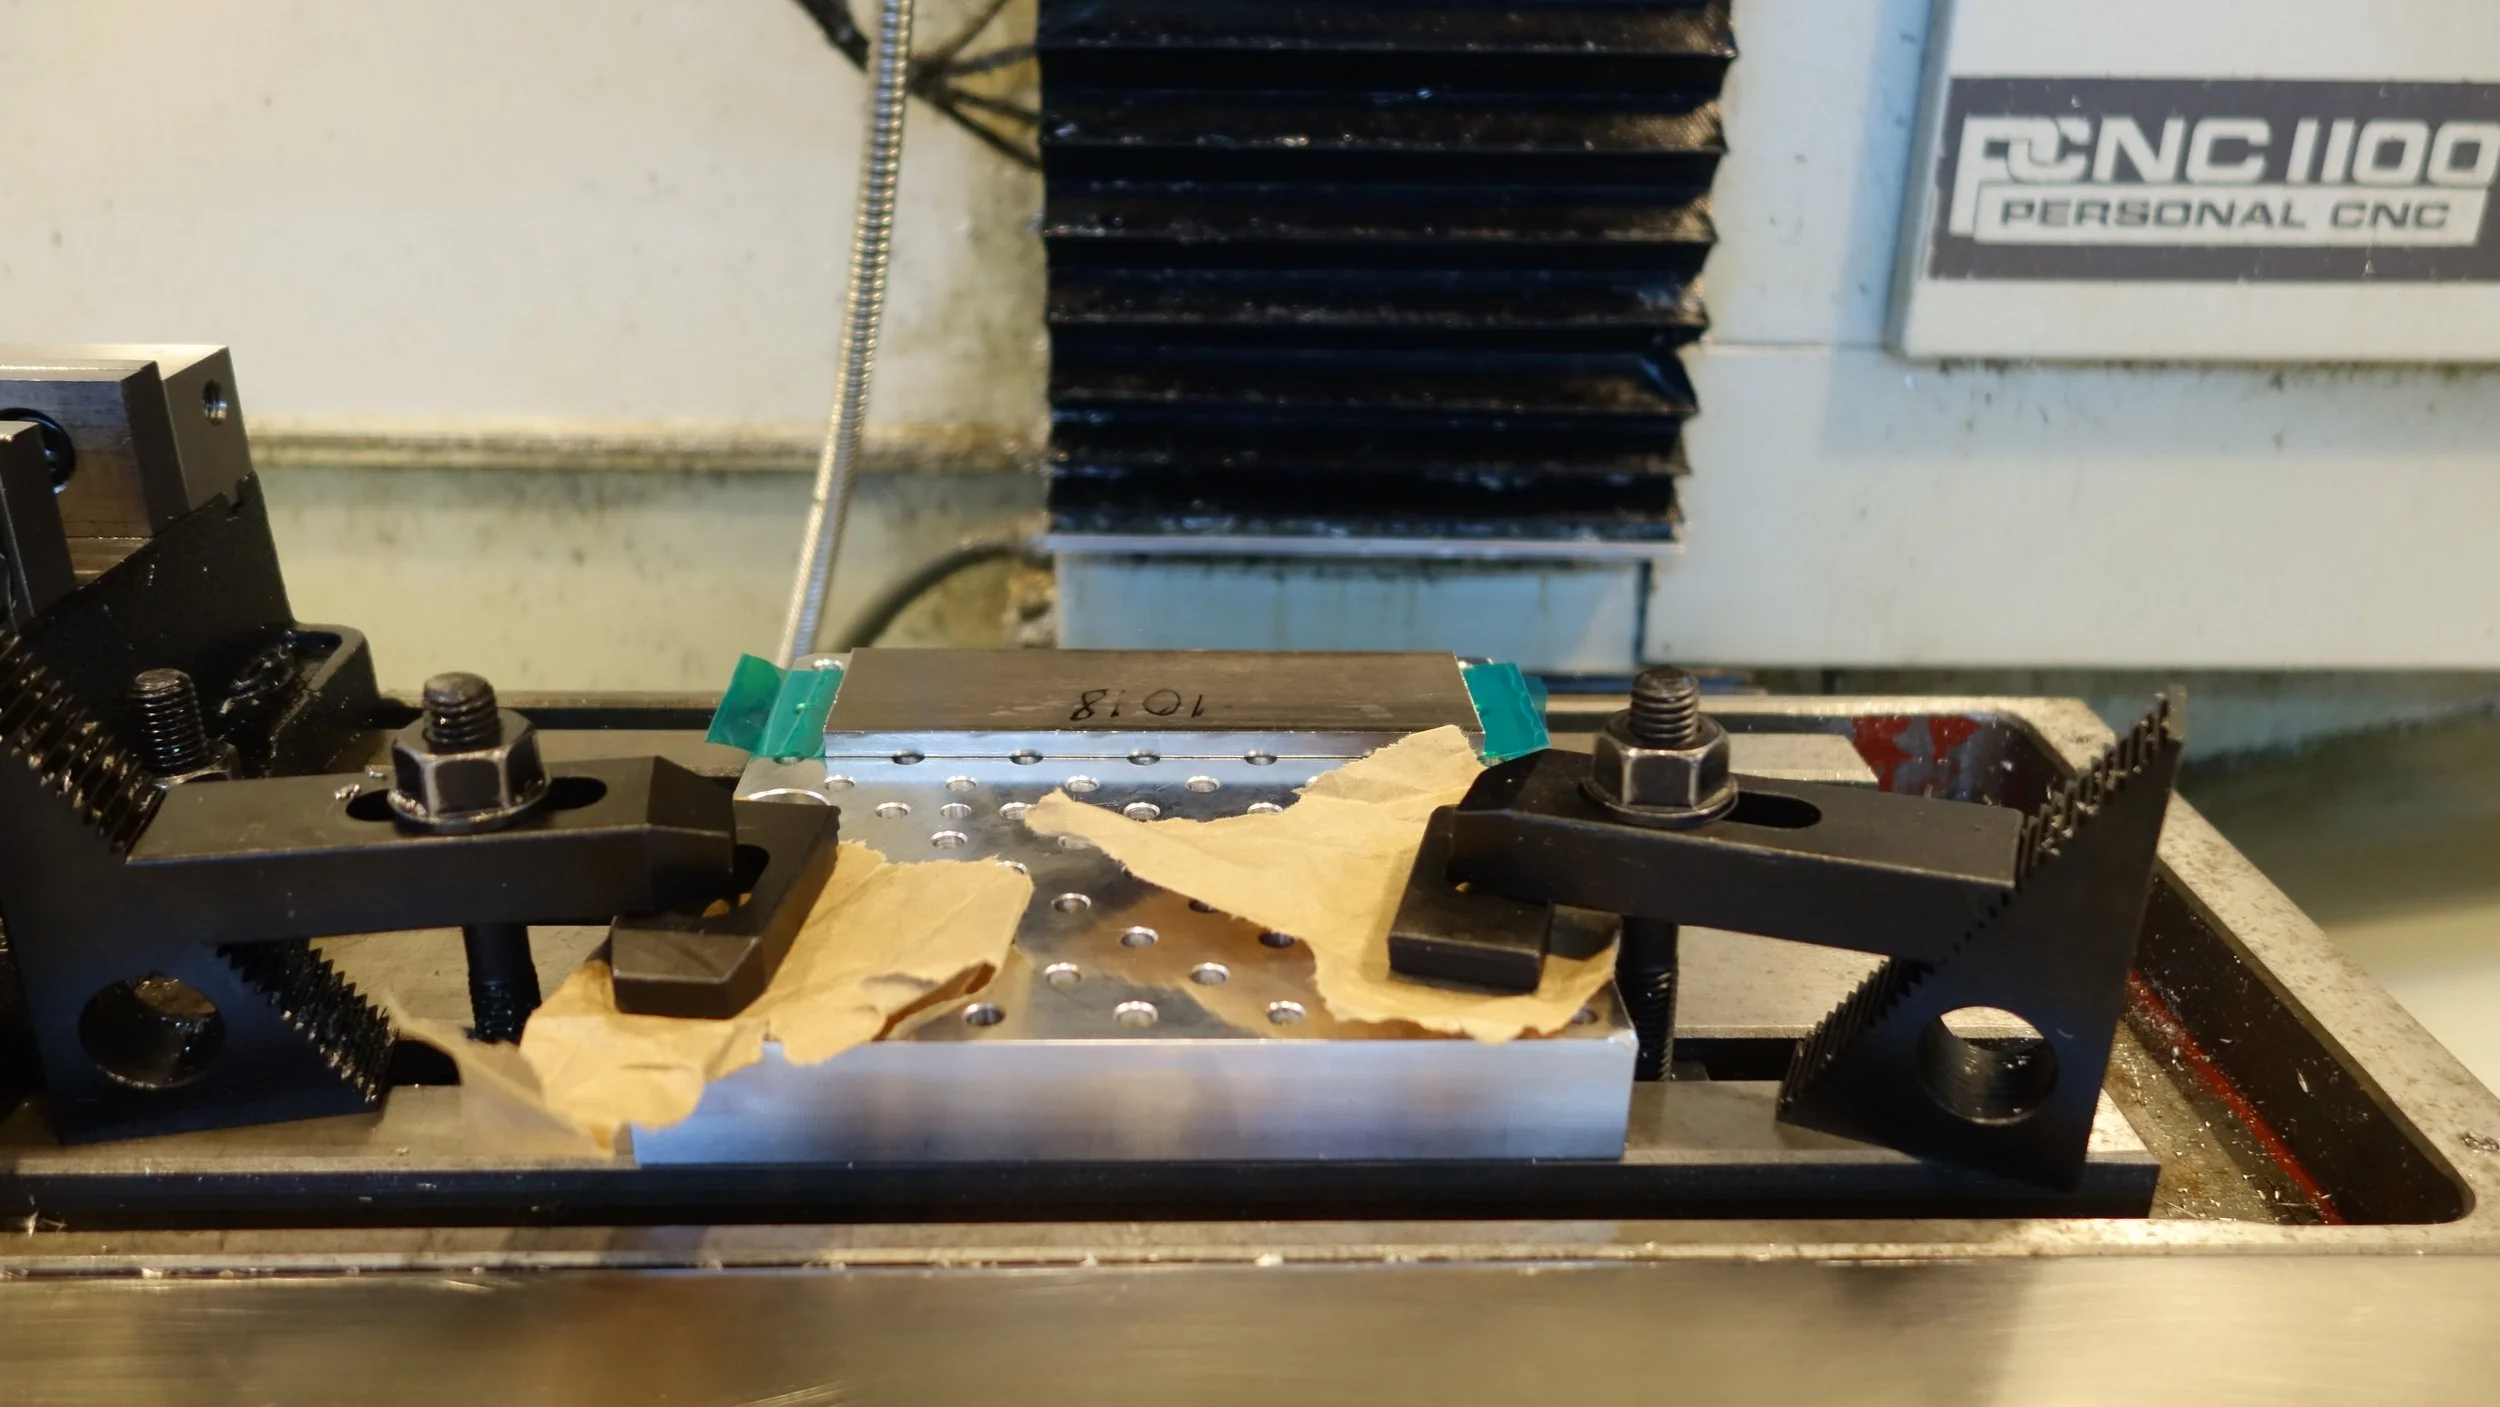
I started by setting the plate on sacrificial stand-offs, and then cut the two 1/2-13 counter-bored holes. I then used those to hold the plate in place while I spotted, drilled, chamfered, reamed, and thread-milled the alignment holes. That process was a bit lengthy, especially the thread milling, but ultimately painless. I then stood the plate up on end to add the “front” marker with the plate’s nominal dimensions and a makers mark.
The plate indicated within 0.002 out of the box so I decided to forgo facing it for now. That difference won’t matter for any of the parts I have planned, and when it does matter I’ll want to fly-cut it in place for maximum flatness anyway. I did however finish with a light scotch-bright rub to improve tape adhesion.


The Fixturing:
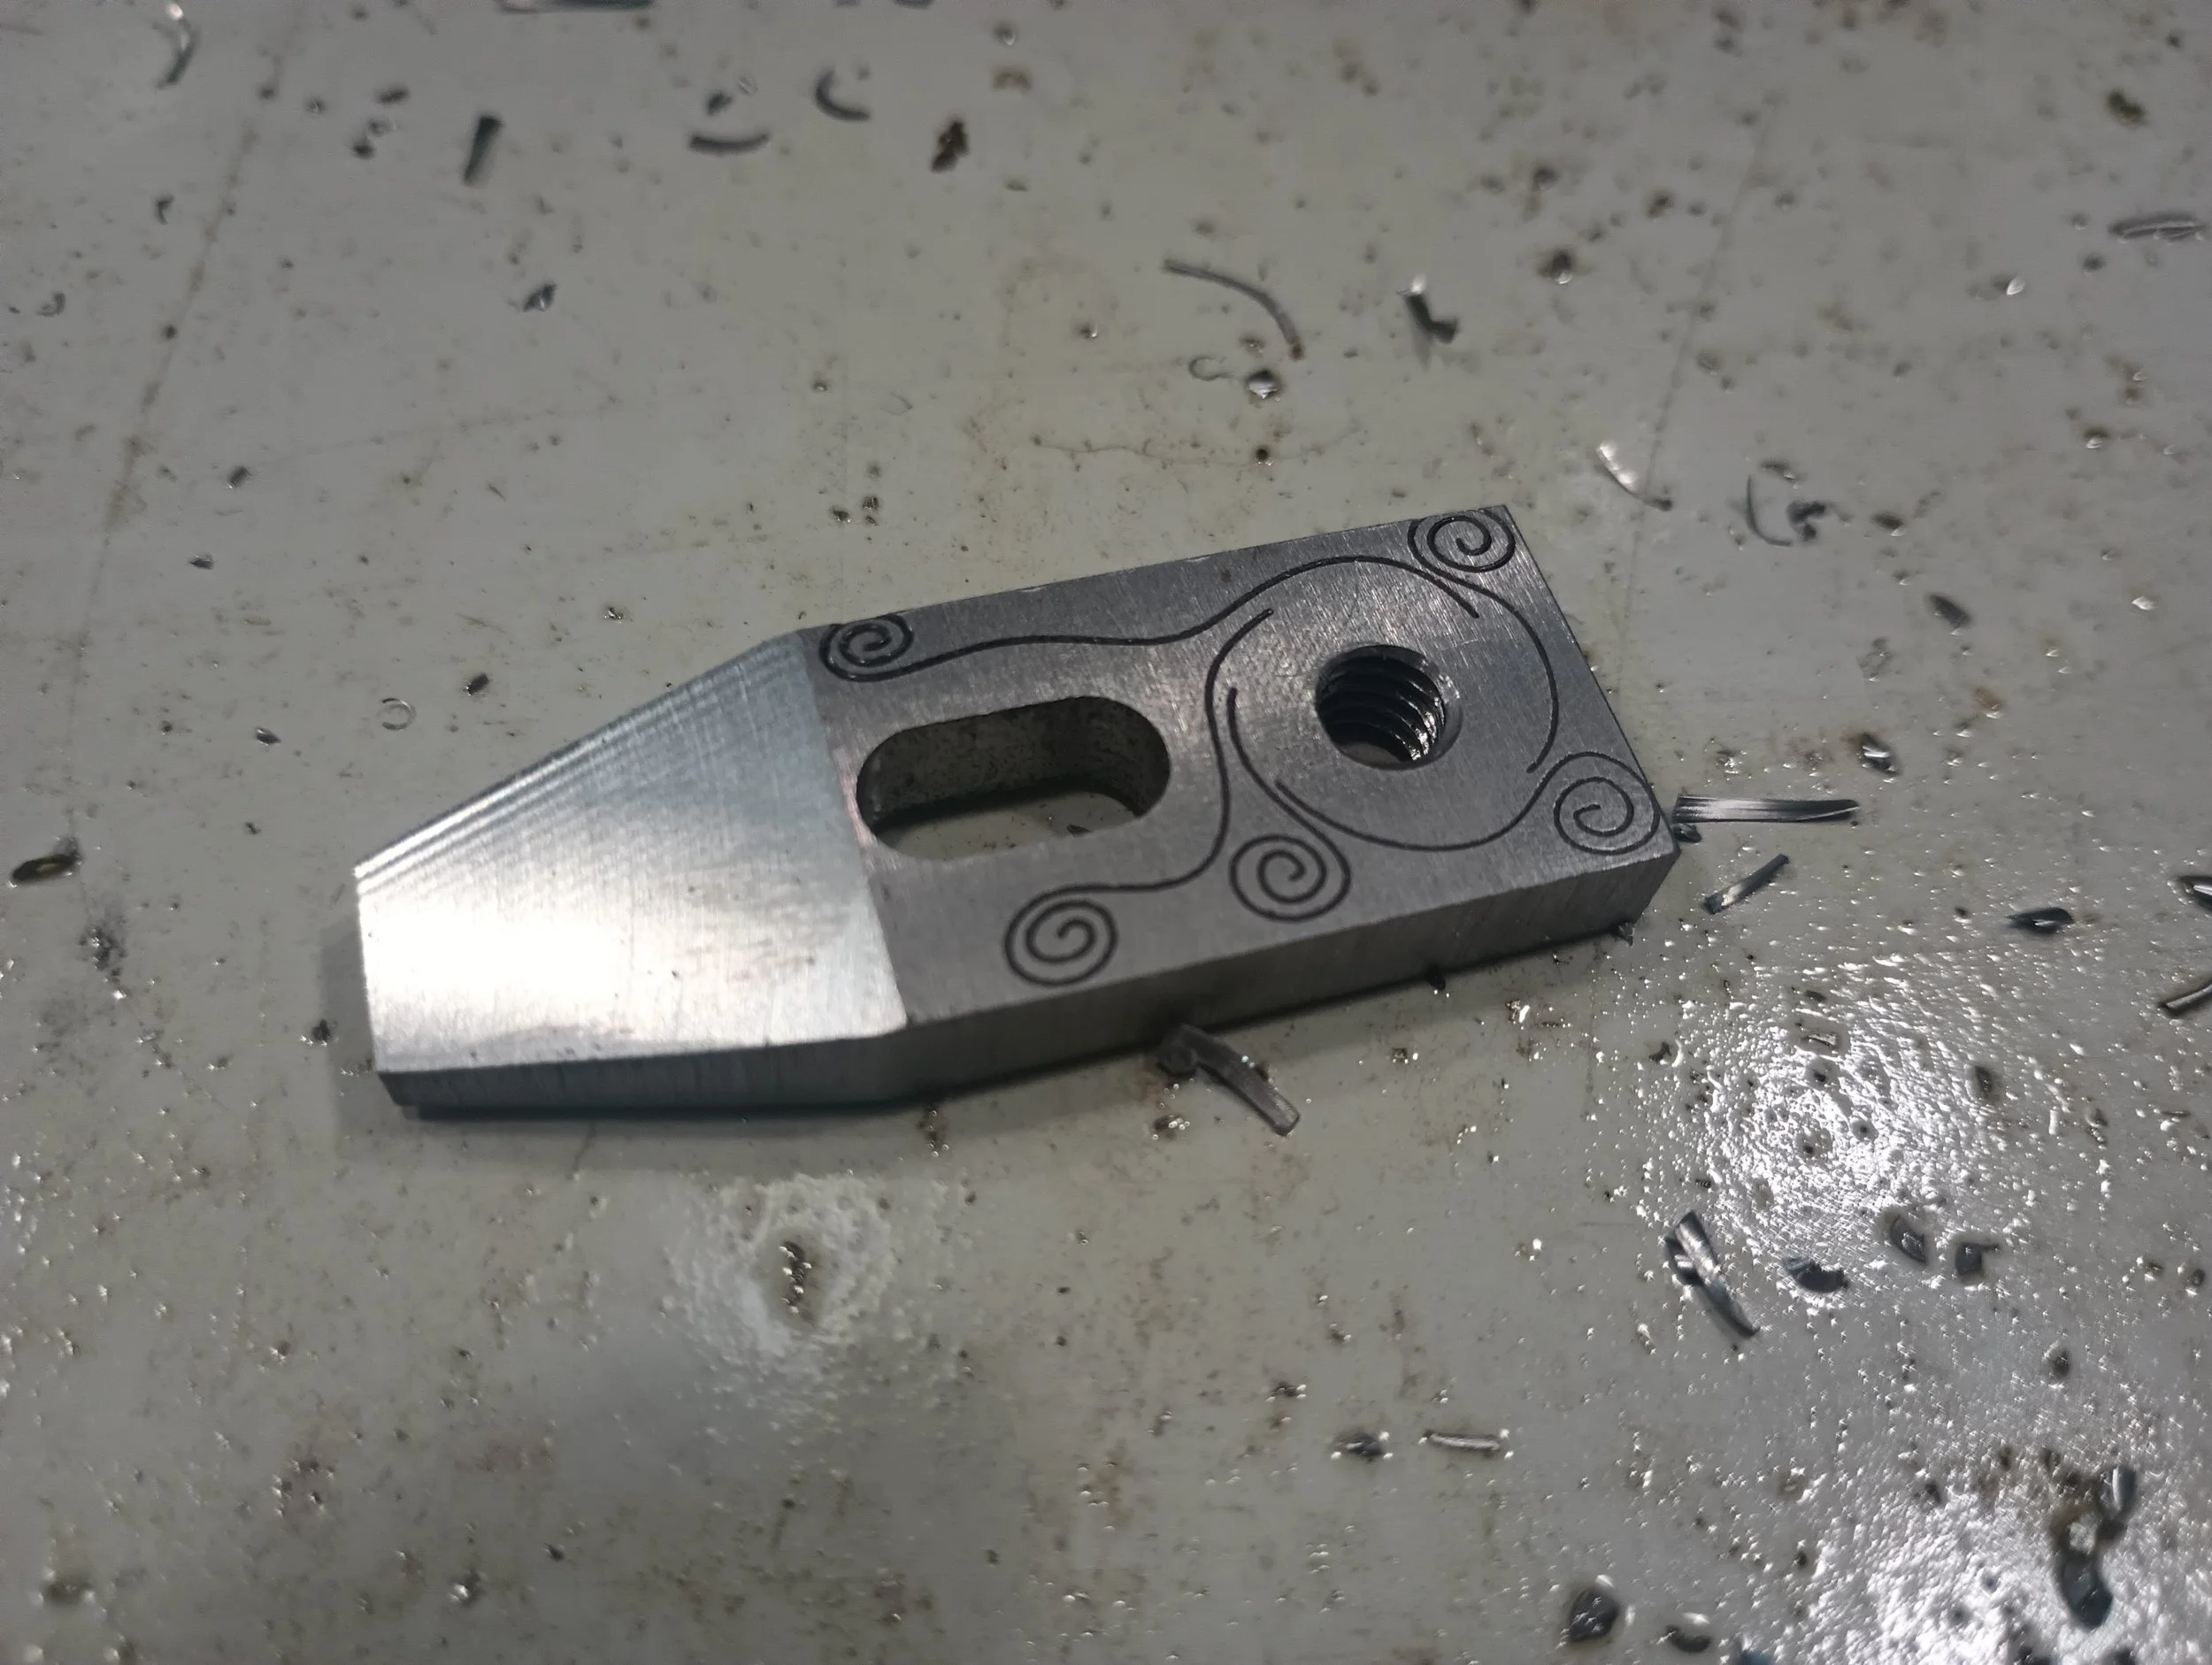
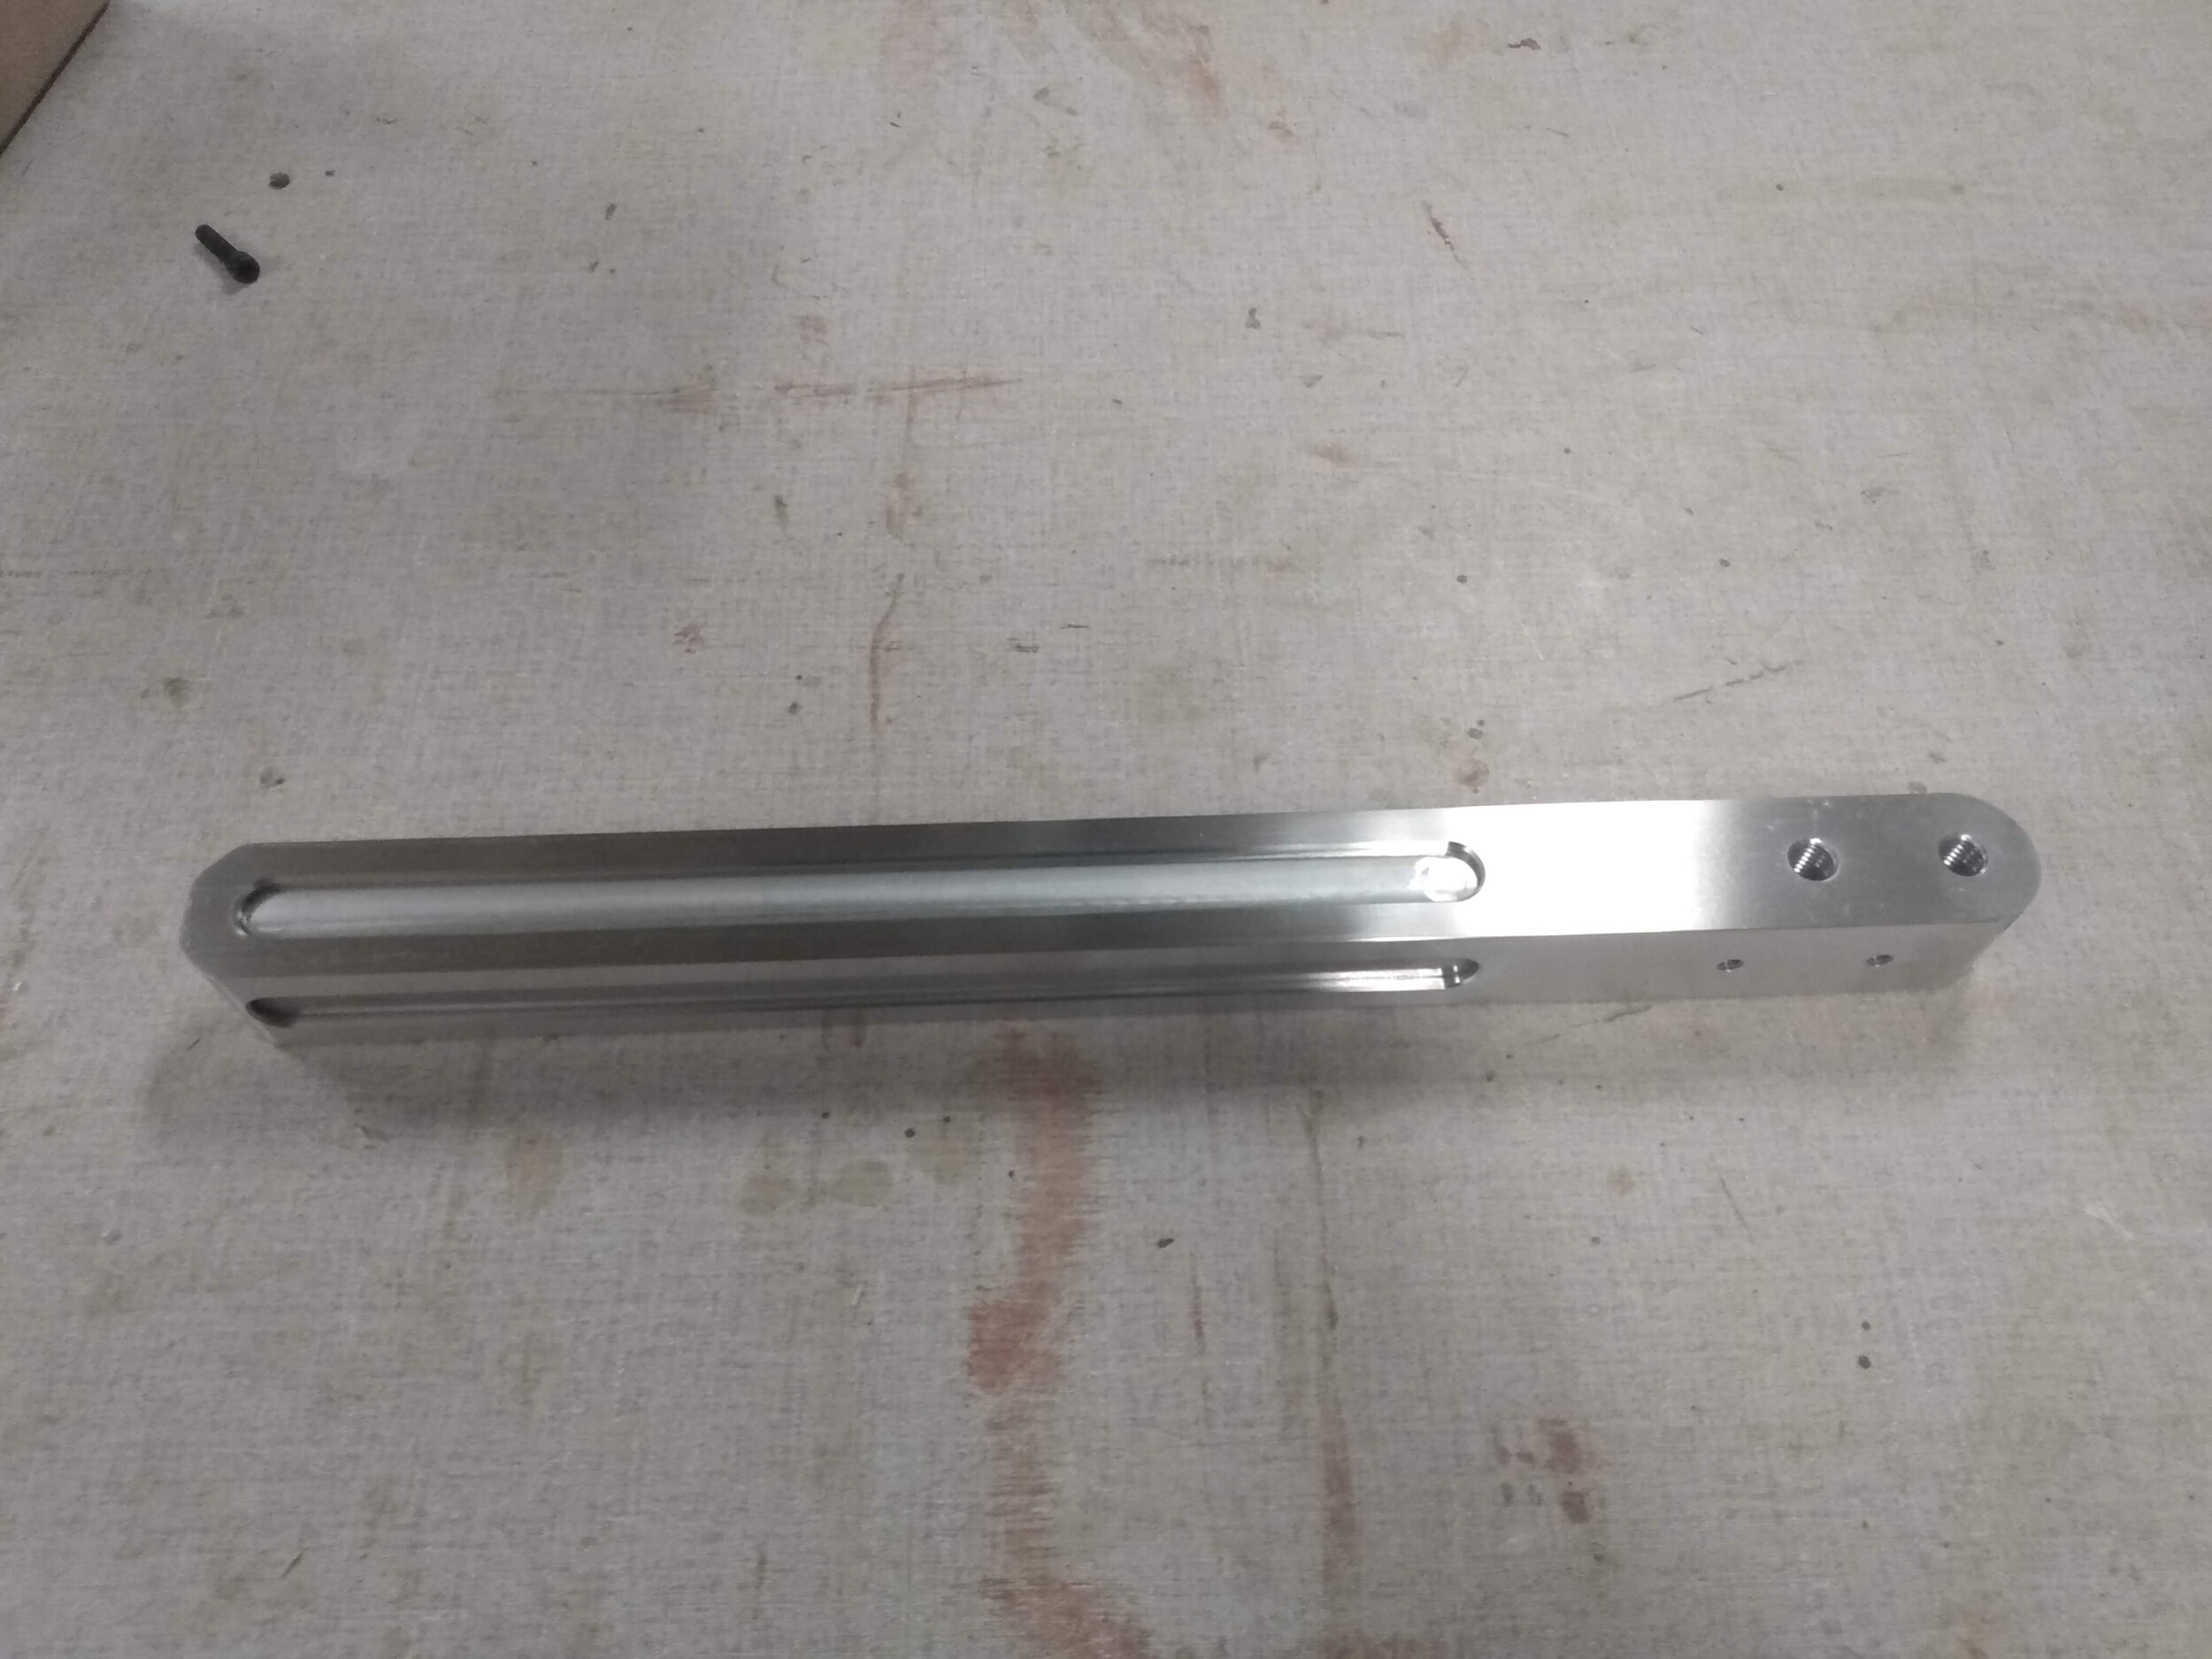
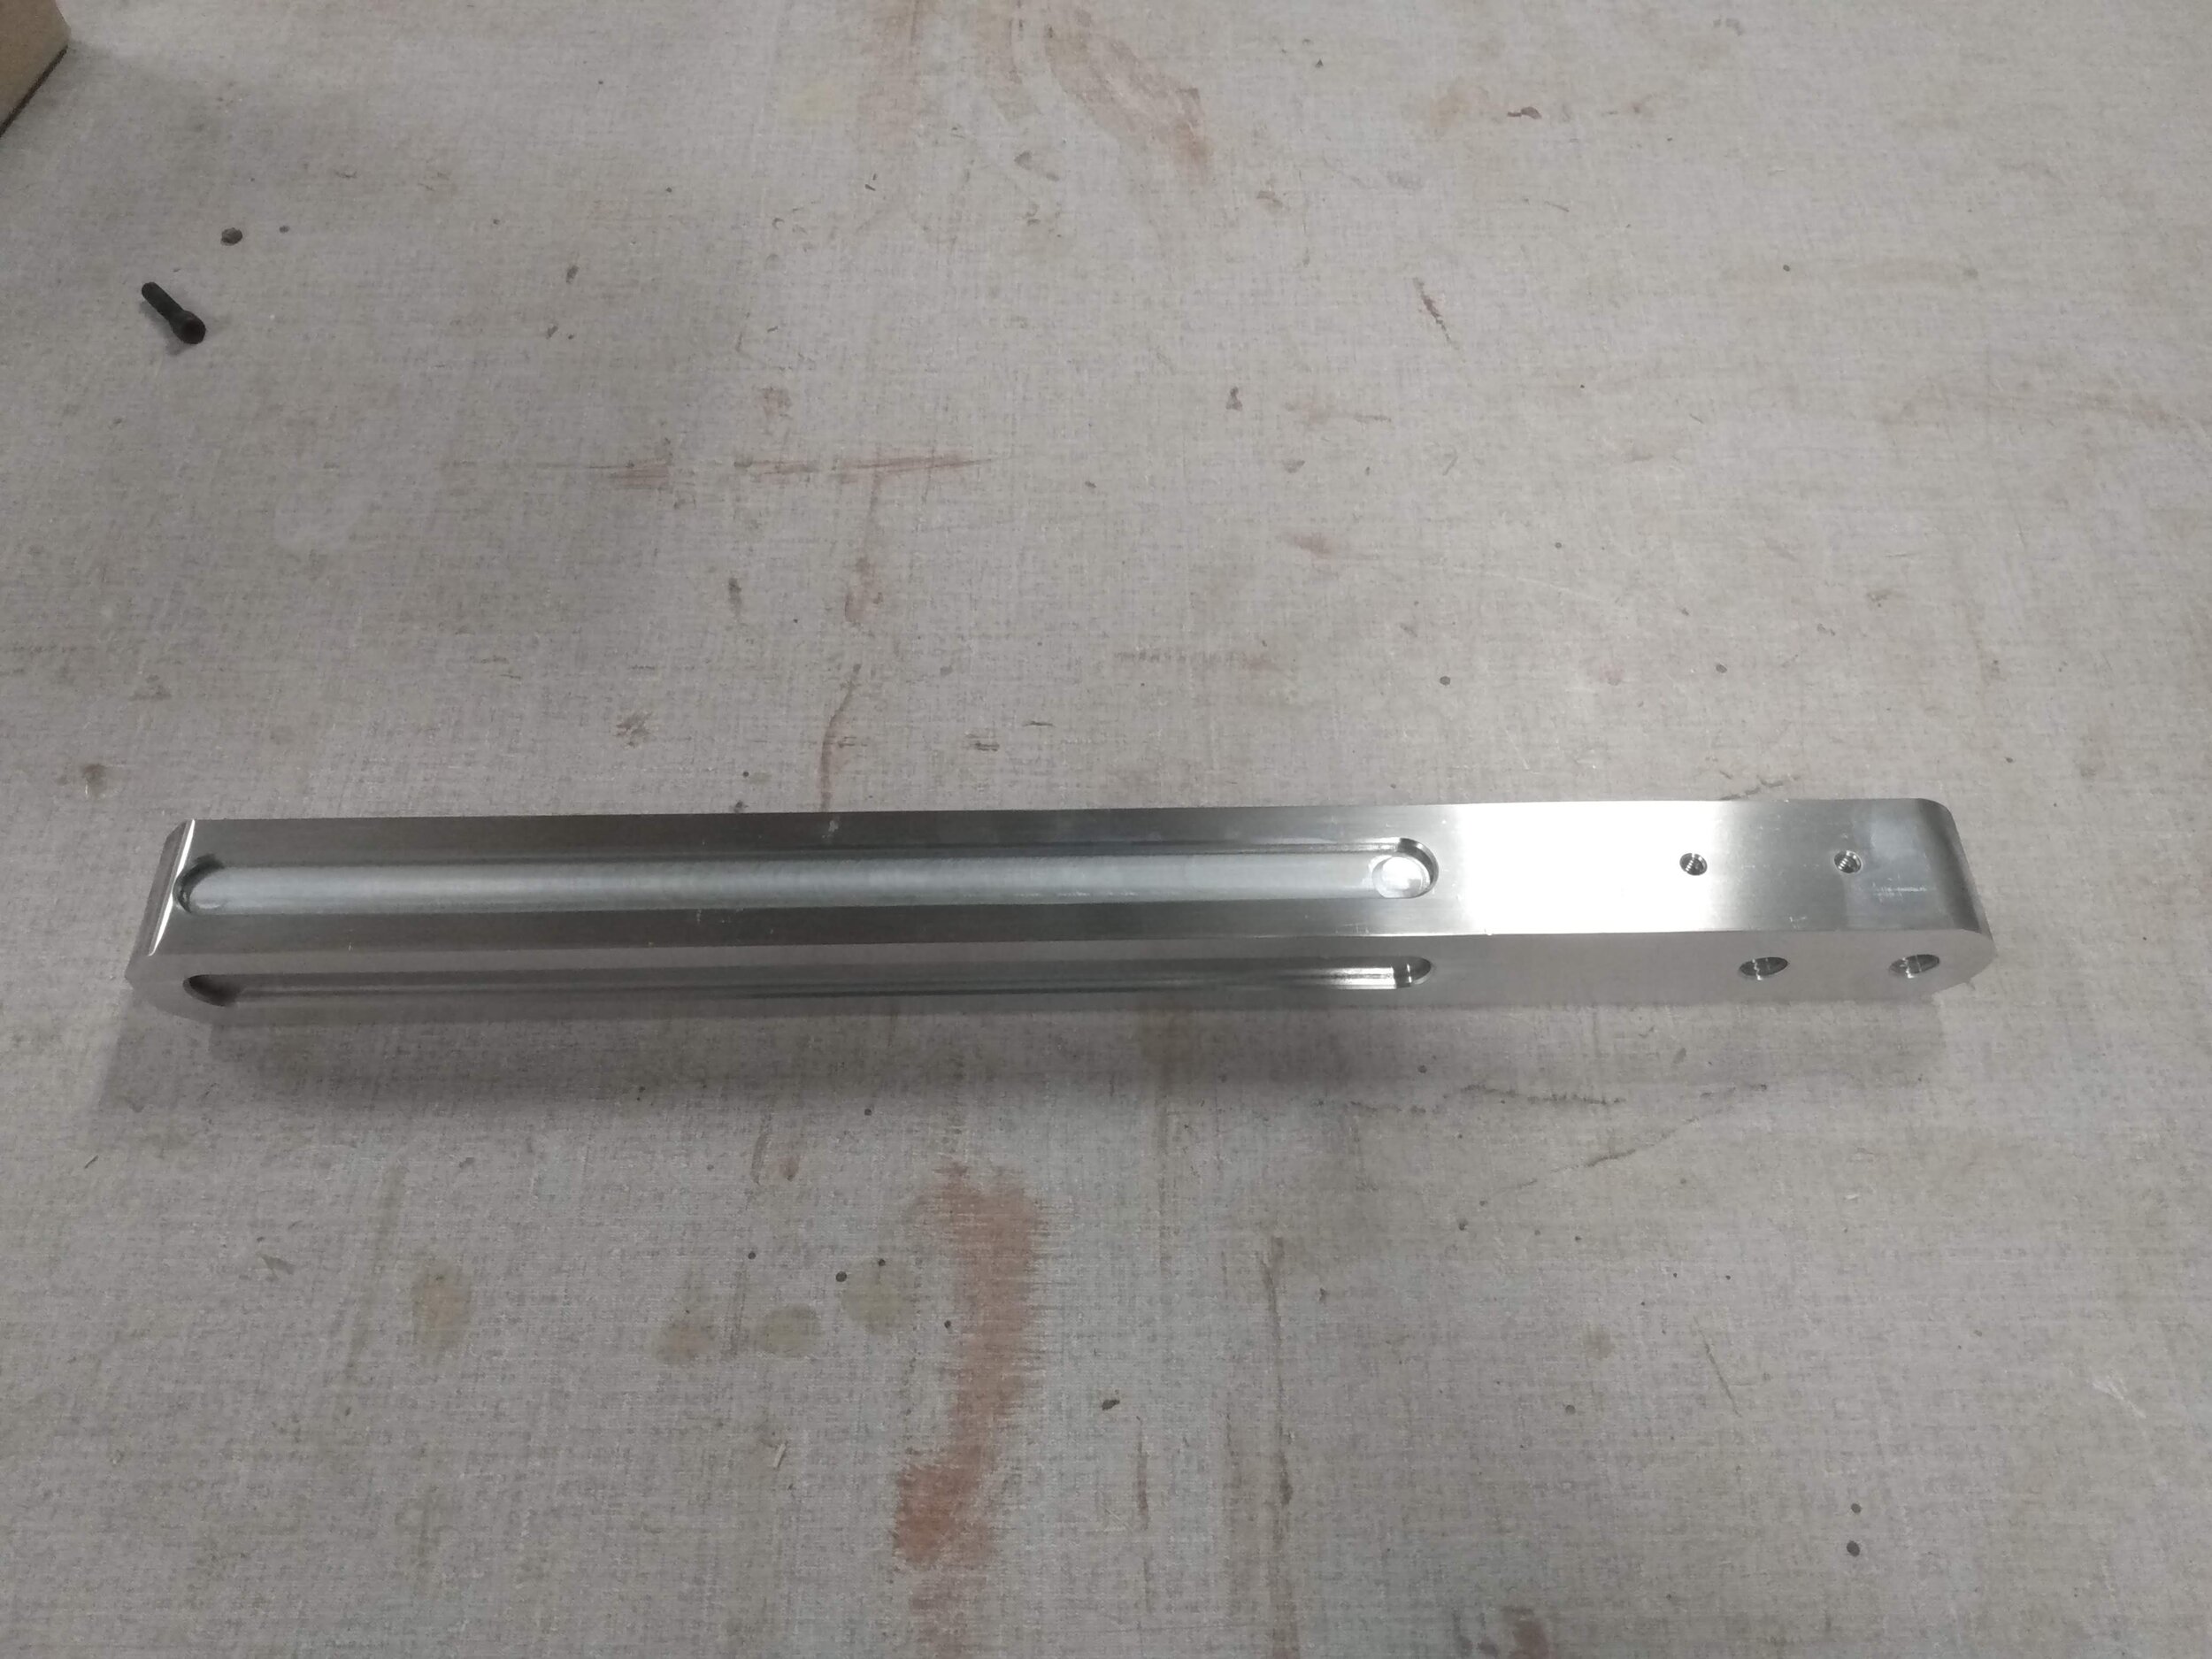
The shorter length of toe-clamp. These are made from 1018 steel and have been working great so far.
A fixture plate is no good without a way to fixture things, so to start out I whipped up this miniature toe-clamp set. For now the set consists of two short clamps and two long clamps, and has 1/4-20 holes and slots to match the threads on the pallet. There are also associated washers and brass feet to protect the clamps and plate respectively from the screws.
Functionally, the clamps work well and I suspect I will end up making more in the future, possibly in an intermediate size (or perhaps even an extra-long). Aesthetically speaking these clamps were my first foray into a new engraving style. We’ll have to see how it fits with future projects, but I have to say I like the spirals so far. They add a bit of visual flare, but are still much easier to draw and CAM than the more elaborate engravings I have used on other projects.
I have also been experimenting with super-glue work holding both on it’s own, and as a friction aid for the toe clamps. I’ll make a dedicated post about that once I have the process fully ironed out, but for now suffice to say I am using Locktite 480 with powder coating tape and am running with air blast rather than coolant.


The Setups:
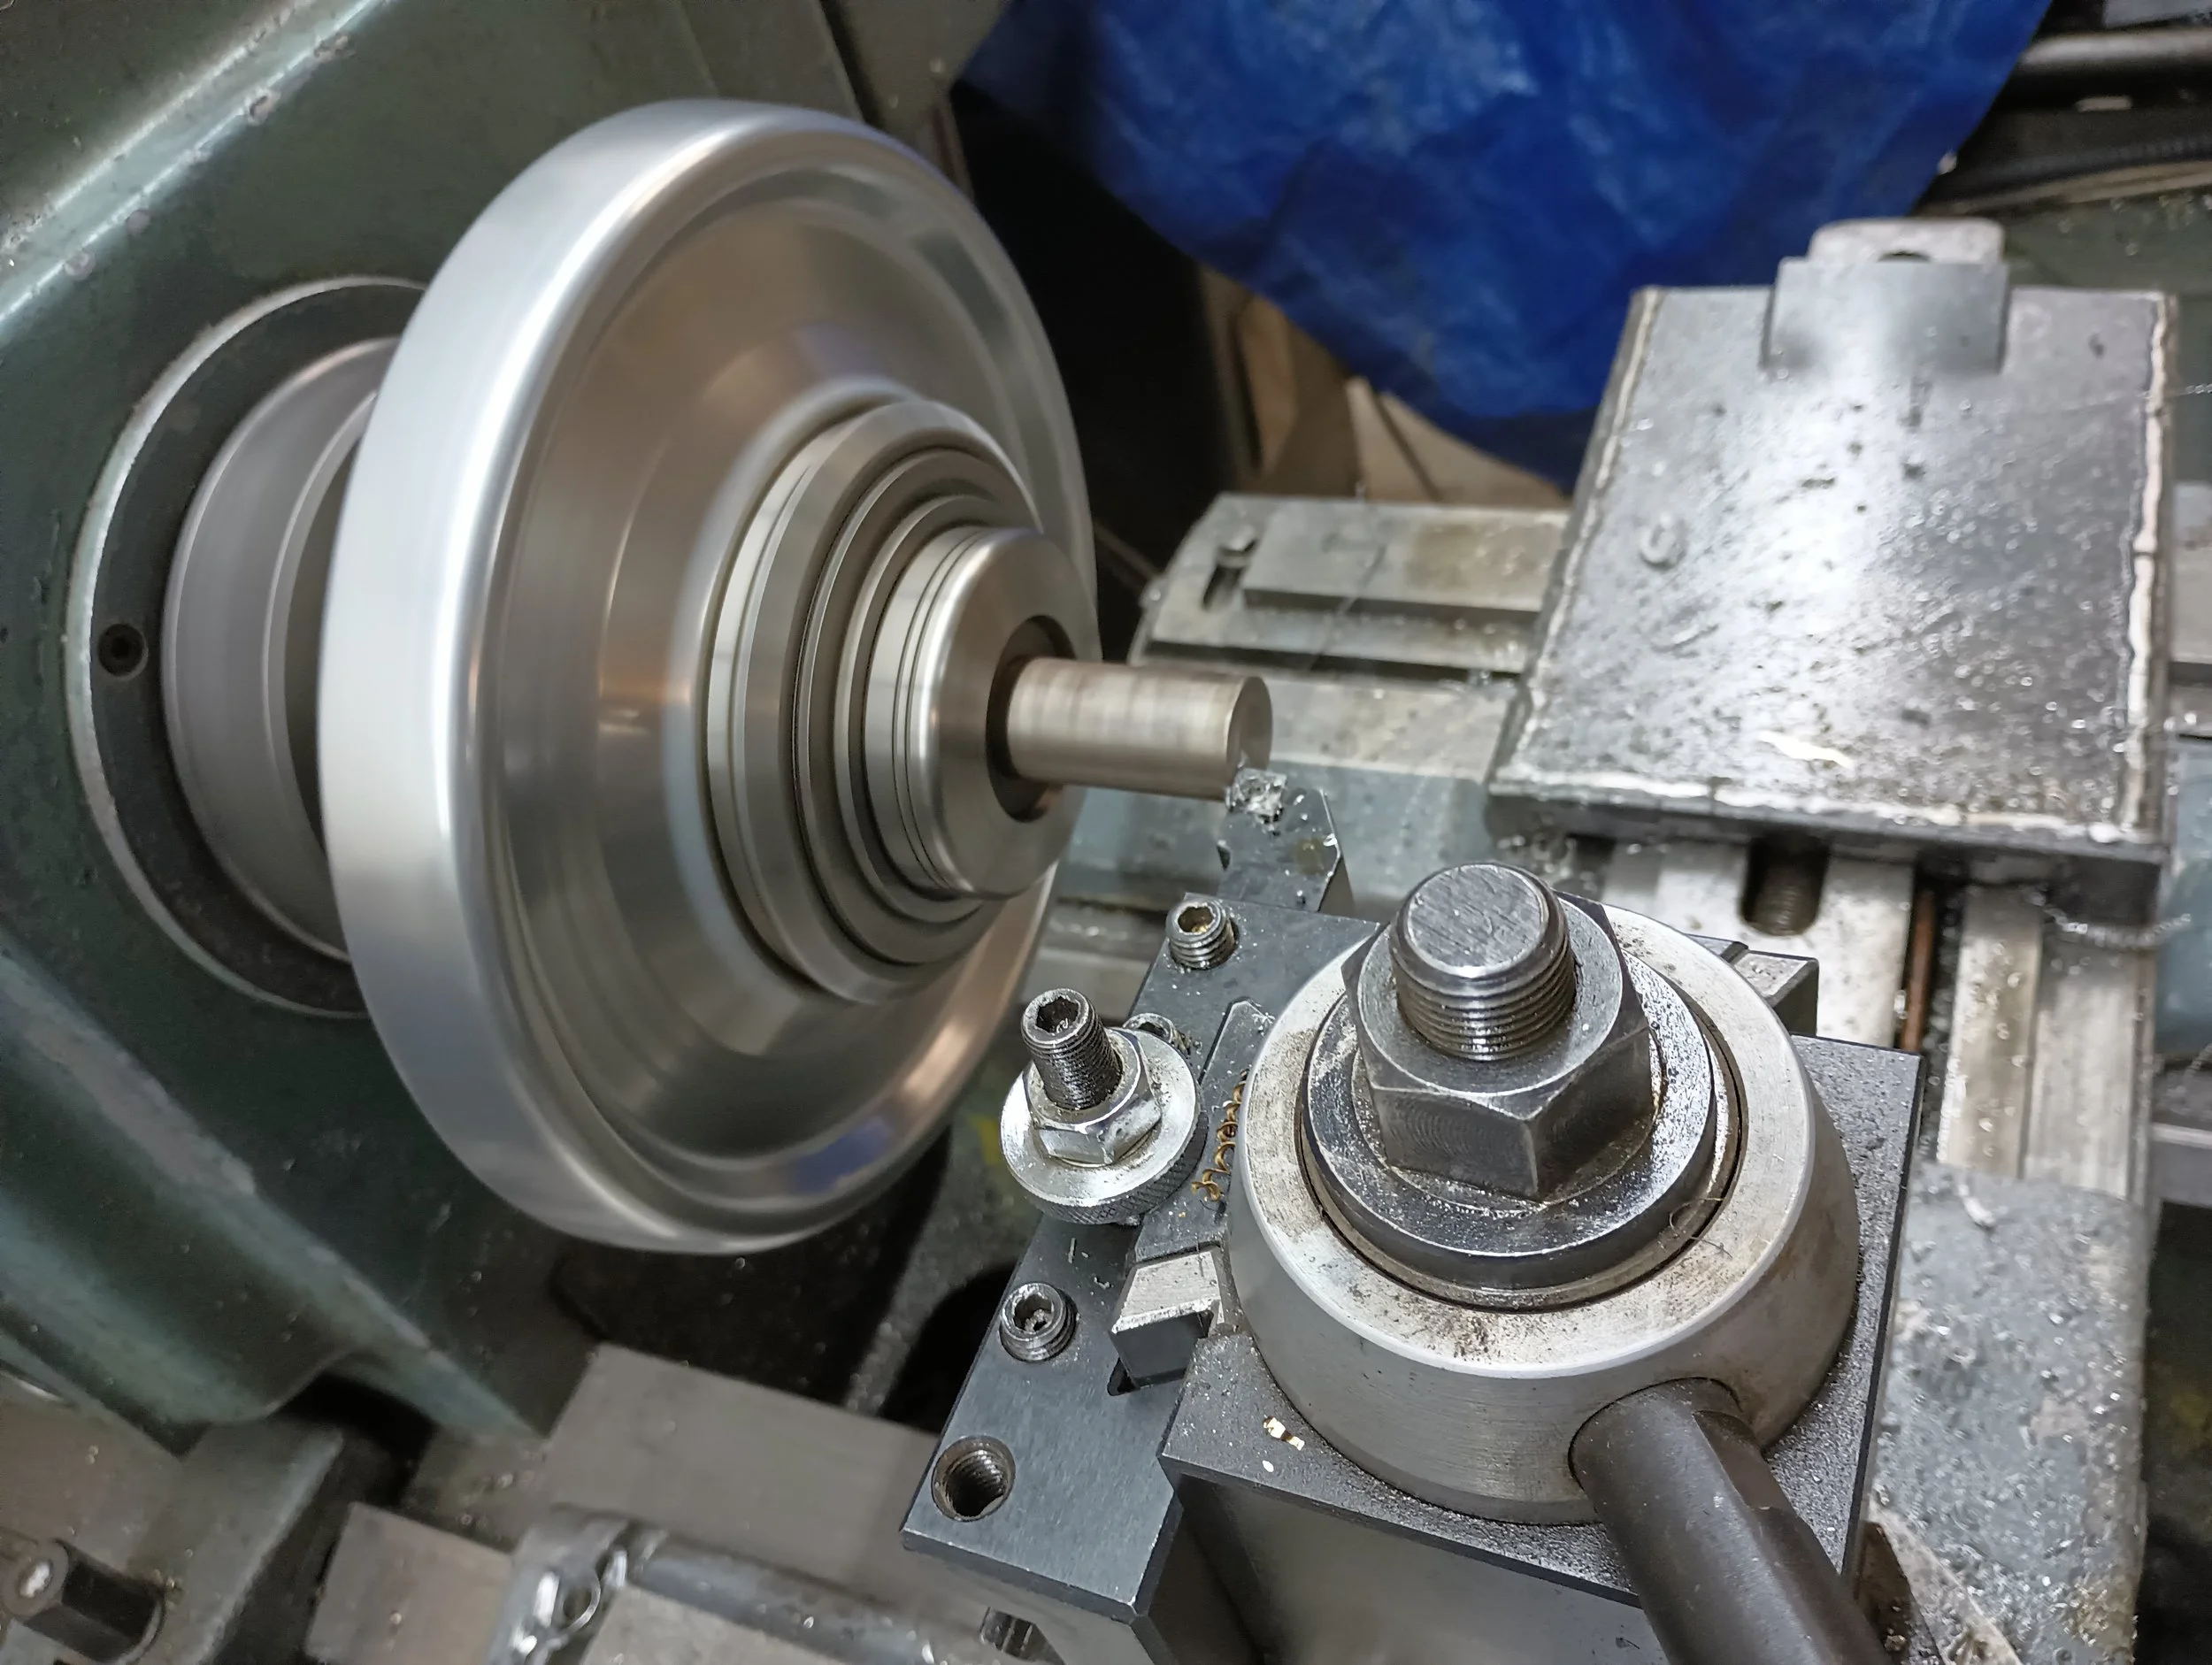
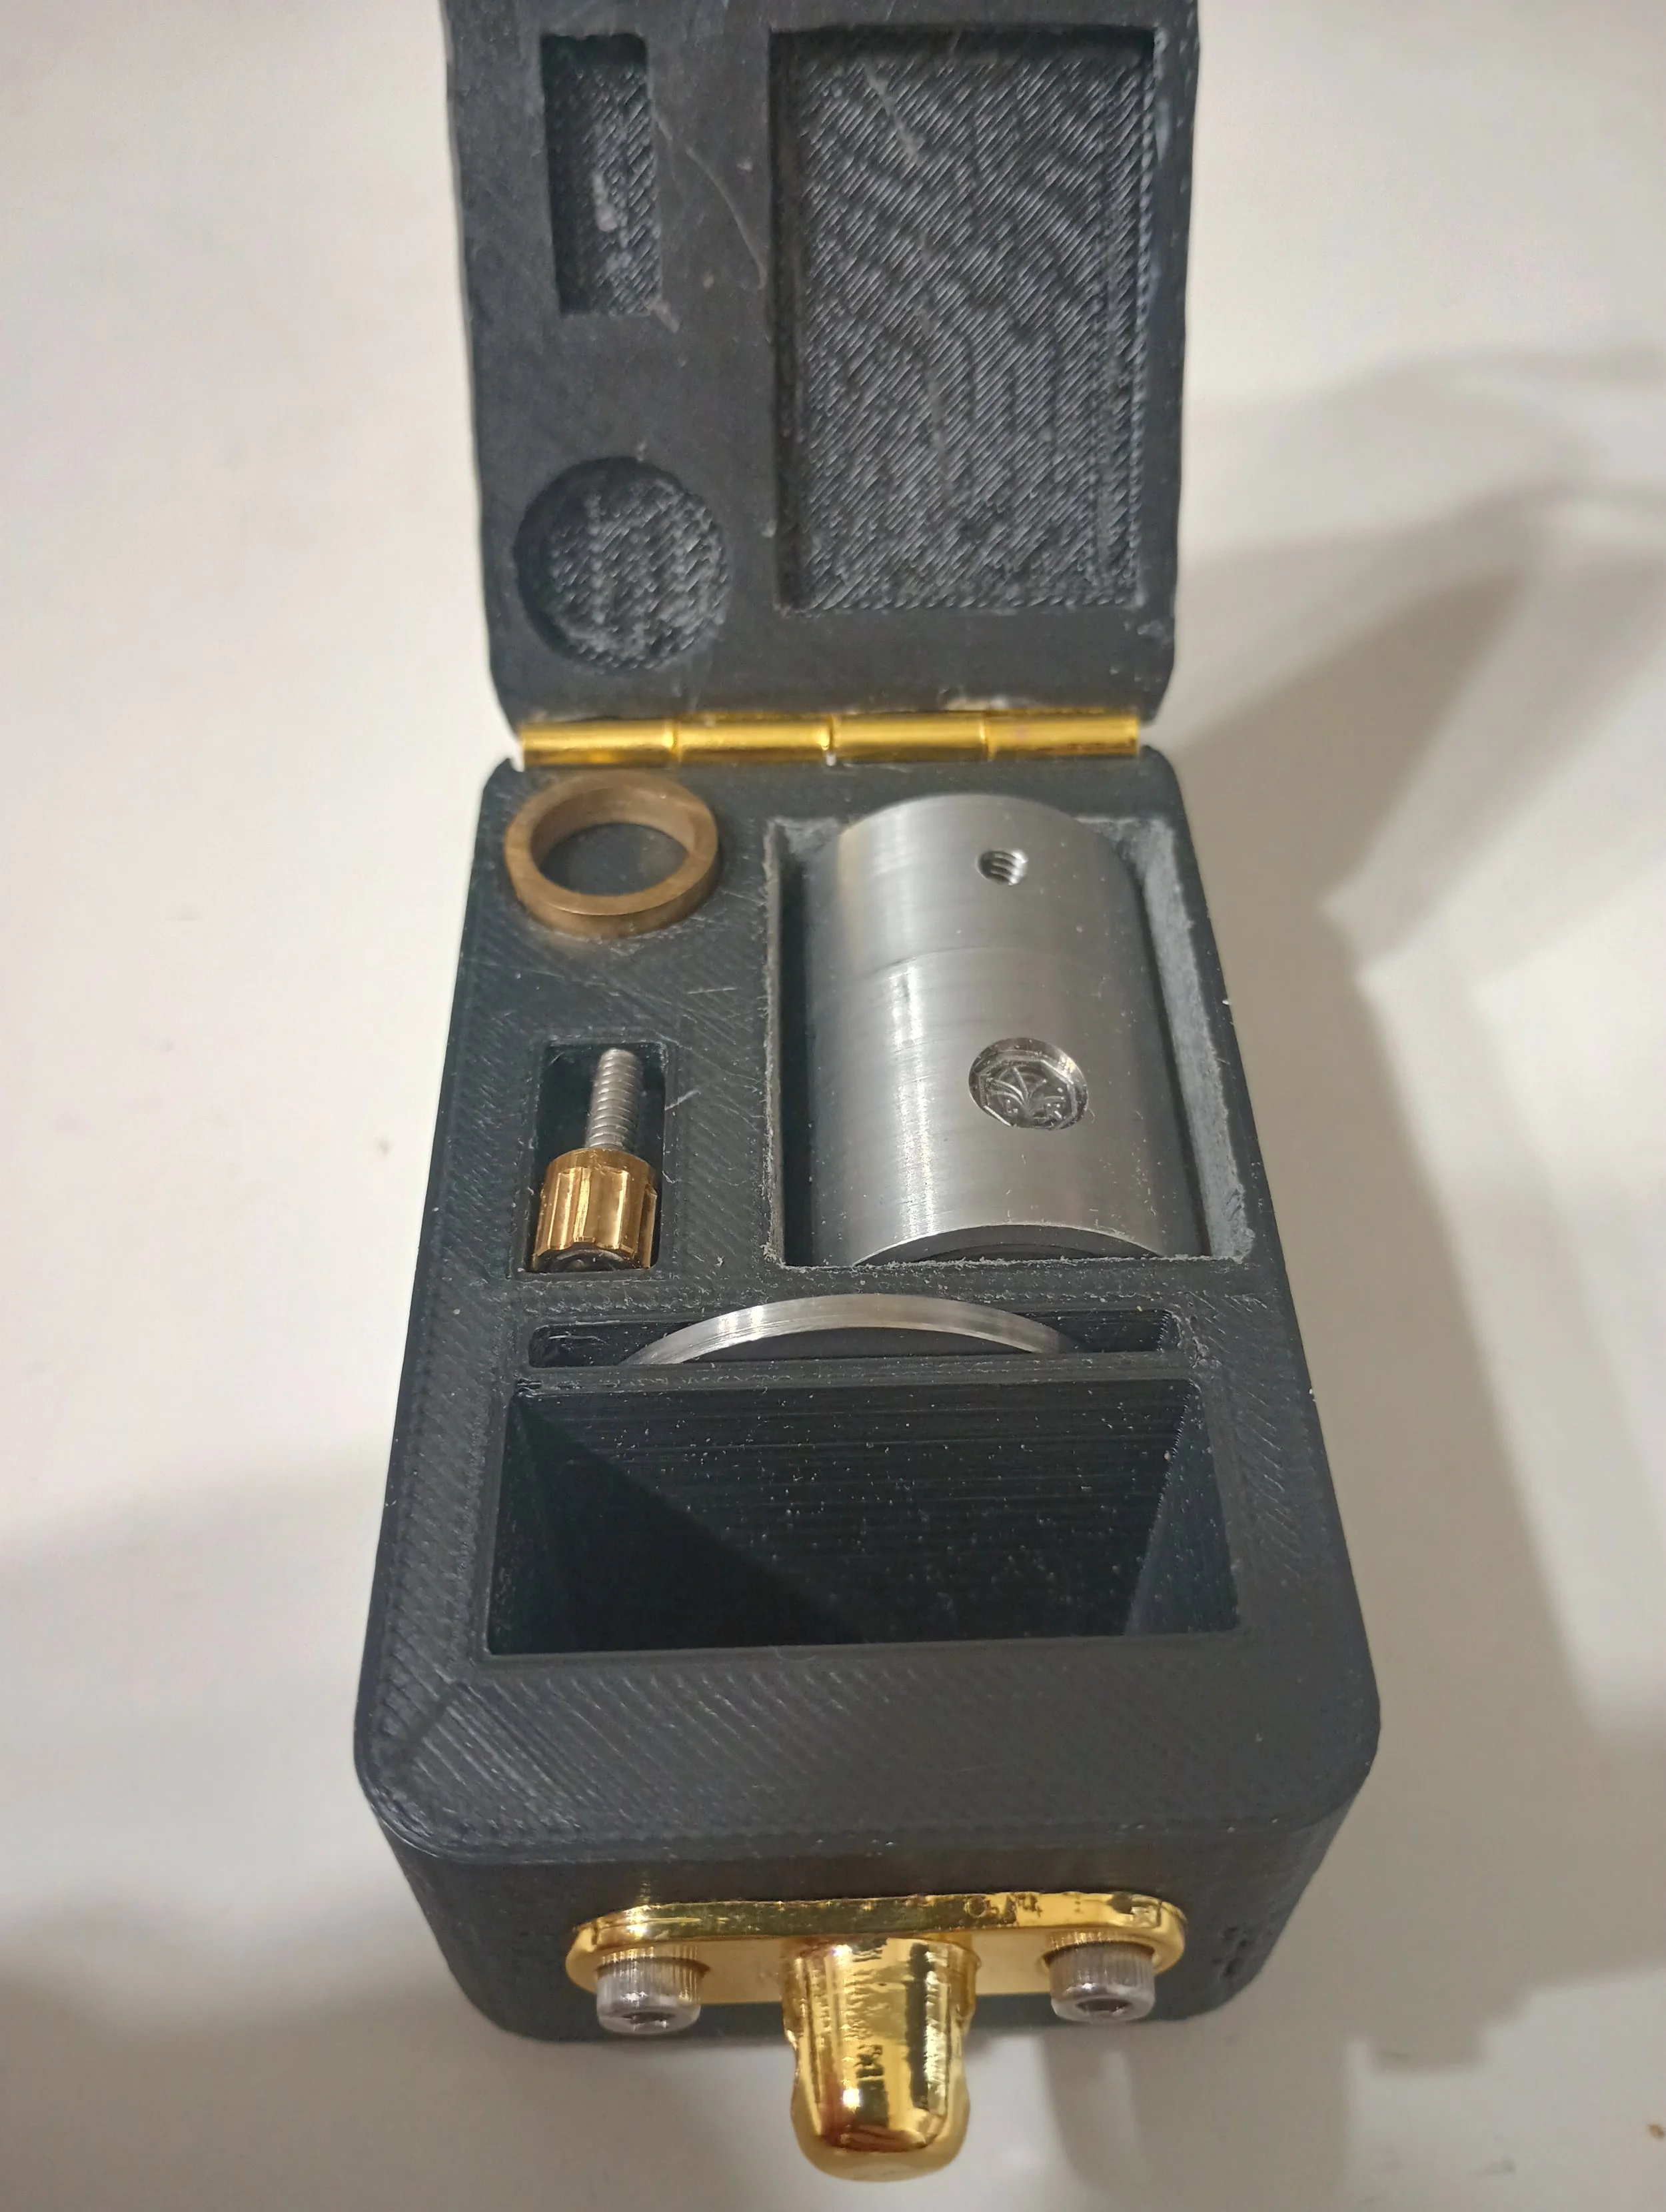
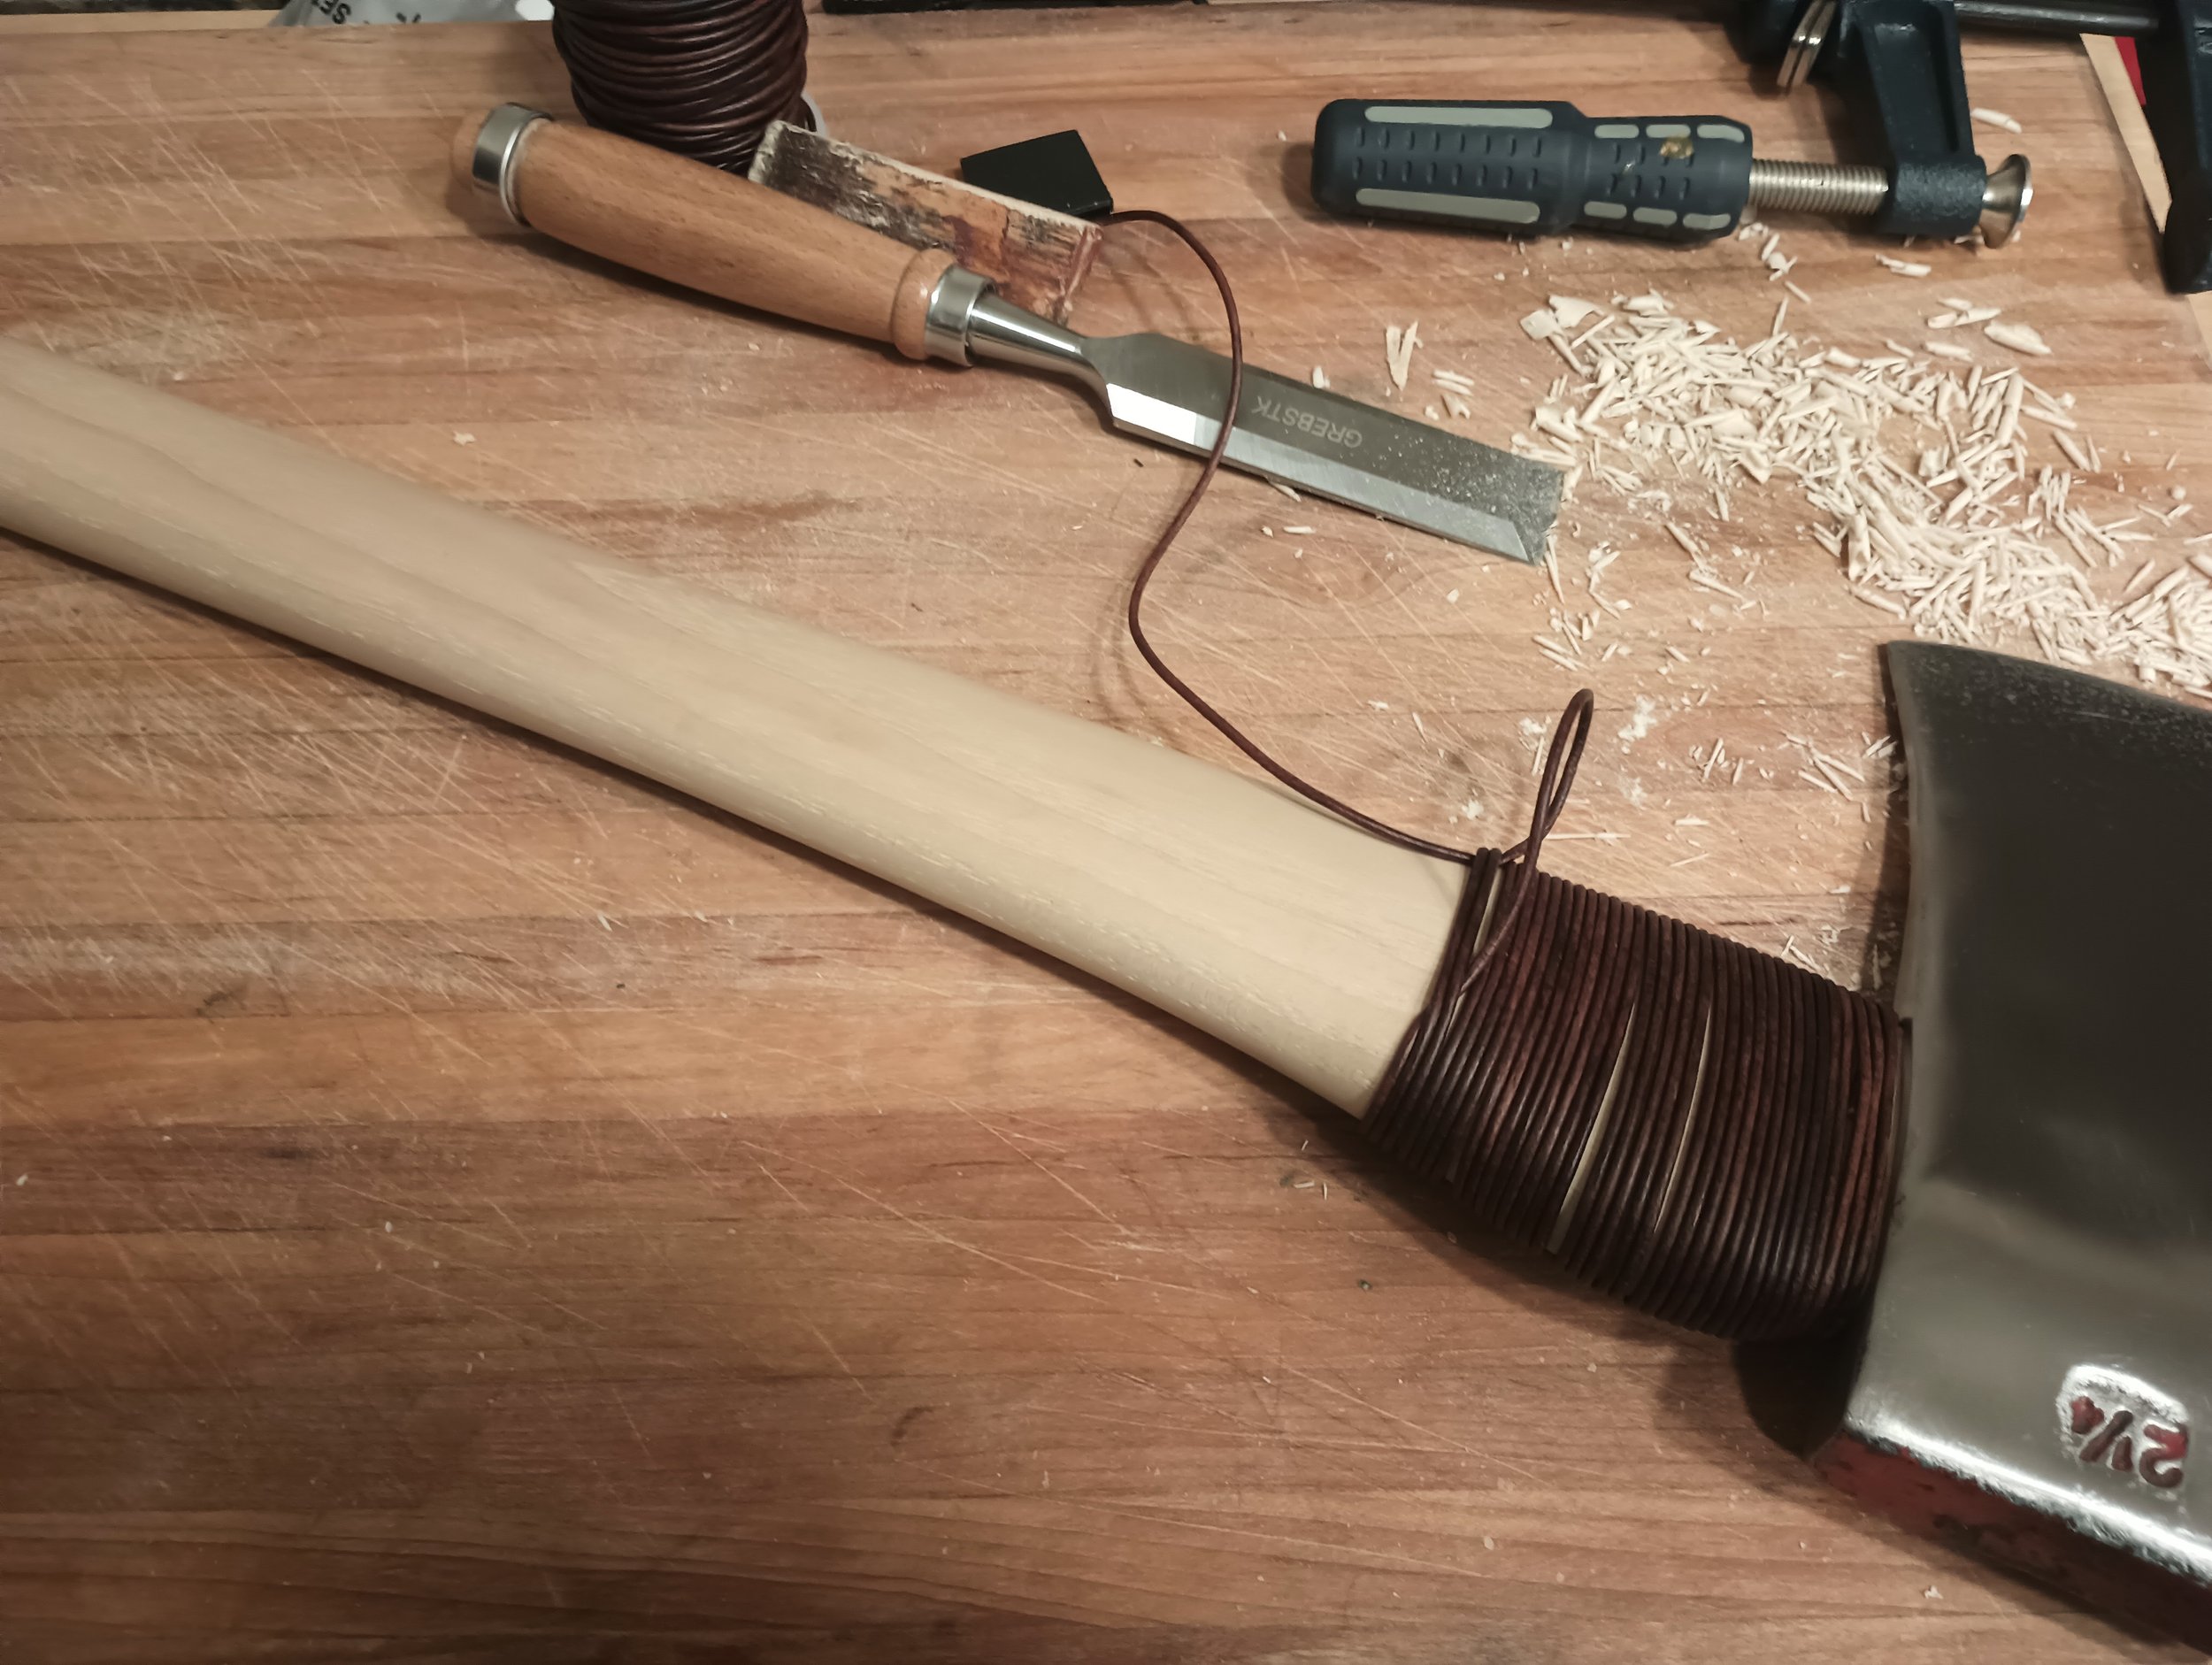
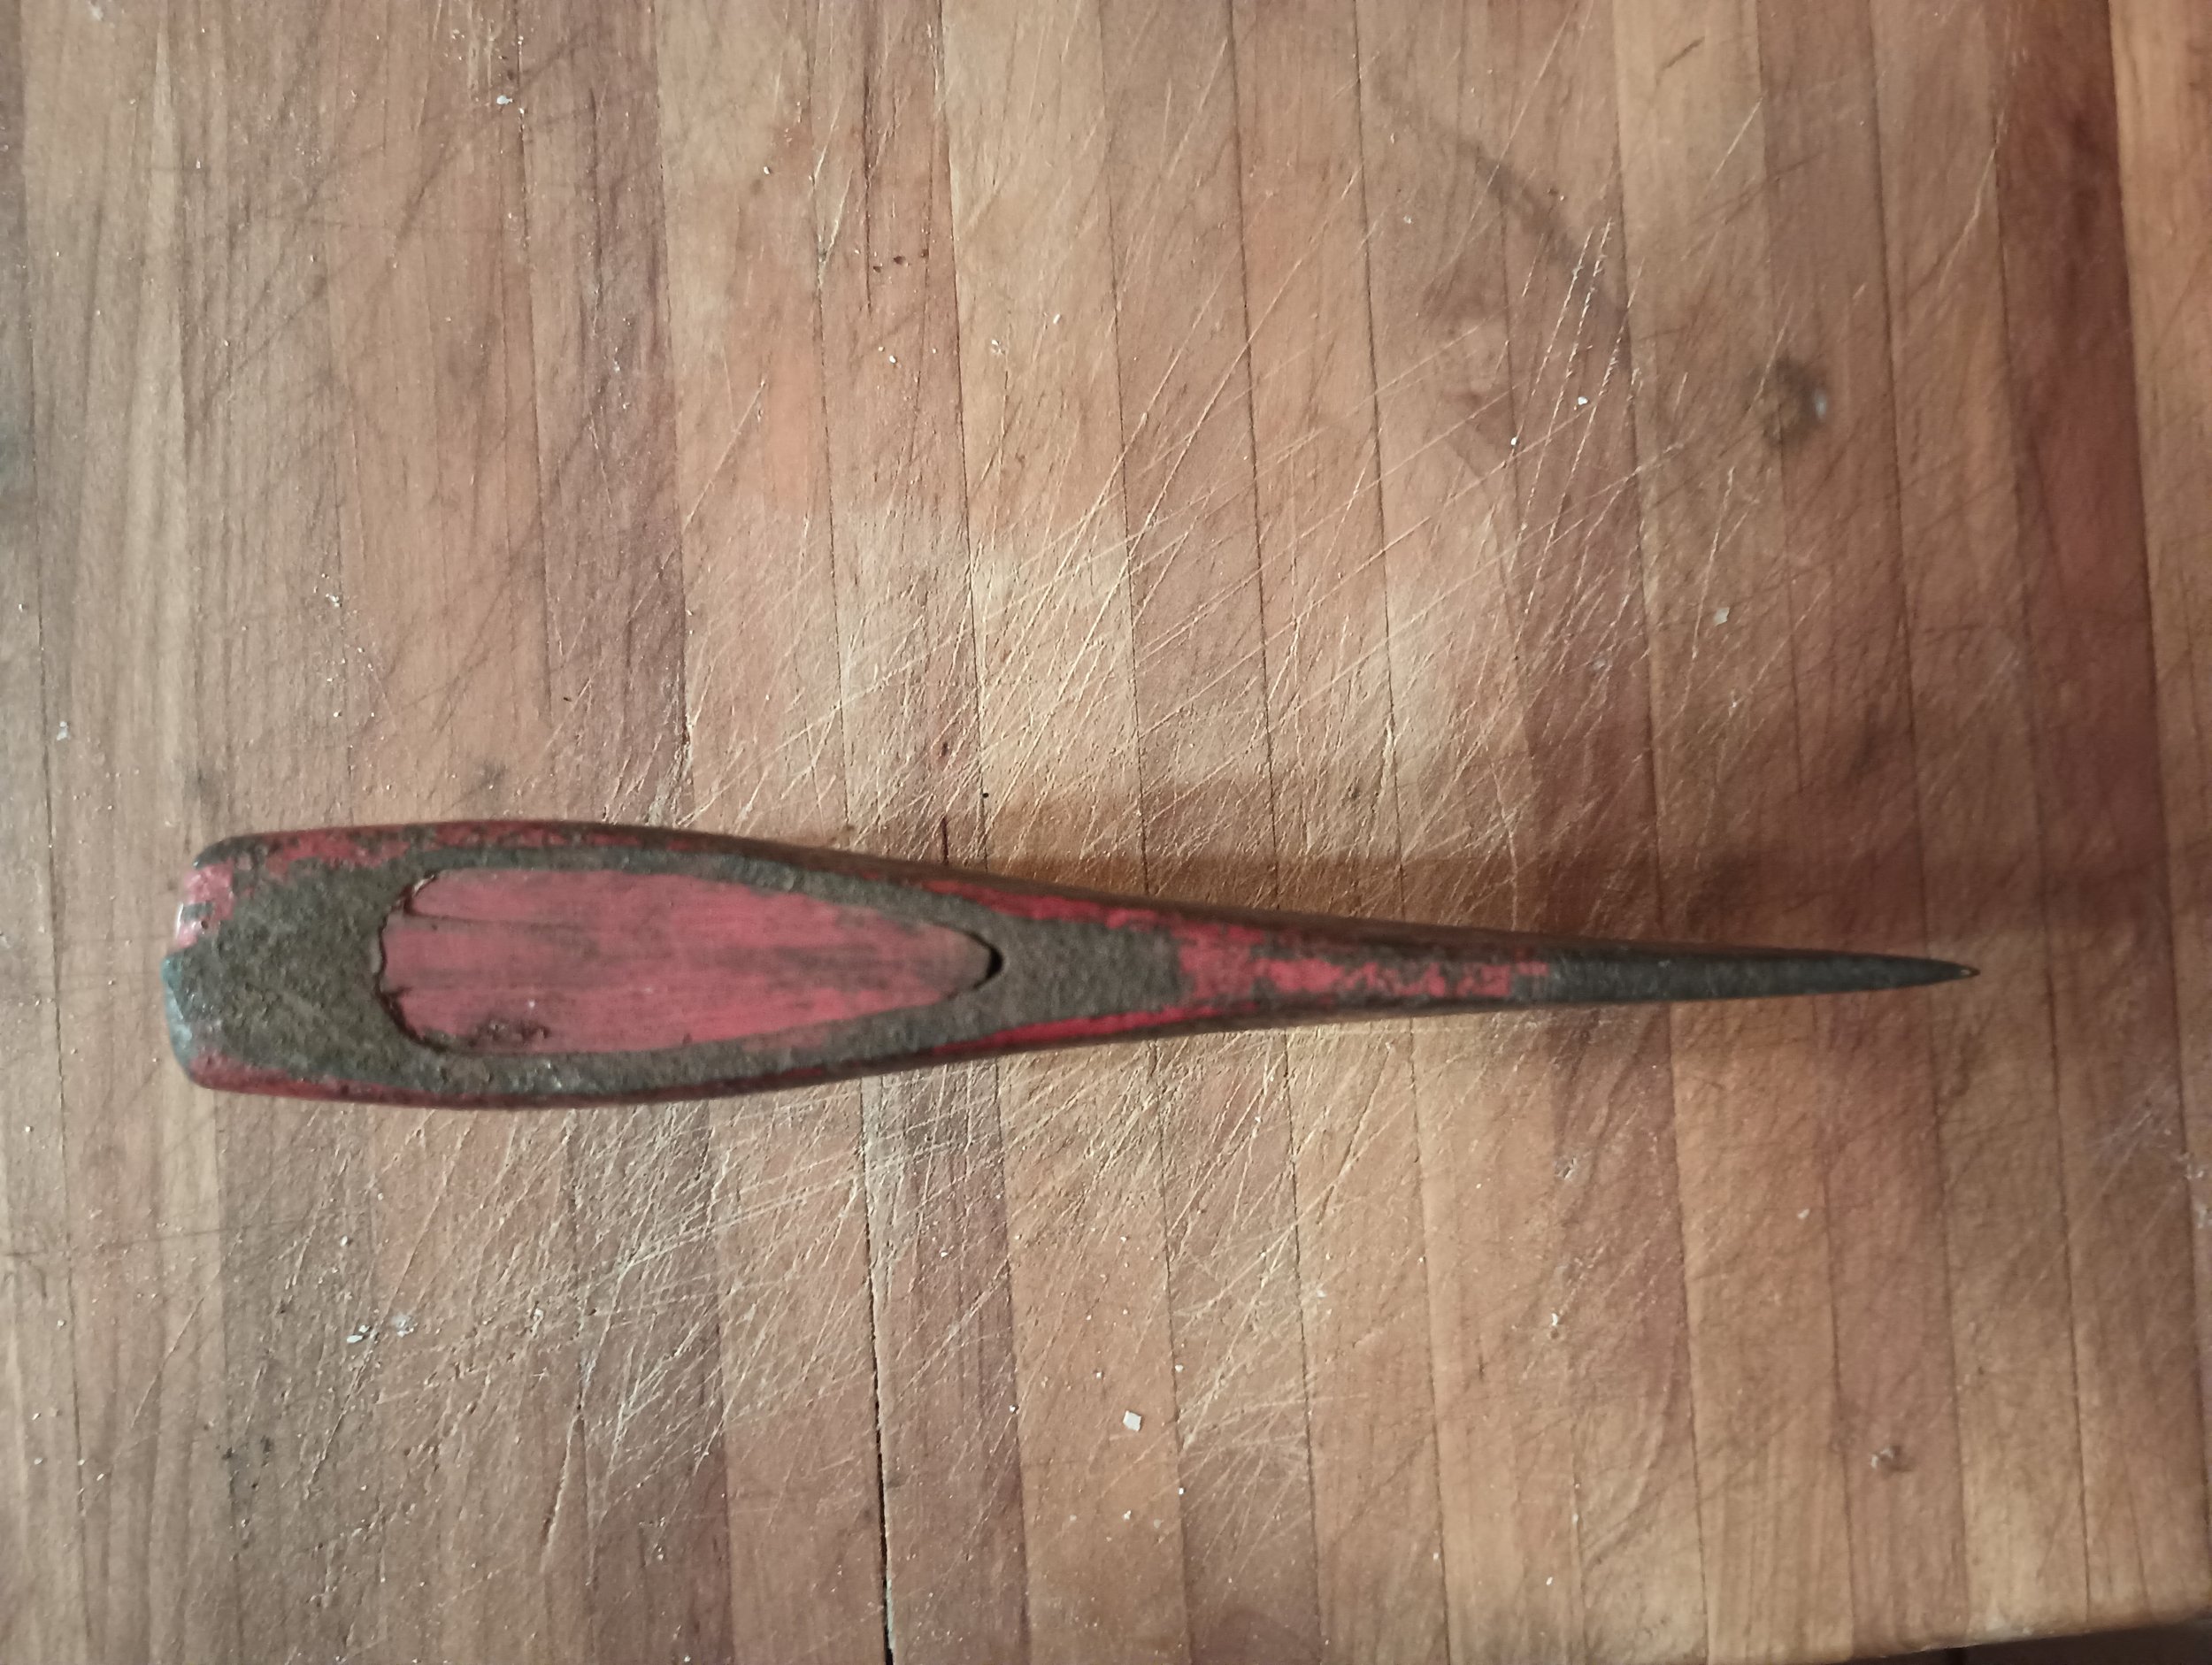
Here are a few of the parts I have made using this mini-pallet so far. For the most part all of these combine super glue fixturing with some number of toe clamps. This was the first of three tools in a sequence so, you may recognize some of these parts if you are scrolling backwards through the blog.


Was it Worth It:
Mini-Pallets are a tricky project, because they are quite a lot of fun to make, but they also fall into the category of “multi-purpose fixturing” which has been a traditional graveyard for hobby machinists. There are lots of mini-pallet builds floating around online, but with a few exceptions it is quite hard to tell if they ever see use. To that end, I’ll update this section in a few years to let you know whether the pallet got any use outside of the original few projects that were planned around it.
Design errors:
No project is perfect the first time around, here are a few things I would change if I were making the plate again.
Mounting Features: Using counter bores to hold the plate down was a mistake. It would have been better to put slots in the side for clamps, that way the whole surface can be prepared / glued outside of the machine. Side-slots would also have allowed more flexibility in terms of how the plate is angled and aligned during setups.
Material Choice: The tooling plate is a mixed bag. I think aluminum makes sense from a weight standpoint, but it has made the plate corners very delicate. If making this again I would likely switch to a harder alloy, and possibly add either chamfers or corner-rounds to prevent mushrooming.
Vise Holes: Drilling the two 1/4in locating holes for the vise attachment ahead of time didn’t really make sense. It would have been better to wait, and drill those as part of making the vise attachment itself.
Engraving Placement: The size and makers mark engraving should have been placed lower on the plate (to leave at least 3/8 clear on the top), at it’s current height it interferes with indicator sweeps unless they are done with care.