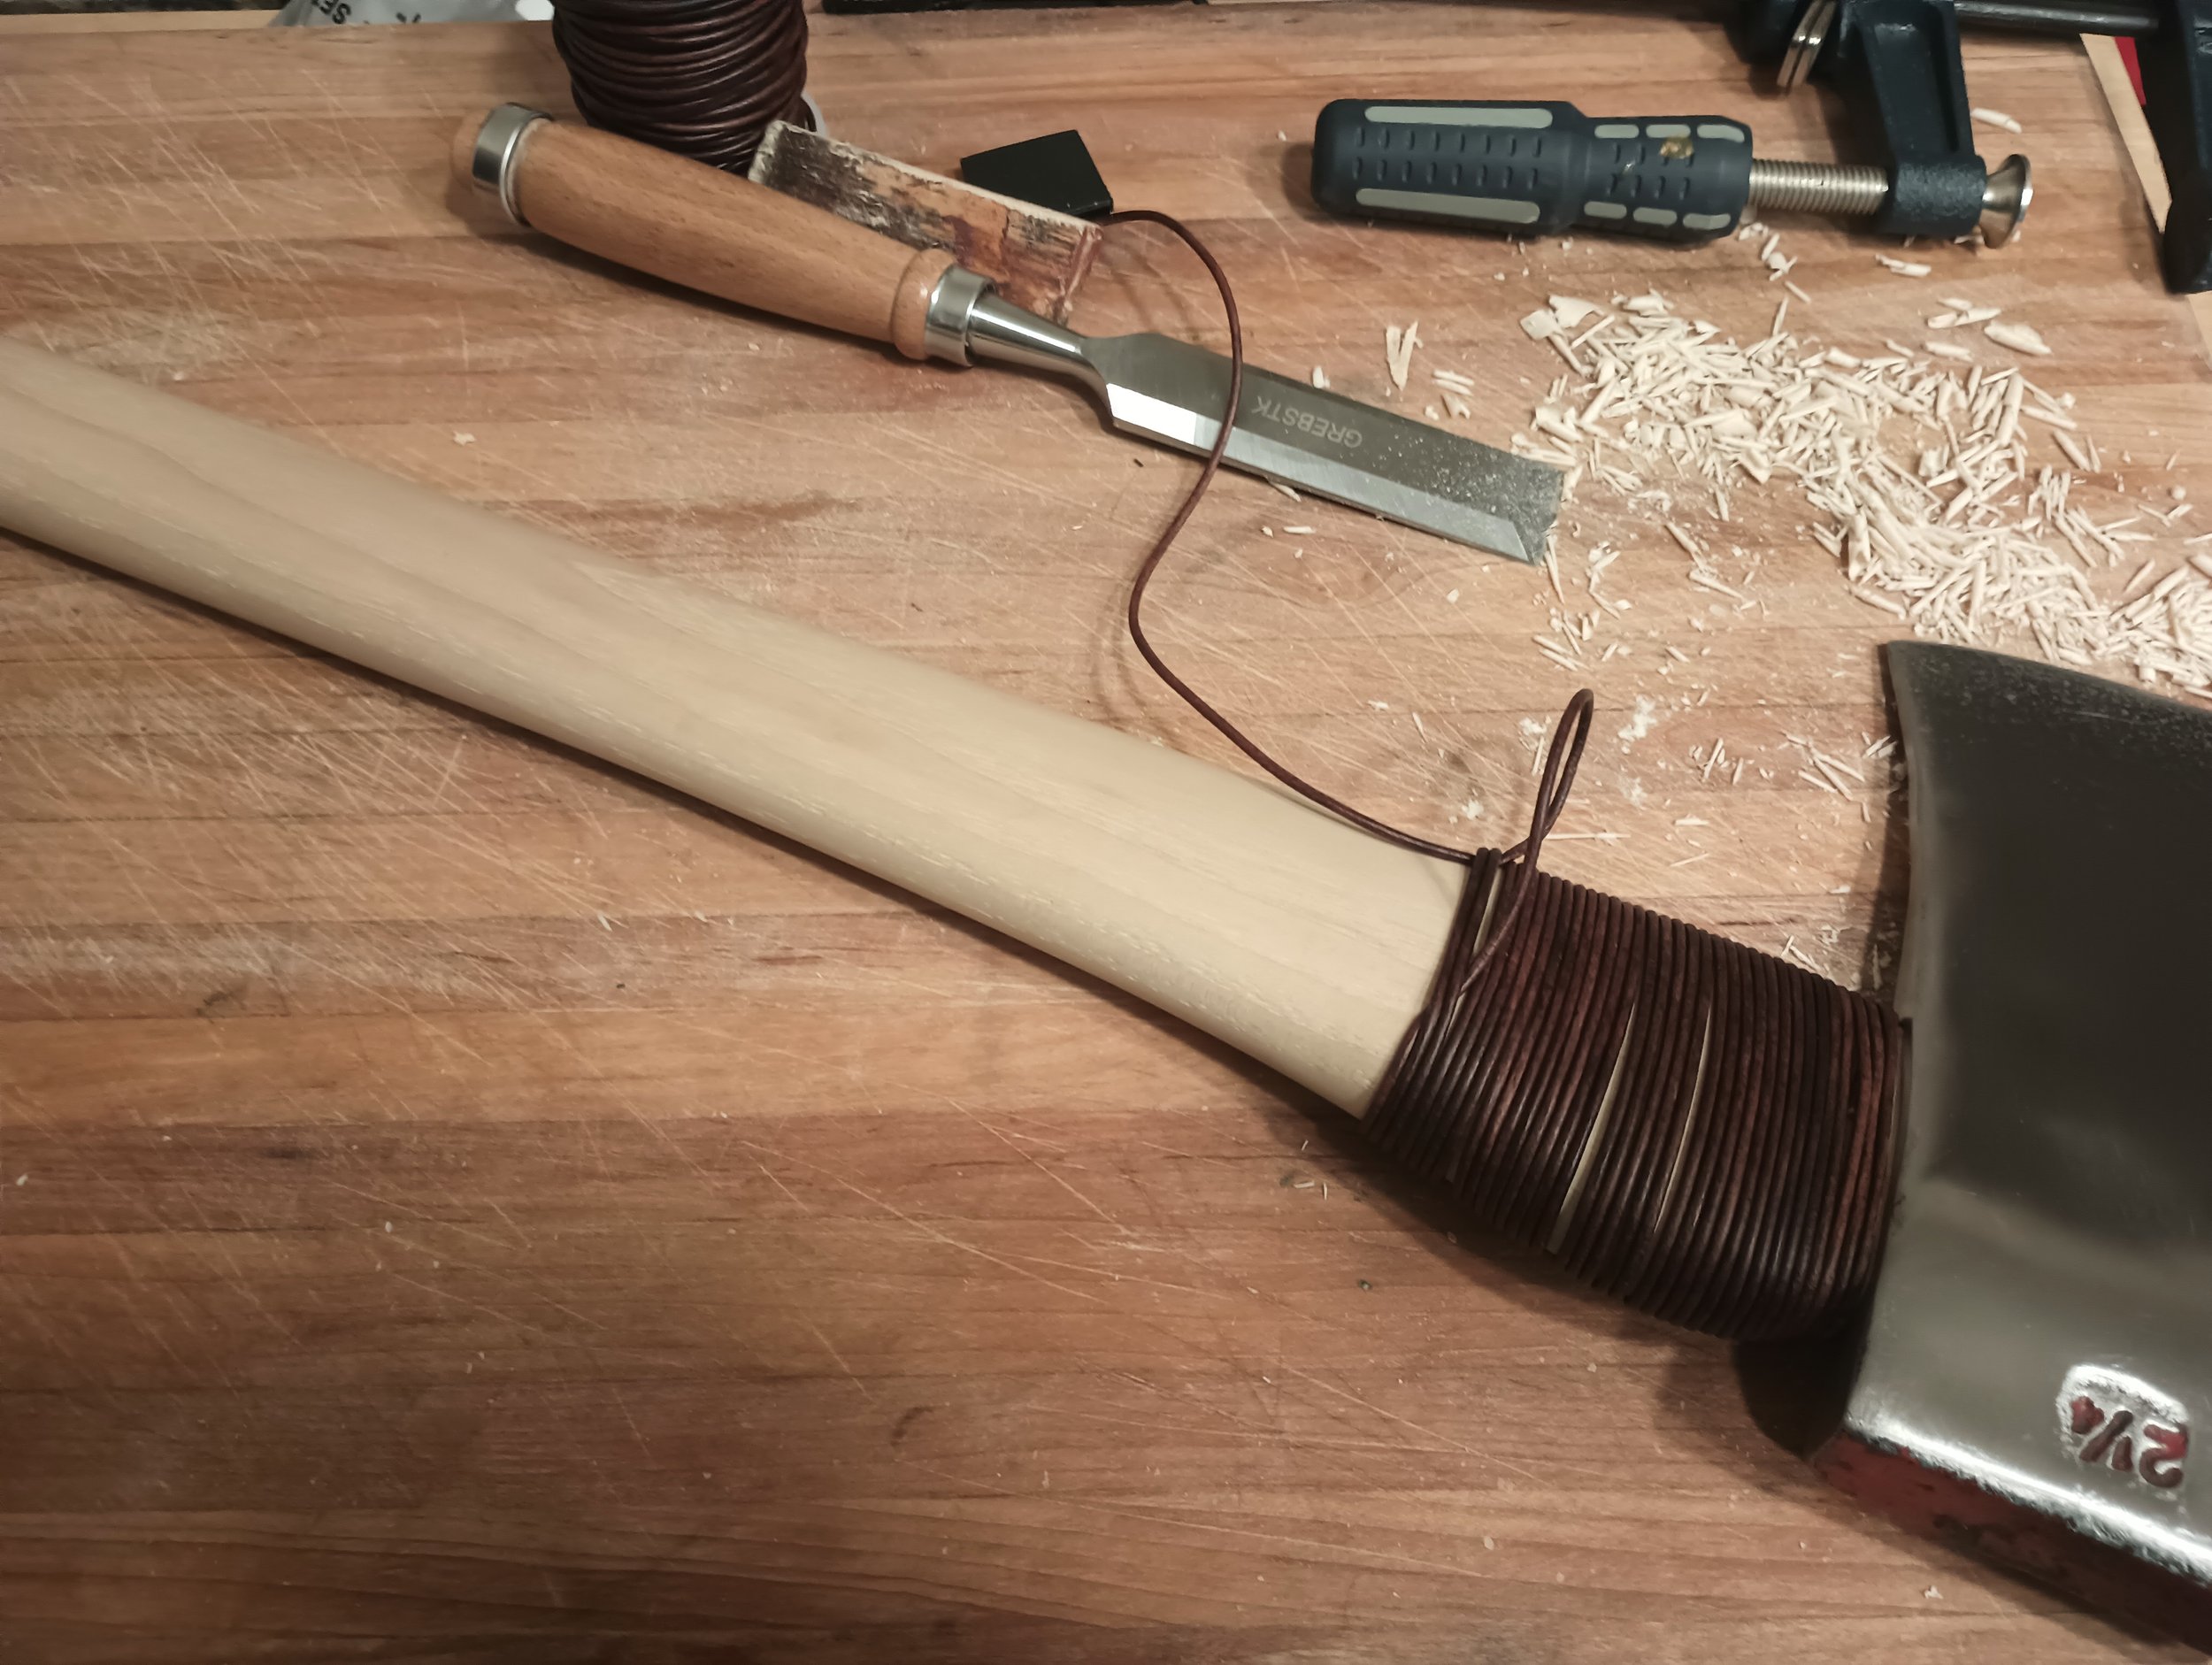
One thing I love about wood projects: You occasionally get very aesthetic looking work spaces.
Summary:
This is a 2.25lb, 28in boys axe that Emma and I made/restored for a friends wedding. The handle is American hickory from Whisky River Trading which is held onto the Council Tools head with a purple heart wedge. The over-strike protector is wound leather chord, and the base-plug is made of oak.
This was a fun project, and involved a lot more hand-work then most of pieces I make. In particular, this was my first exposure to chisel work and I found the process of properly sharpening and then using a chisel to be very meditative. I definitely plan to incorporate more hand tools into my woodworking going forward.
The process we followed is outlined below, and overall I am quite pleased with the results. One caviaut, if you are using this page as a reference, is that in some places our methods were quite slow.
Head Restoration:
We started this build with used, and somewhat rusty axe head from council tools. The first order of business was to to remove the rust and pitting. To do this we started out with a 36hr vinegar bath and then moved on to filing, flap-wheel sanding, hand sanding, and cloth-wheel polishing until we had a satin finish. I don’t have access to a belt grinder right now, so the rough sanding and polishing was done with the drill-chuck variants of those tools. On the whole I’d say the process worked well, but it was slow and we did not end up going for a mirror finish. For future restorations I would probably skip the filing (which created very deep scratches that were hard to remove) and start off directly with the rough-grit flap wheels.
The final finish was a 400 grit hand sand followed by a polishing with brown and white compounds. That produced a nice smooth satin finish that hid the remaining deep scratches well. I’d definitely go that route again.
Hanging The Axe:
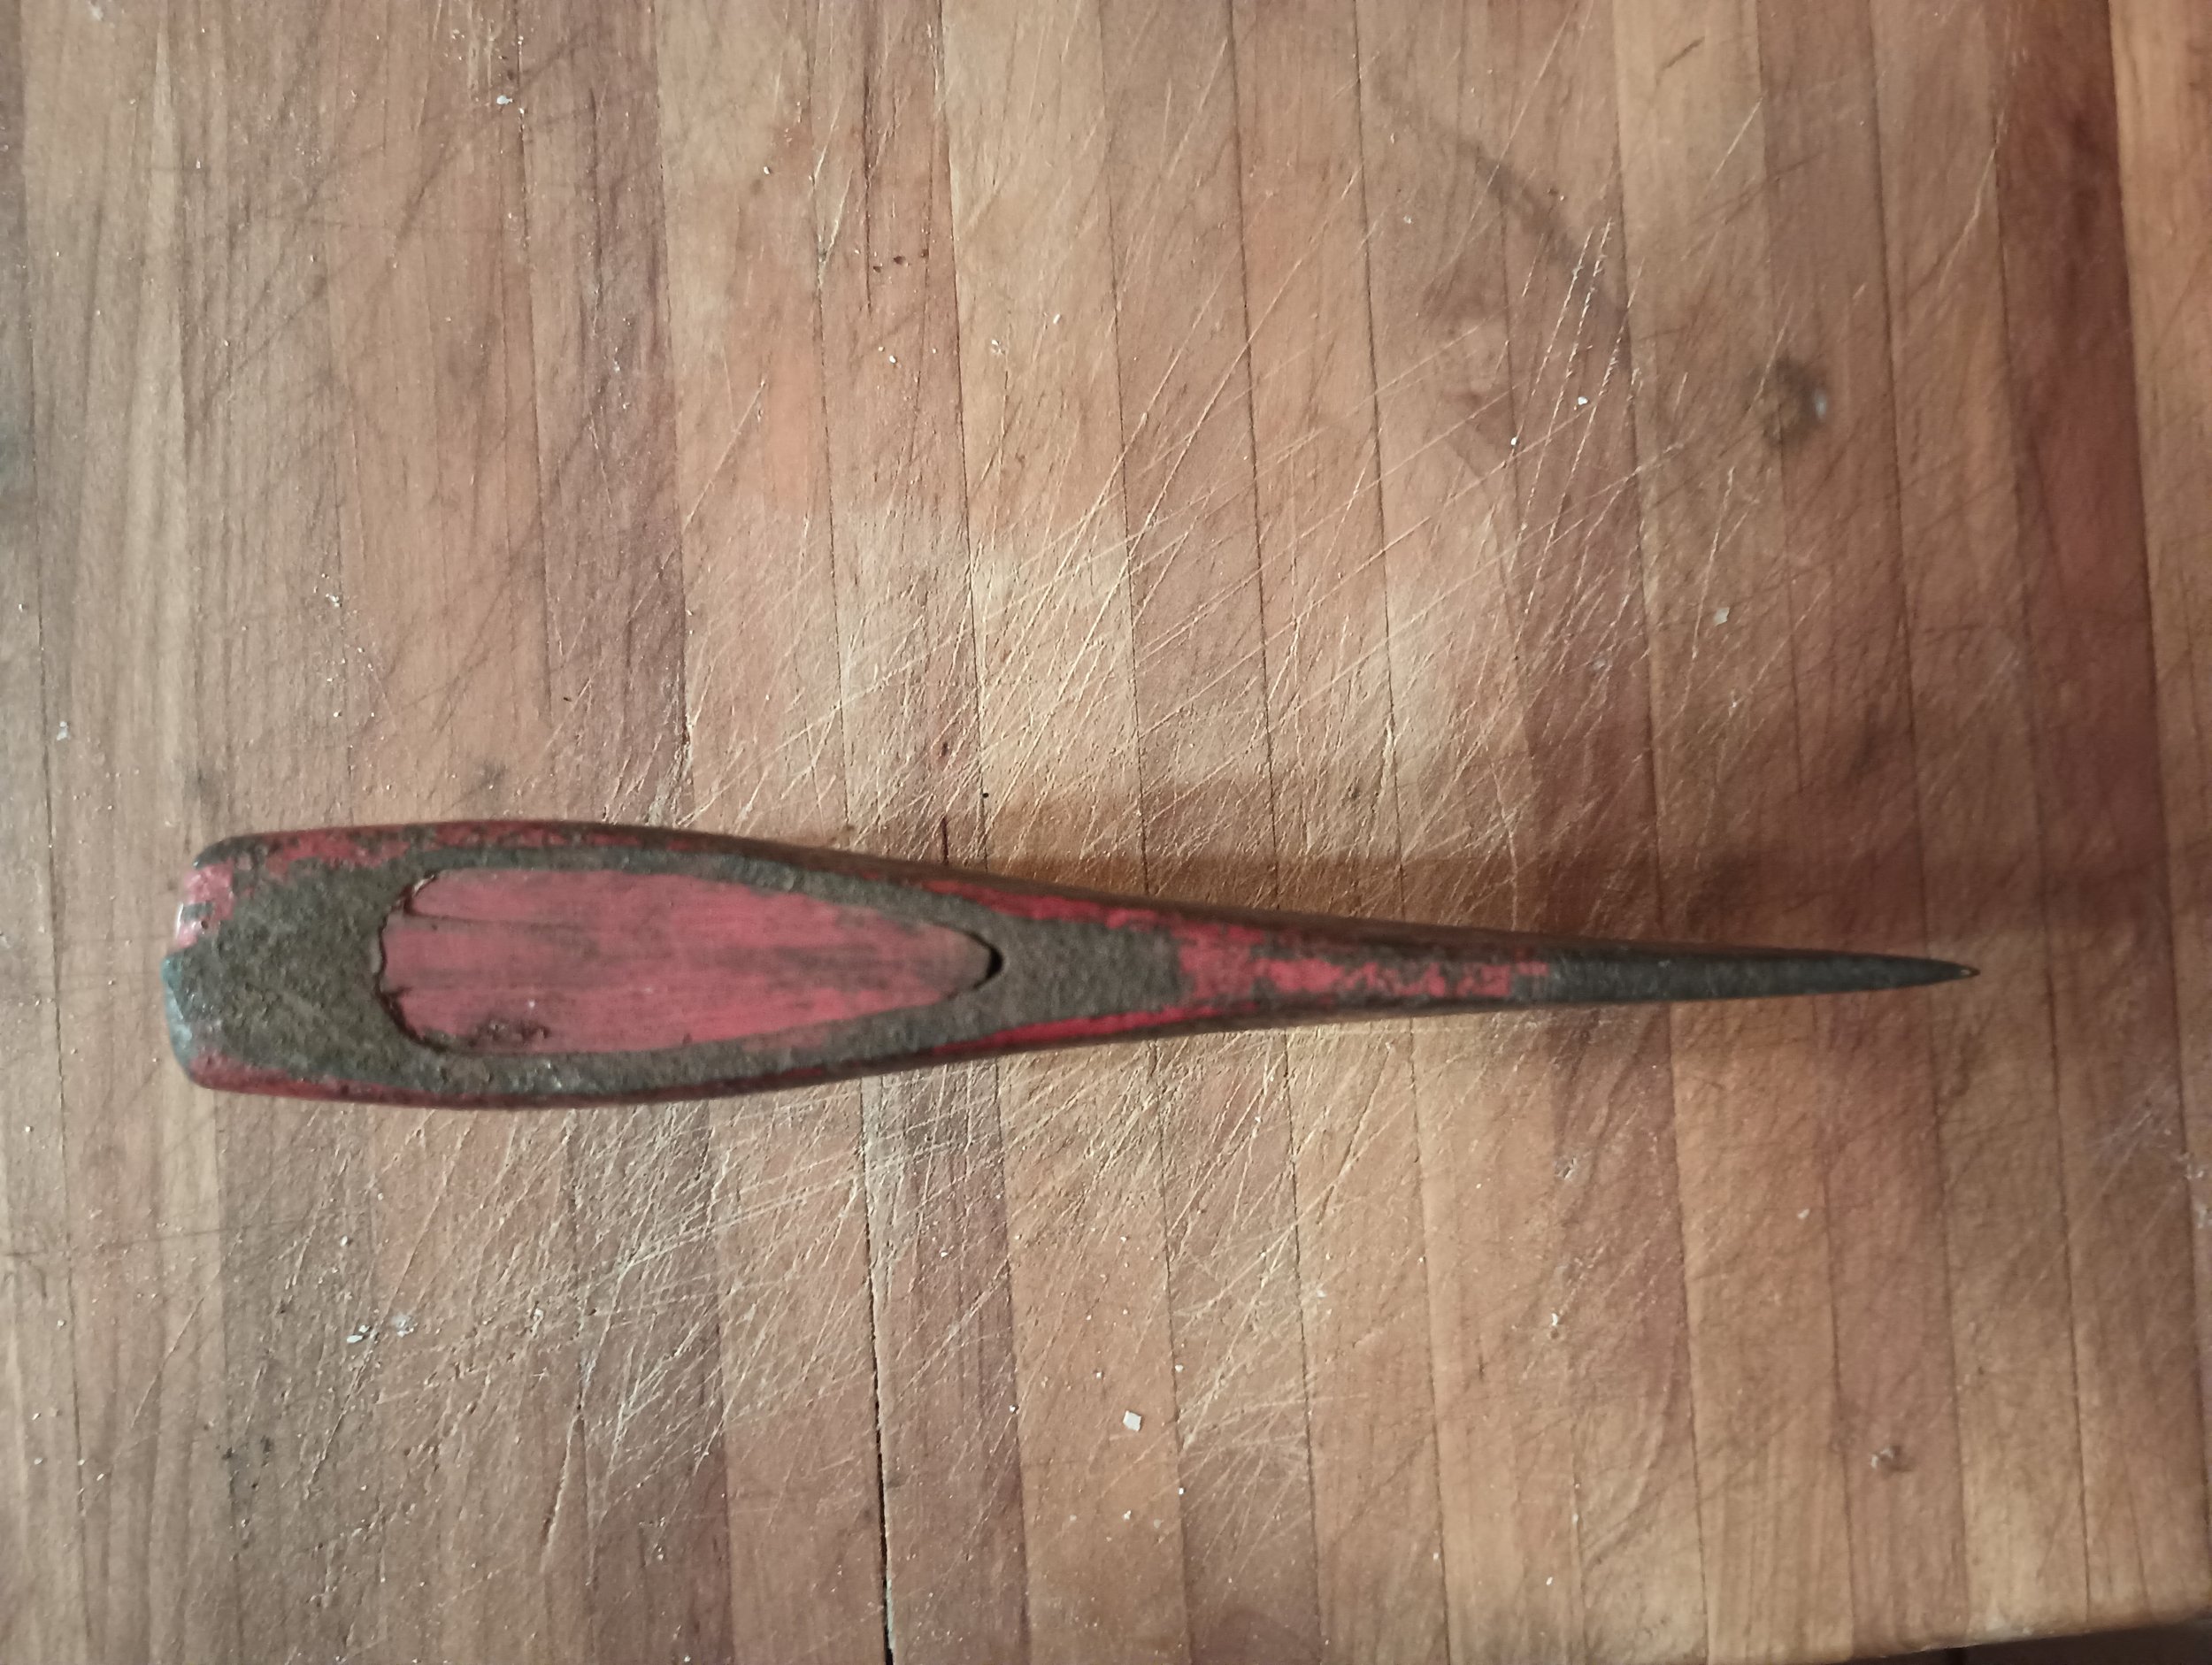
If there is one part of this process where I feel we miss-stepped, it would be hanging the heft. We started with a pre-shaped handle blank from Whisky River, which we then shaped to match the axe head. The wedge is purple heart, and was carved down to have full contact when inserted, and then glued. We finished at 220 grit and used raw linsead oil as the finish, applied once a day for a week. Overall I feel like the results were good but the methods could use work. Quite a lot of the shaping ended up being done with either a pocket knife or a chisel, and lets just say a spokeshave has been added to my projects list…
Chord Wrap:
Leather chord wrapped over-strike protector.
To make the over-strike protector we used a chord-wrap style common in the paracord community* that uses a loop of material (placed before wrapping begins) to draw the end back up under the wrap. This locks both loose ends under the wrap itself, and creates a structure that holds without adhesives. I have not seen it used for leather, but so far it is working well. The steps involved are outlined below.
Create a loop with one end of the chord and lay it along the handle (should be as long or longer than your intended wrap length.
Begin wrapping tightly from the top, this should lock the loop (and one end) in place.
Once the wrap has reached a desired length, place the lower end through the protruding loop and cut the end to have a few inches of margin.
Pull on the top end to retract the loop (and bottom tail) underneath the wrap. Once the bottom side is securely under the wrap both ends can be cut and tucked away to get them out of sight.
Reference Video: https://www.youtube.com/watch?v=aEZKJduGUW4
*It’s totally a thing, and they do lots of really cool stuff.


