It lives! The past few days have been a tiny bit hectic, but the main power and signal wiring for the system is now fully installed and operational. We still have a lot to do on the system control and safety certification elements, but for now the lights are up and running with a temporary controller (linked in the project page) and the final power supply.
Layout:
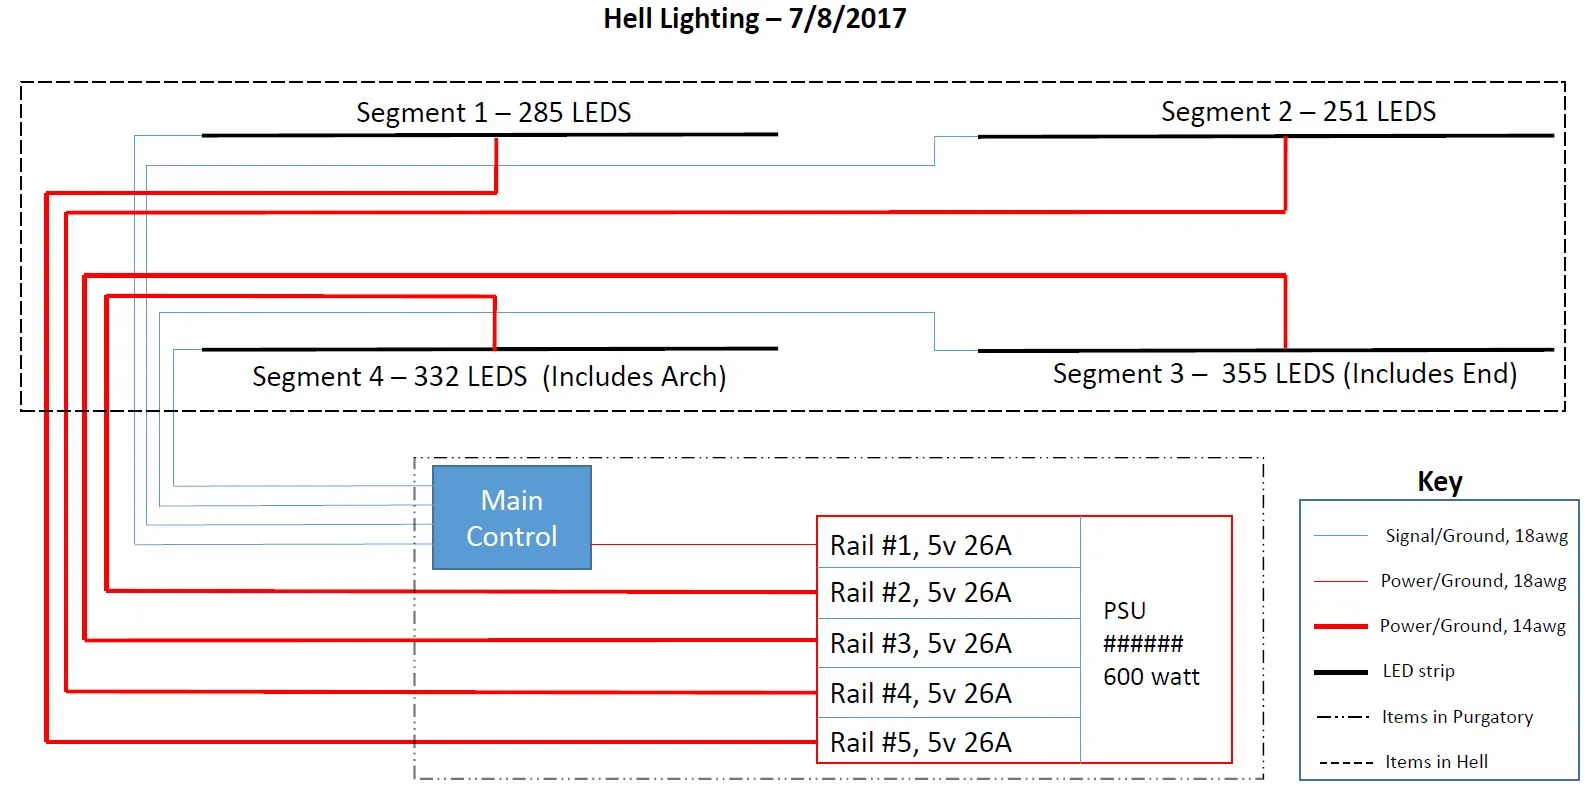
Hell lighting V2 is composed of four sections, each containing approximately 300 LEDs. Each section is powered by a single 5V 26A rail of the main Cosel ACE650F modular power supply. The control unit runs off the final 5v rail of the power supply, though it can be moved to one of the main lighting rails if we make the decision to add a 5th lighting section in purgatory. Power for the four LED sections runs through 14 gauge UL 1316/1452 THHN black copper wire in twisted pairs. While the control unit is powered off of similarly rated 18 gauge black wire wire. Power for each section is provided at a single point in the center of that section. We have found this to be sufficient, in practice, to prevent visible color aberration under normal use. Additionally, each power supply rail has been seperately adjusted to ensure a steady 5v at the point of use.
Signal for each section is provided to the start of that section through an 18 guage ground-data twisted pair. This means that all rails share a common ground, and that arduino ground is the nearest thing to a system wide reference voltage as can be found. Note, that like the power wiring, all data wires are black. My suggestion is to use a 1.5v battery and multi-meter to identify which wire is which at both ends should it ever become necessary to make adjustments. For additional calrification, please refere to the diagram provided or feel free to get in touch.
Mounting:

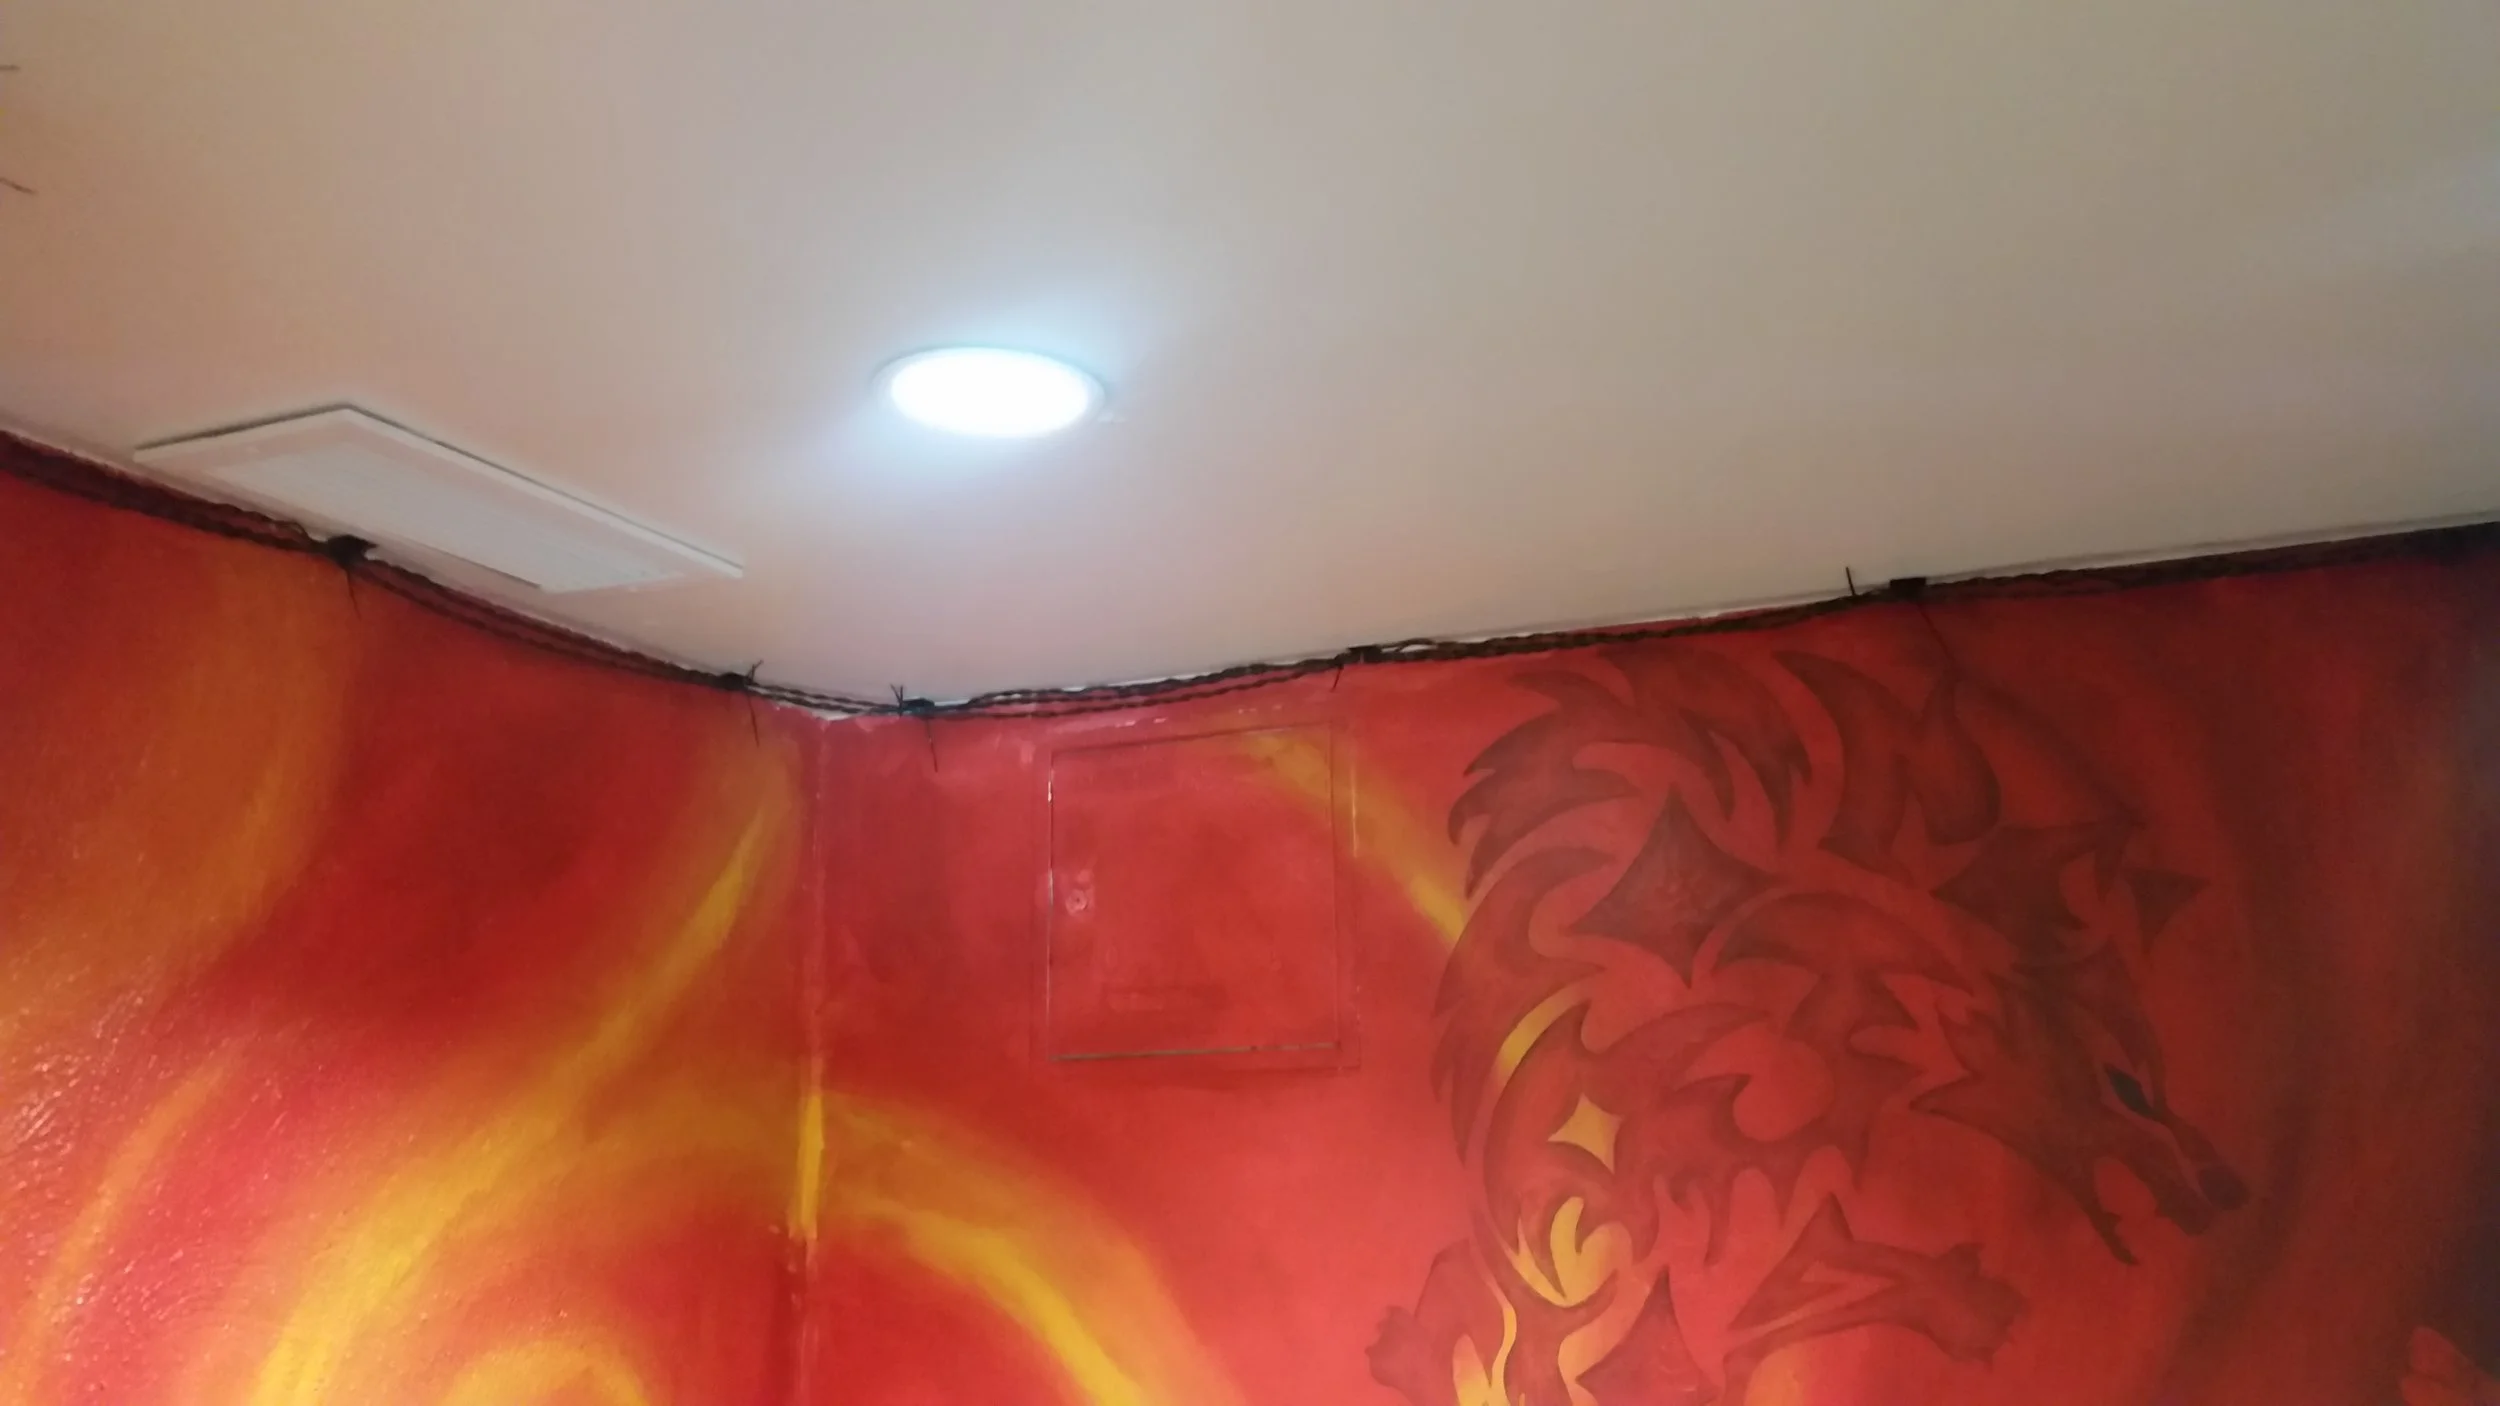
Power/Signal bundle mid-hell. Note the spacing to ensure LEDs are vissable
After our disastrous attempt to use nails frosh year, we decided to zip tie mounts and zip ties to hold the wires up this time around*. For aesthetic reasons, we decided to keep the wires, zip ties, mounts, and heat shrink black to match the LED strips. One thing to note is that most of the black zip tie mounts sold on amazon are of very poor quality. We had much better luck spray painting good quality white mounts black.
Above the purgatory couch, Internal corners like that should be put up carefully
To keep the process simple, we routed each twisted pair one at a time. Doing it this way involved a lot of wasted zip ties (even being careful to re-use them when possible), but meant that only one person was needed to make progress on the system. Unless you are heavily restricted in terms of your zip-tie use I would strongly suggest a similar approach.
We spaced out zip tie mounts about one every 2.5ft, with double mounts at every corner. That spacing was hugely overkill in terms of weight, but just about right in terms of preventing the mounts from getting pulled off over time. We also cleaned the wall with a dilute acetone solution where possible, although I have no data to support this as an effective practice.

Entrance to purgatory, the E-Stop line has not yet been connected.
It probably goes without saying, but it is very important that signal/ground pairs be twisted tightly to minimize interference from the signal lines (which will generate some noise whenever the LED colors, and thus power use, change). This can be done by hand, but is much easier with the aid of a hand drill. Cut lengths to 120% of final to deal with shrinkage.
* Safety has suggested that they may want us to encase our wiring in conduit (which would be fantastic, that would make the system much more permanent), so this may end up being a temporary setup.
Tips: Although the adhesive strips that hold up the zip tie anchor perform very well in tension they tend to peel and fail in shear. We found that as a result it really helps to put 2 or more anchors on every corner to help take the stress.