Story:
I have always wanted to work on the interhouse stairs, and when stairs team ran into personnel issues (through no fault of their own) I got a wonderful chance to put together our front staircase on the night of the final safety inspection. The experience itself was rather surreal - the only other person avaliable to help had never worked on stairs either, but ultimatly succesful.

Documentation:
To hopefully make he build process a bit faster next year, included below, is my solidworks model of the staircase we actually ended up building. As of now, the only significant design change I would make, would be to use three stringers in place of the two stringers and the 4x4 supports. Although the latter option is stronger, and marginally cheaper using pre-made stringers, it is also much slower to build and significantly less elegant than the three-stringer build.
Purchasing Note:
The home depot in Pasadena has expressed a willingness to loan us stringers for tracing as long as we also purchase the wood we use in the final project from them. Since we buy all of our wood from them regardless, that seems worth pursuing.
3d printed model:

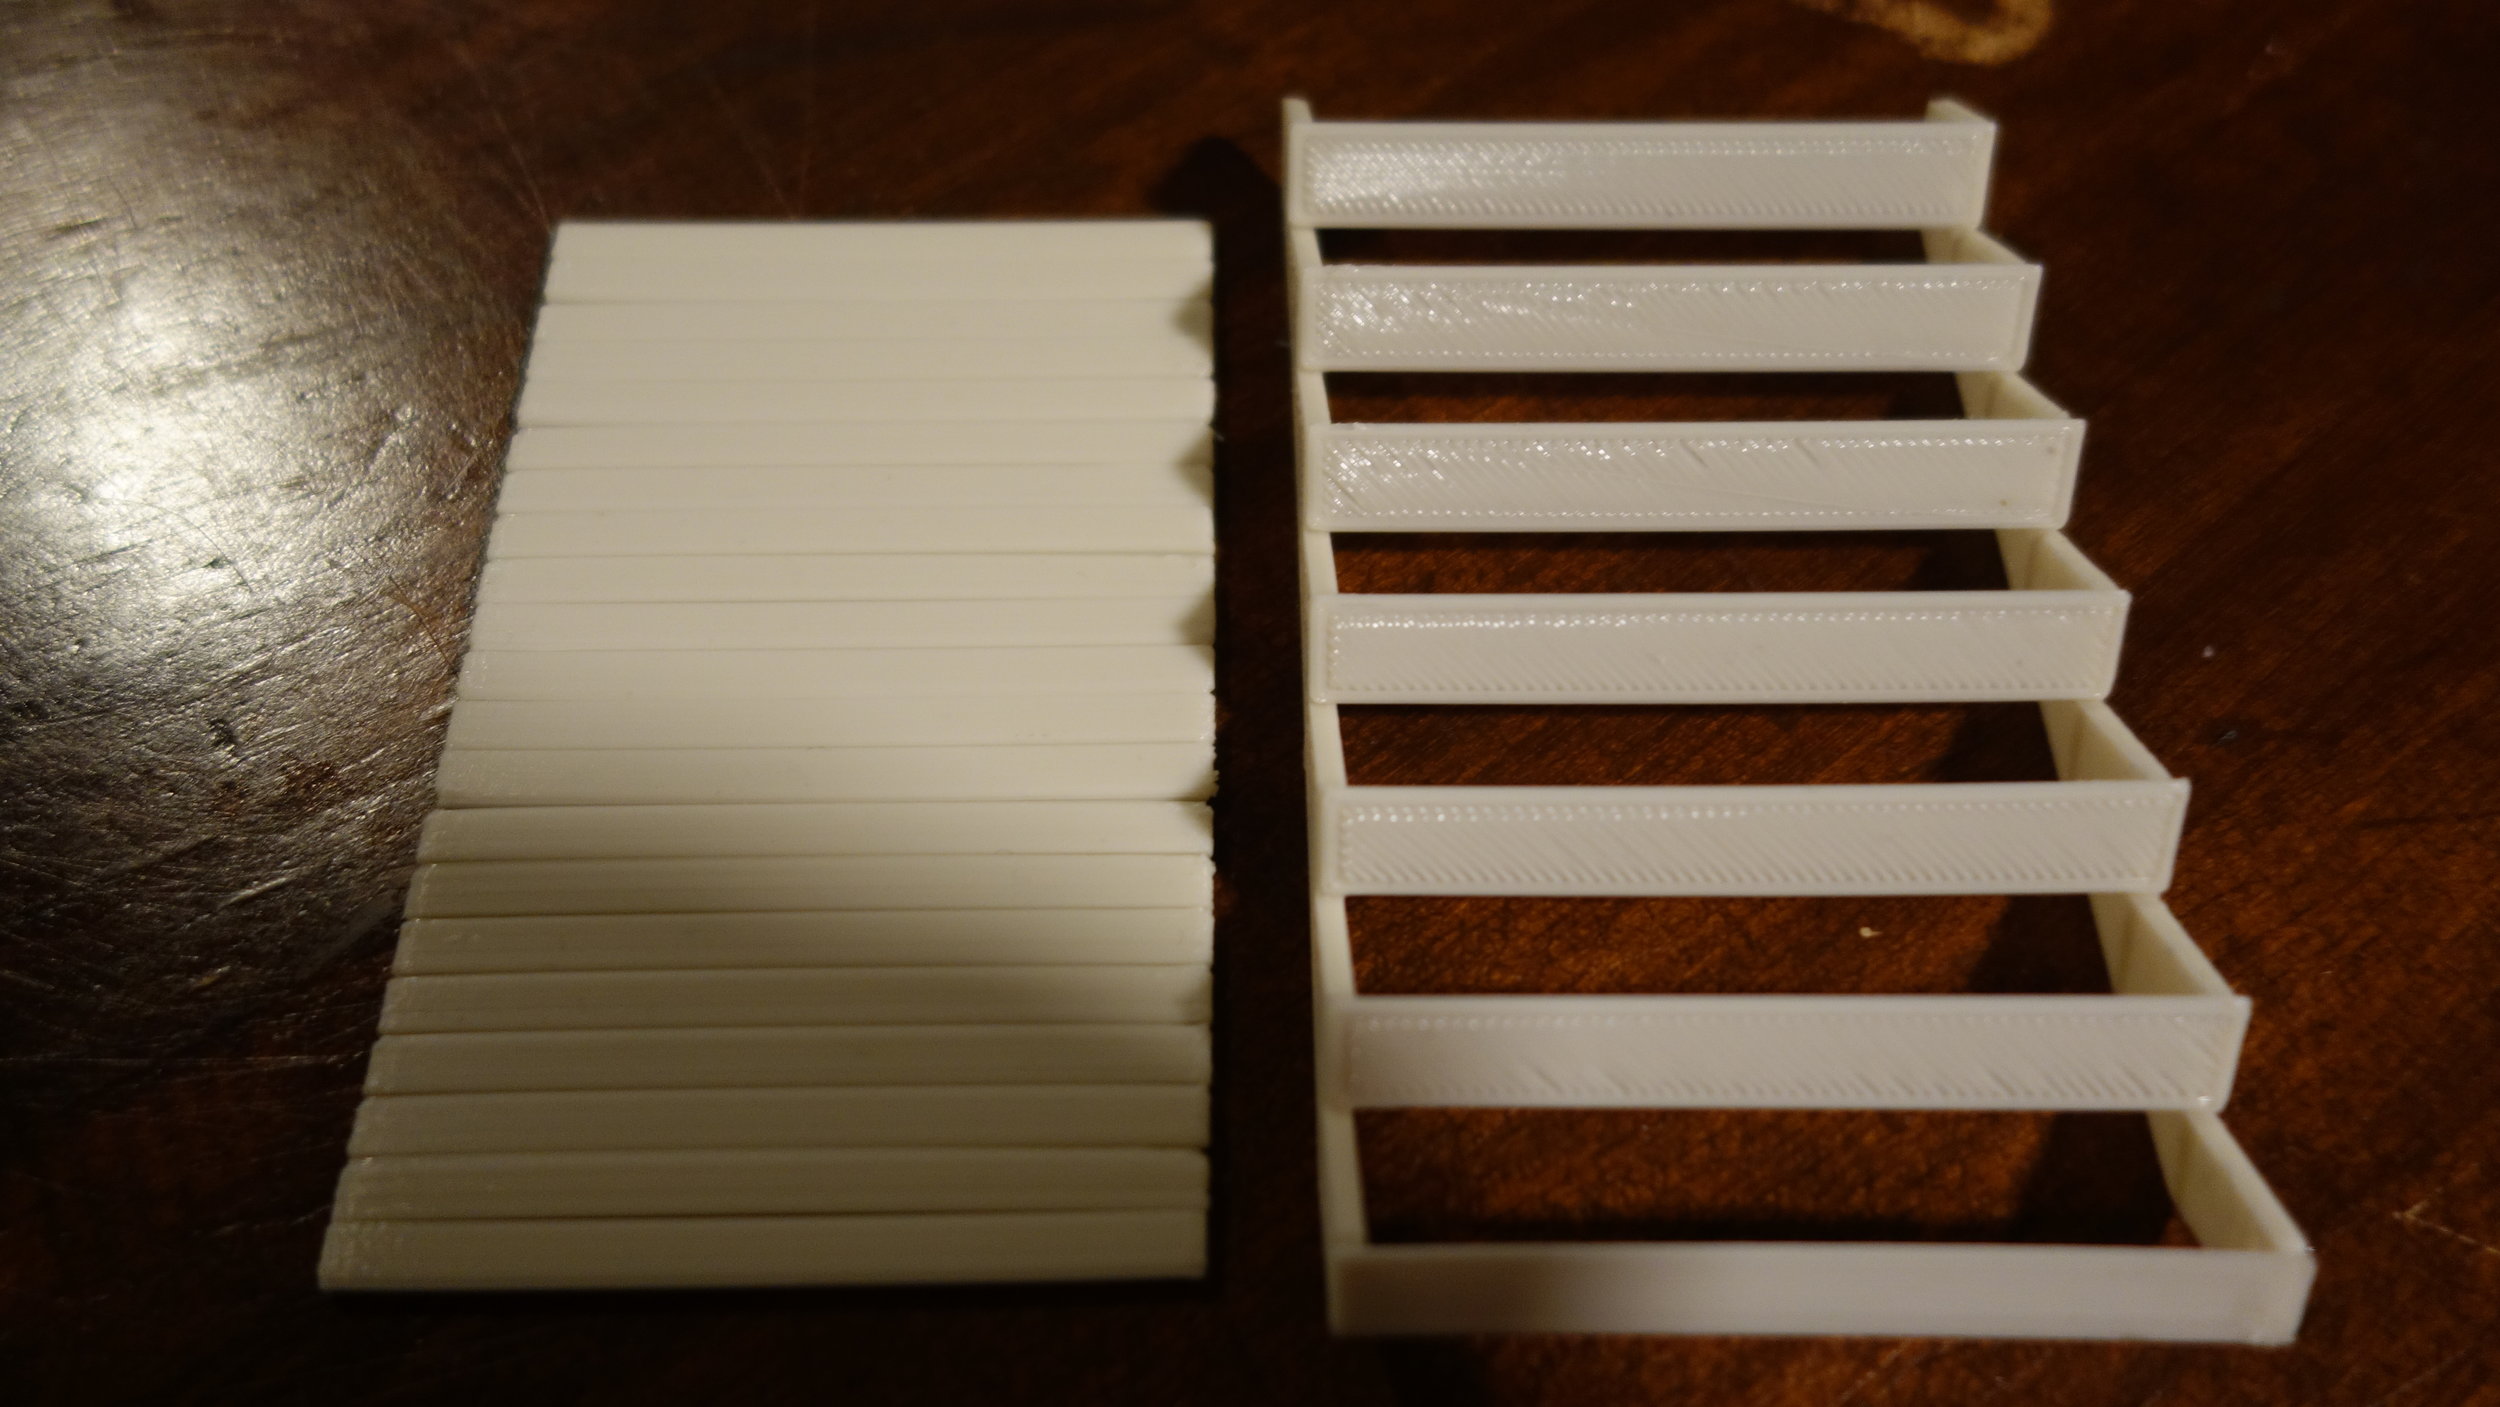
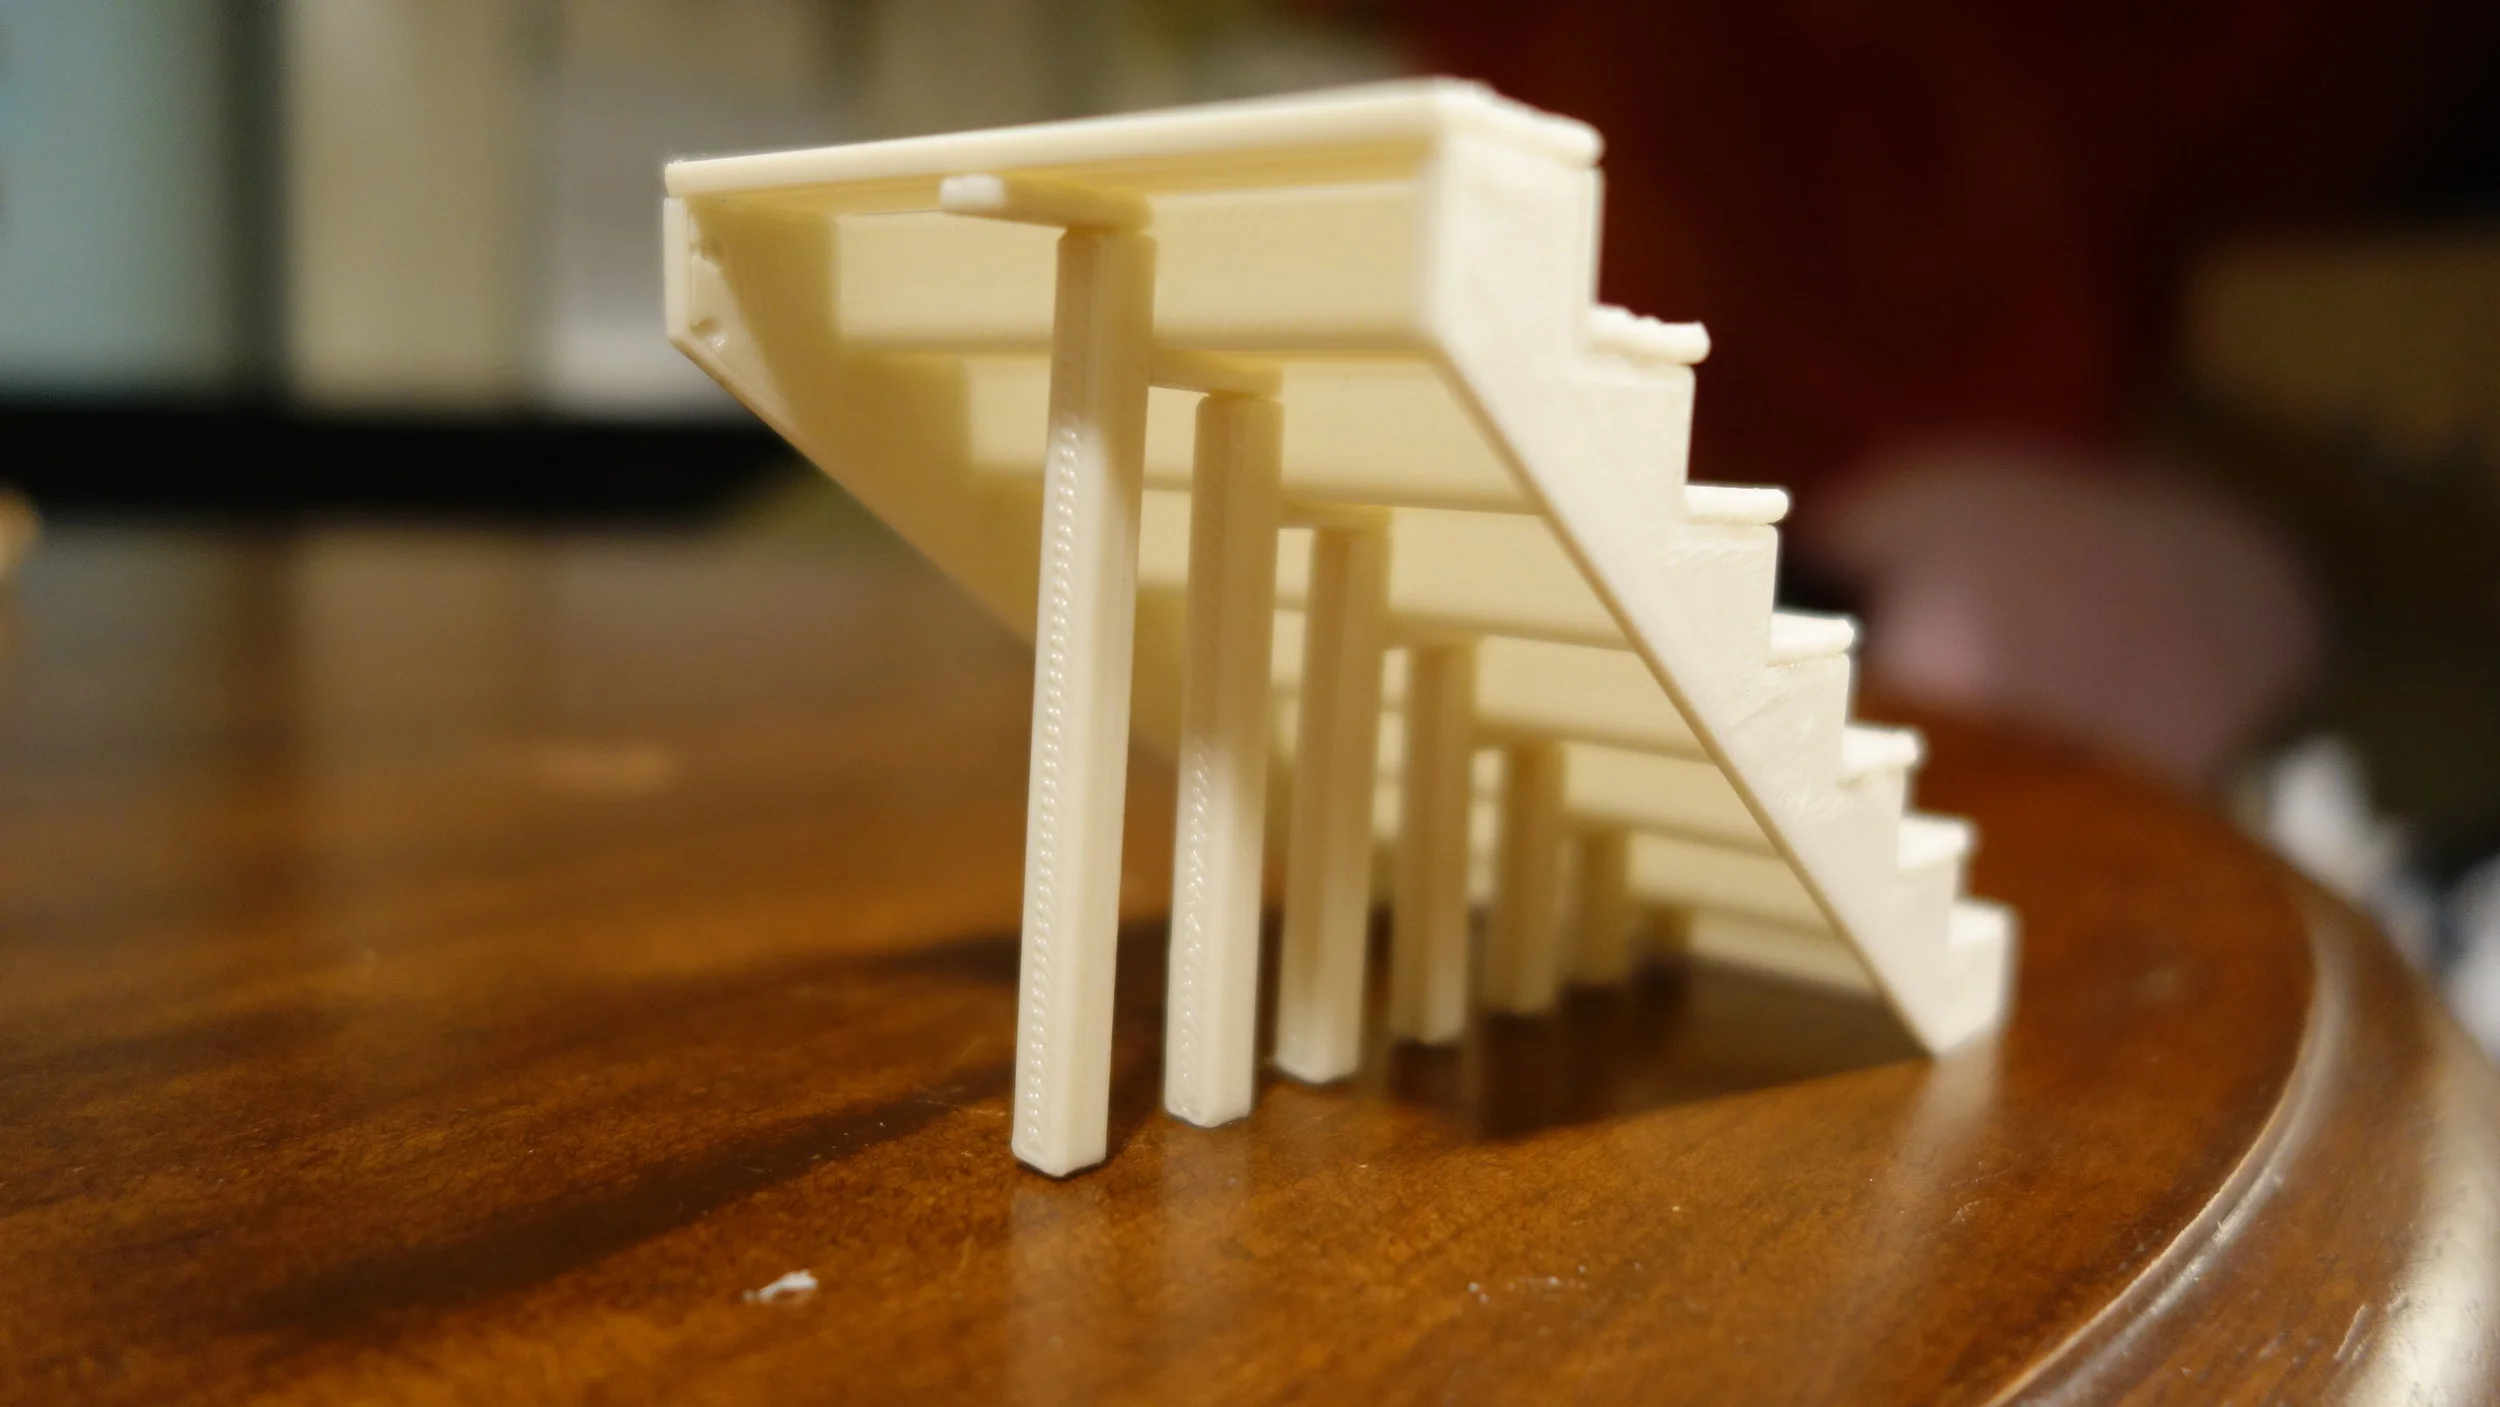
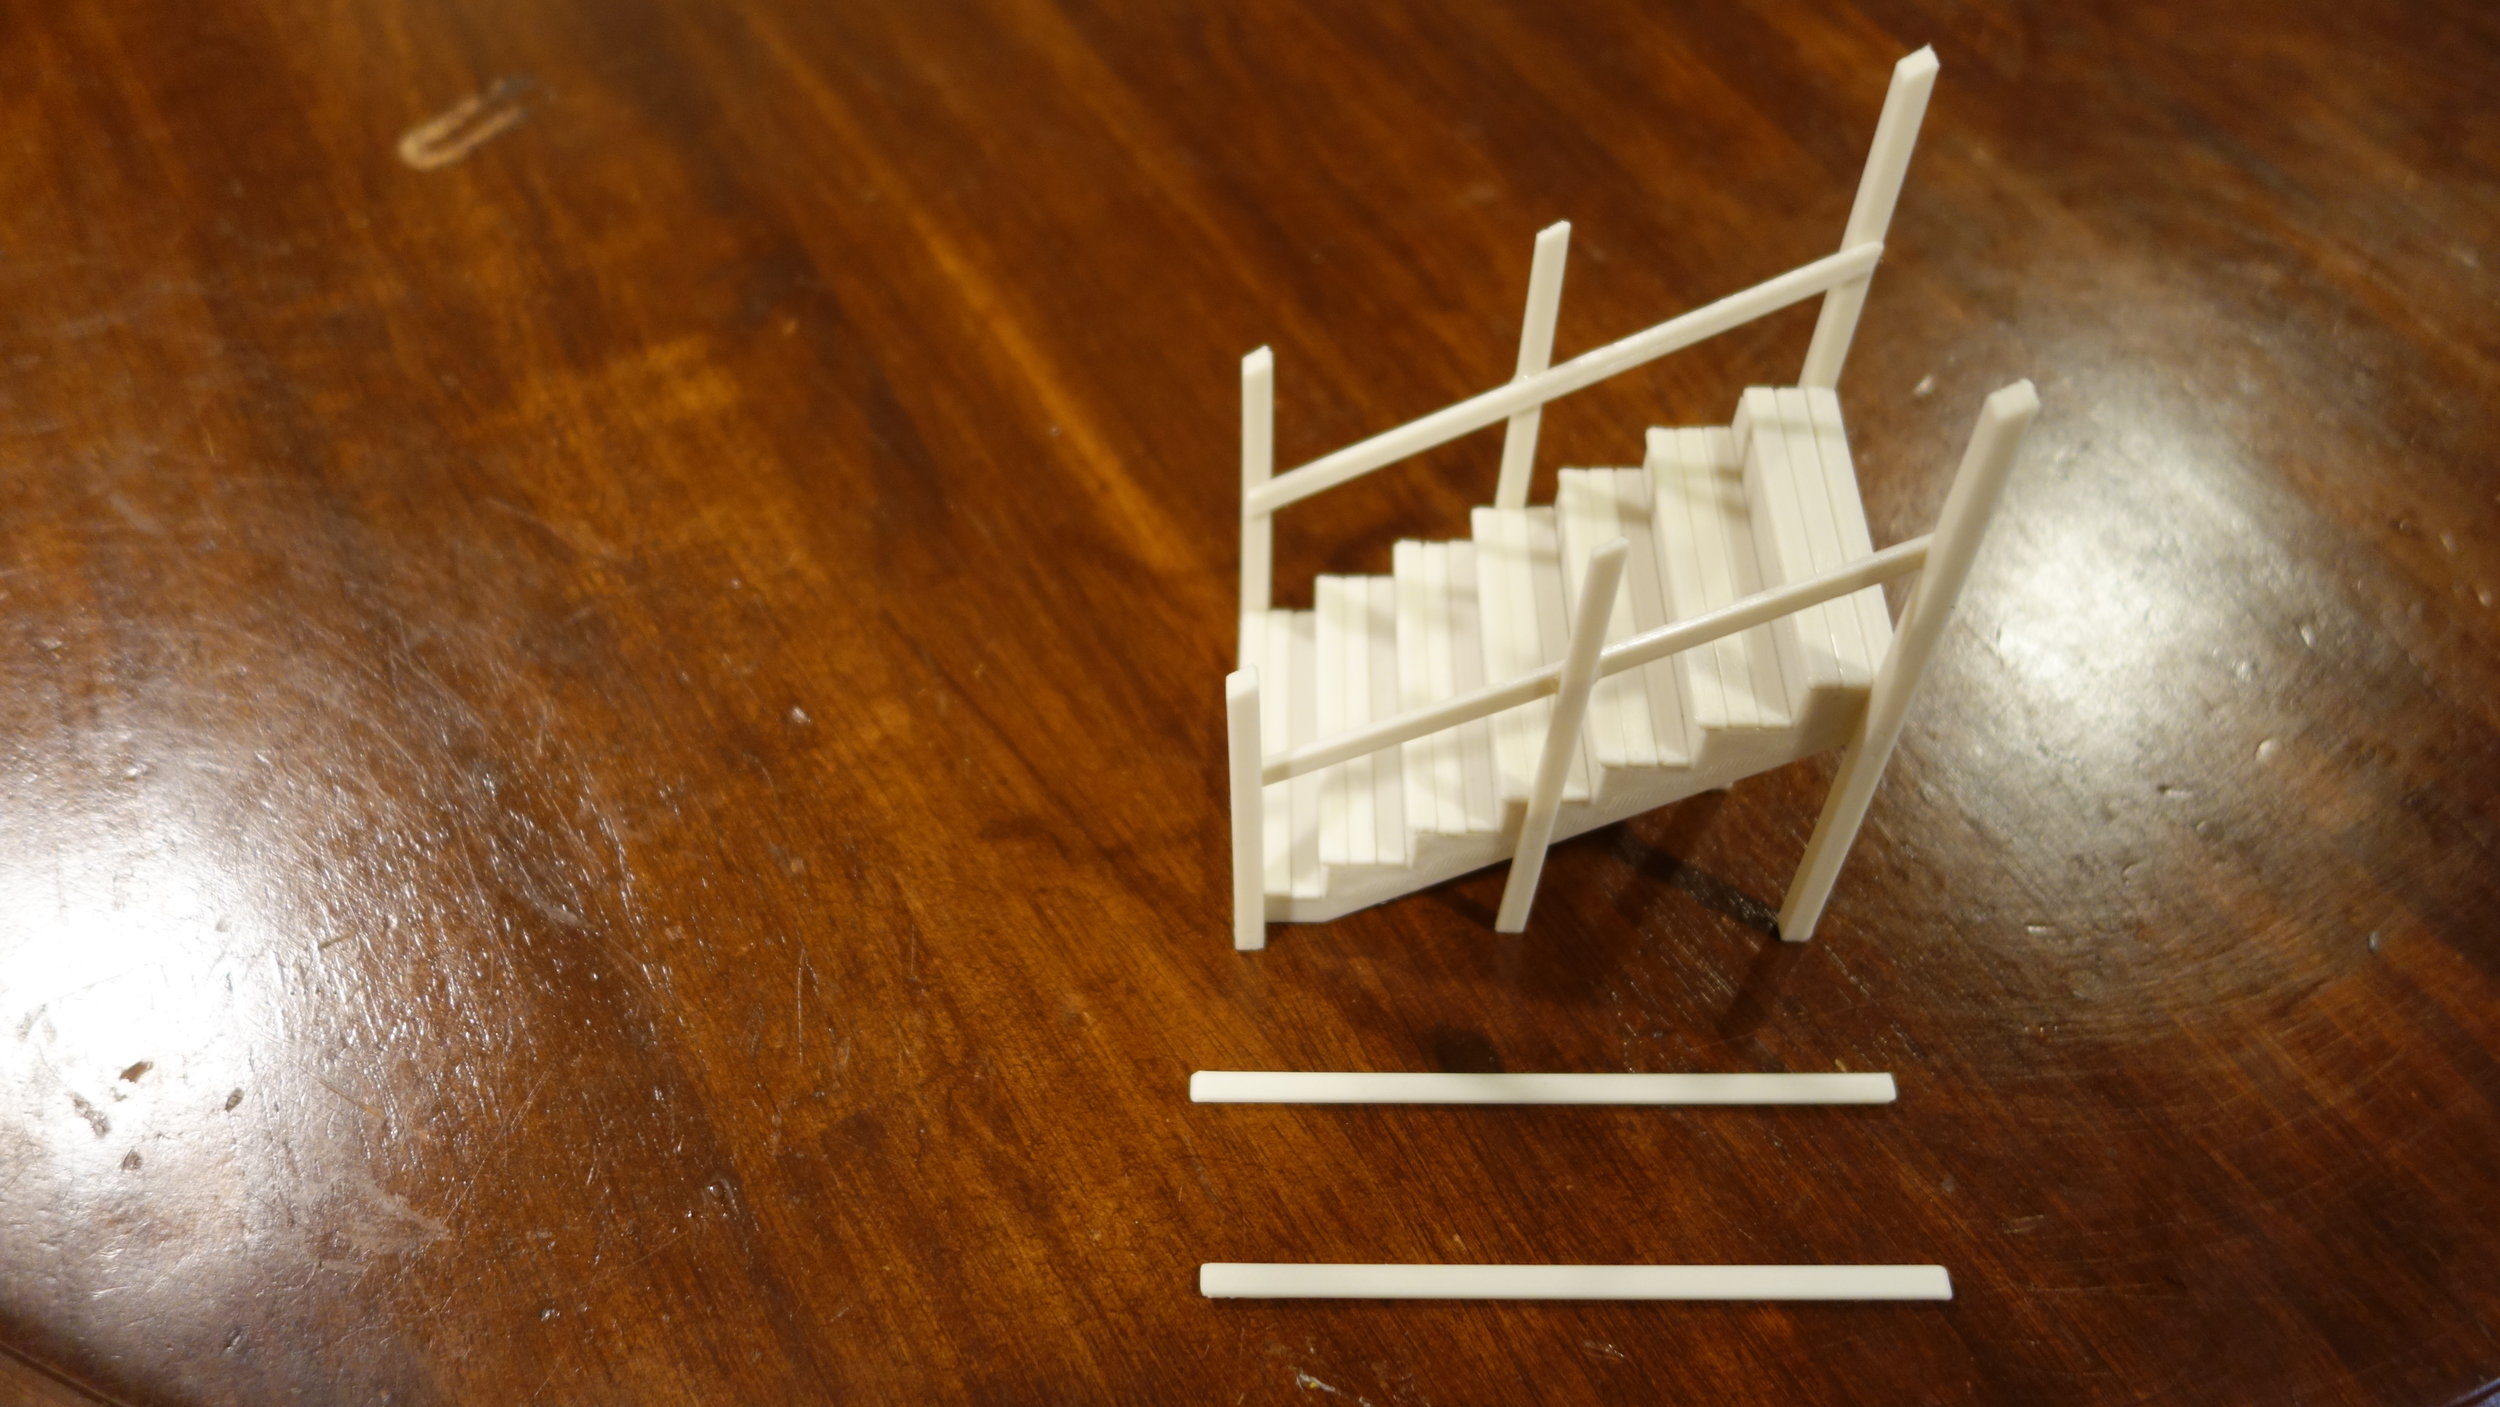
One of the great things about having a CAD of interhouse is that it becomes easy to print 3D models of parts of the build. This is especially useful for projects like stairs that are a bit harder for new folks to visualize. With that in mind, I decided to print out the individual parts and glue them together to make a 1/20th scale model of last years staircase.
Build photos can be found below. Each stage was glued using CA glue with no kicker (to keep it clear), and then allowed to dry for 12 - 18 hours before the next glue stage. All parts are 1/20th scale.