
Summary:
My favorite part of our design for Frog B* is our waterproofing method. Instead of using some kind of adhesive sealant, or chalk, we use laser cut silicone gaskets placed between our various hull plates. The gaskets are simple, cheap, and (once we got the method down) relatively easy to make.
Note: I want to applaud Jack for his willingness to assemble and disassemble the robot 4 or so times while we were figuring out waterproofing.
*Our first robot, it’s a long story…
Application:
Installation: We specified gaskets between all of our hull panels, and between every jet-hull-nozzle interface. We found that in-order to get a good seal, some amount of consistent pressure was required along the gasket. In general, we solved this problem by putting clearance holes through our gaskets and securing the two plates (whatever they might be) with 4-40 screws. This did by and large work, but we still got some leakage though areas with more curvature or less pressure. To address this, we dipped each screw in marine grease, and applied a layer of marine grease to each side of the gaskets.
Results: Our initial tests sealing acrylic to the bottom of a machined cylinder were extremely promising. We had good sealing with no leakage. The actual robot proved a bit more finicky to get working right, but once we fully implemented the compression we were able to get to a no-leak condition.
The edges of our structural plates were all tapped with 4-40 holes to facilitate tapping. Corresponding clearance holes were then cut (slightly undersized) in the gaskets.
From Jack: (Who did the overwhelming majority of the seal installation)
Take the Silicone and coat both sides liberally with marine grease.
Coat the metal or PLA with marine grease.
Align by hand, put grease on a few screws, and insert them to keep the silicone positioned.
Coat remaining screws with grease and insert them lightly.
Tighten all screws until most grease has been pressed out and the silicone begins to extrude.
Back all screws off 1/4 turn (6.25 thou).
Test water seal and tighten leaking areas as needed.
Repeat previous step until entire seal is good.
Remove extruded grease as needed.

Lower jet gasket and associated grease

Corner gasket without pressure applied.

Corner gasket with some pressure applied.
Fabrication:
Laser cutting gaskets on our 40 watt machine, that ended up working less well.
We made our gaskets out of 1/16 “High-Temperature Silicone Rubber Sheet” from Micmaster. It comes in strips of varying size, we got 4”, and ended up costing about .07$ per square inch.
To cut the gaskets, we used an 80 watt laser cutter set to 60% power, 6% speed (ambiguously 10in/min) and 500 PPM. This is just about perfect to cut a deep scribe line. The parts can then be torn out by hand to produce beautiful crisp lines.
We did experiment with ways to cut all the way through using increased power or multiple passes, but had limited success. Increasing the power did not seem to have much of an effect beyond a certain point. Perhaps because the powdered silicone was blocking the beam. Taking multiple passes was intermittently successful, but for larger parts the silicone seemed to move on the second pass producing less precise lines.
Immediately post-cut, the gaskets tend to have some white powder and other residue along the cut edges. This did not have much of an impact on actual performance, but it is aesthetically sub-optimal, so we cleaned up the gaskets by scrubbing them with simple green and then rinsing them in water.

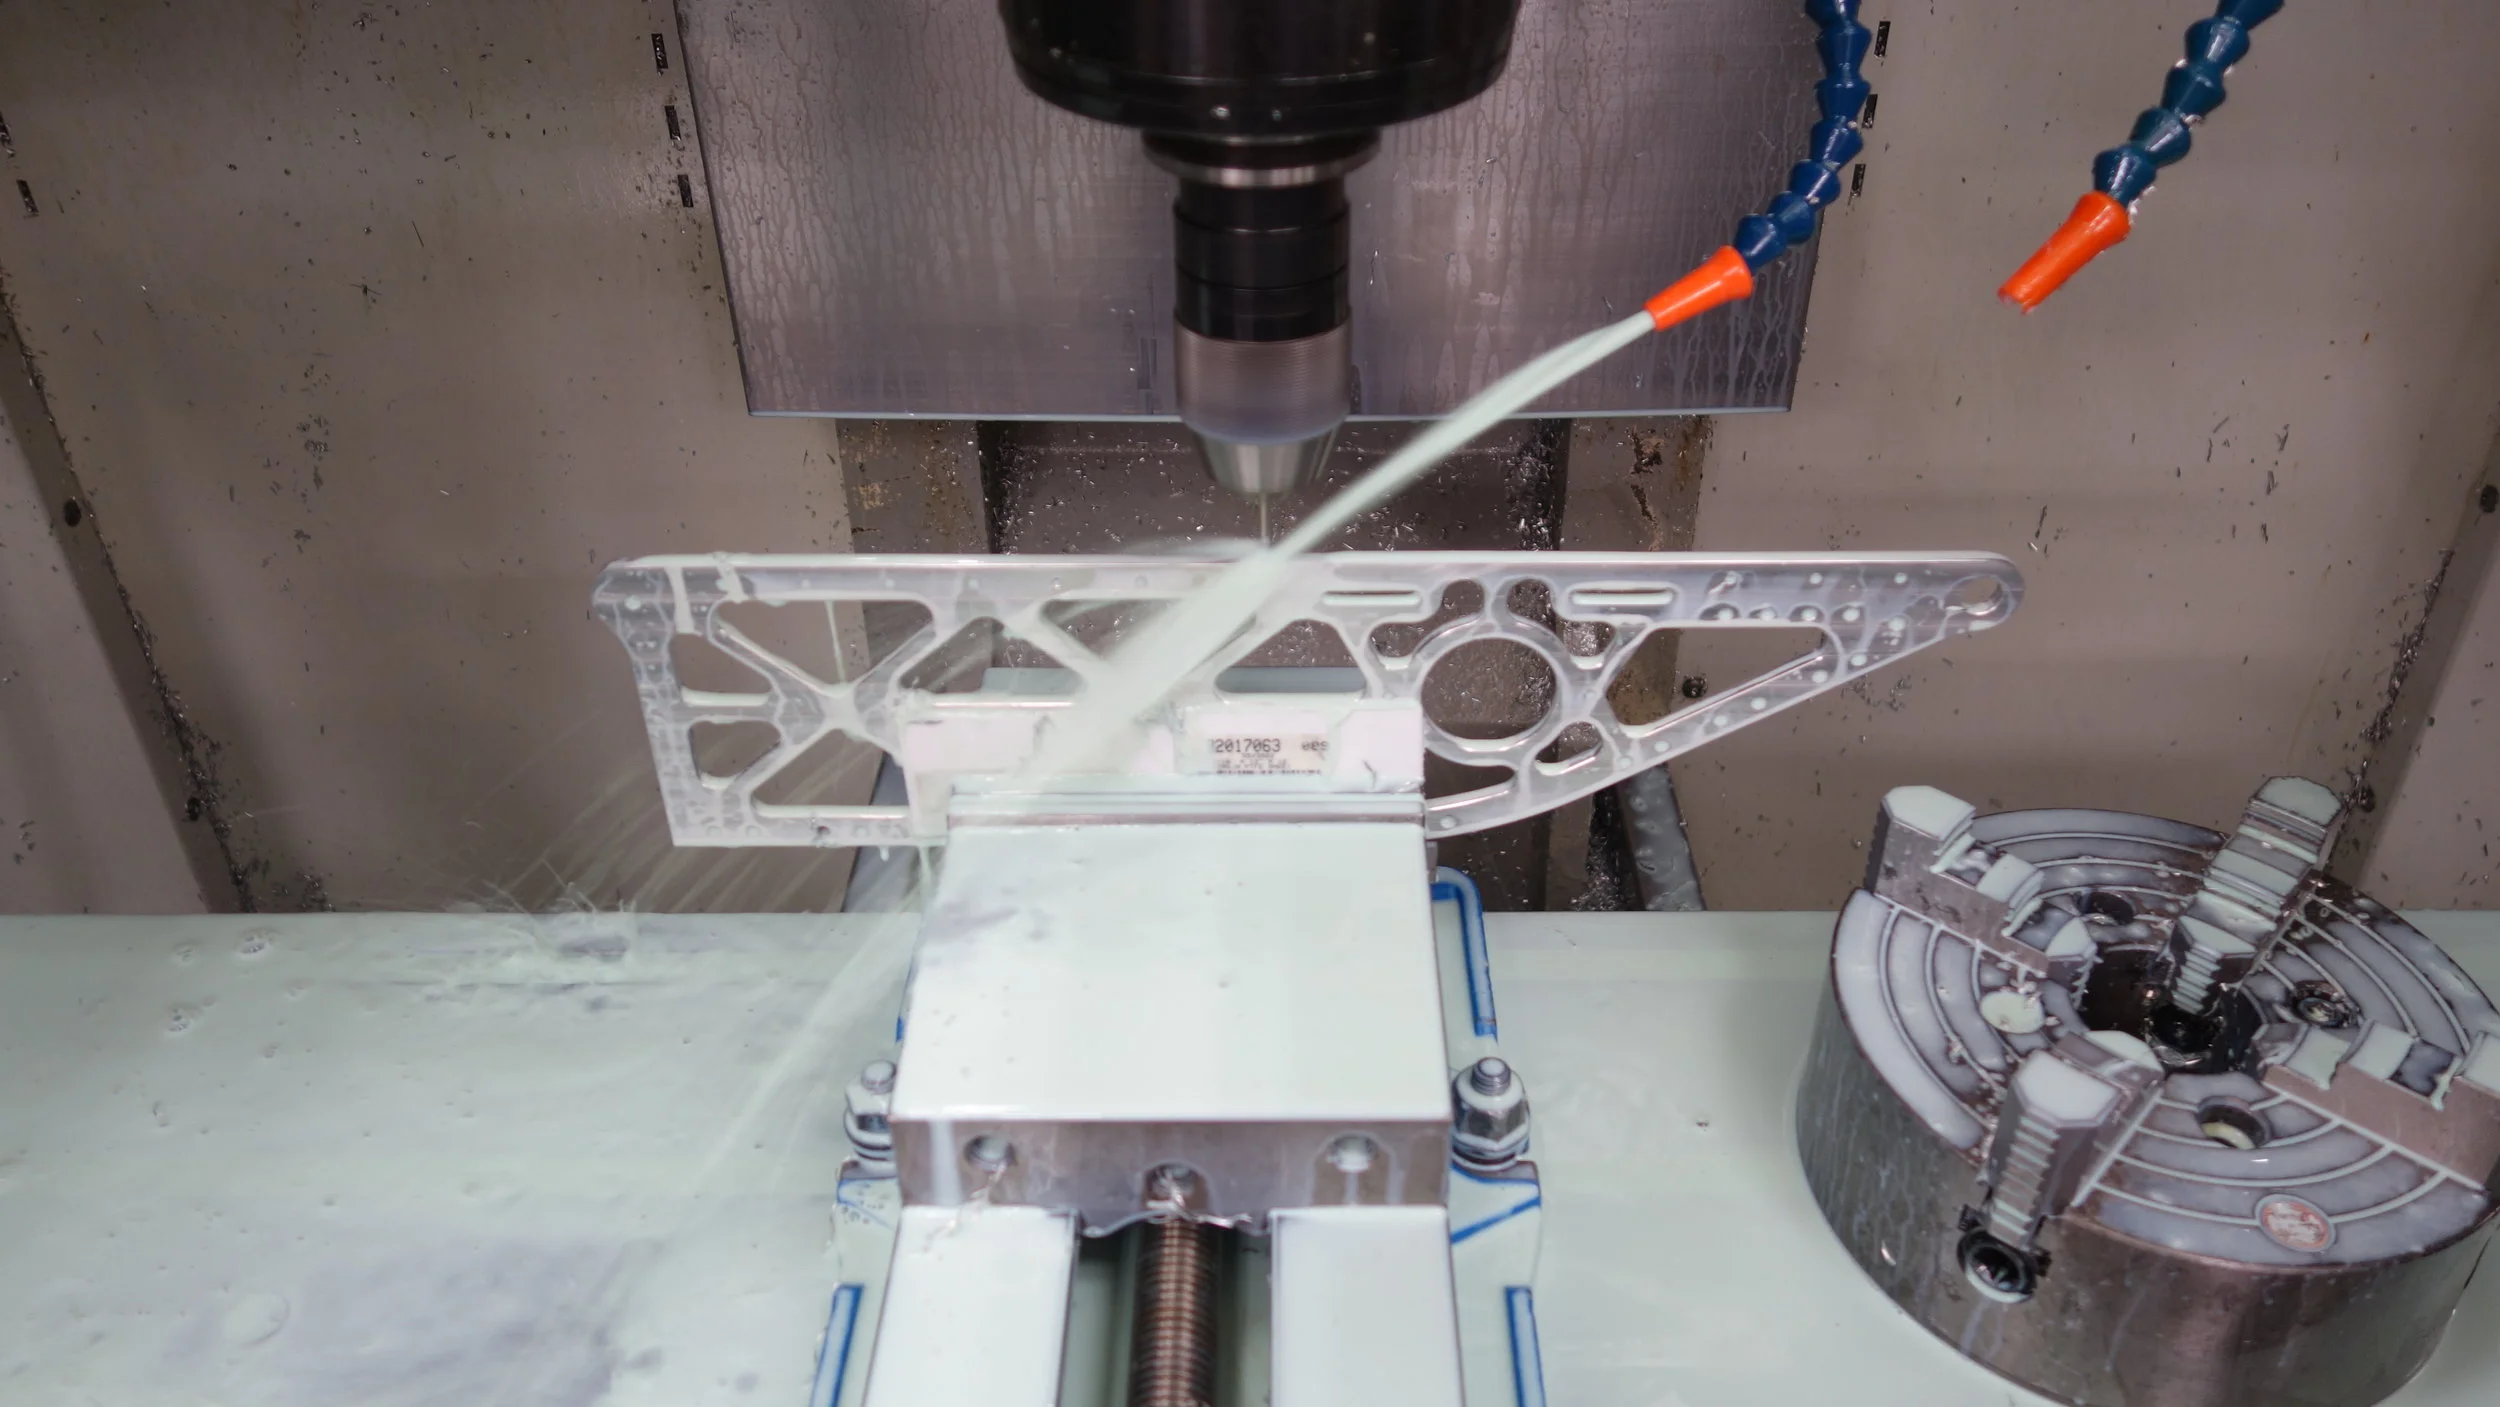
Our sealing test, once tuned it held water for the better part of a week with no leakage. This part was also our first test of CNC tapping.

We originally used 24 screws (see cap below) but found that it sealed better and was easier to tune with only 8.

Using 24 holes let us try lots of different spacings to see what worked. As for the frog… got to test engraving somewhere right?