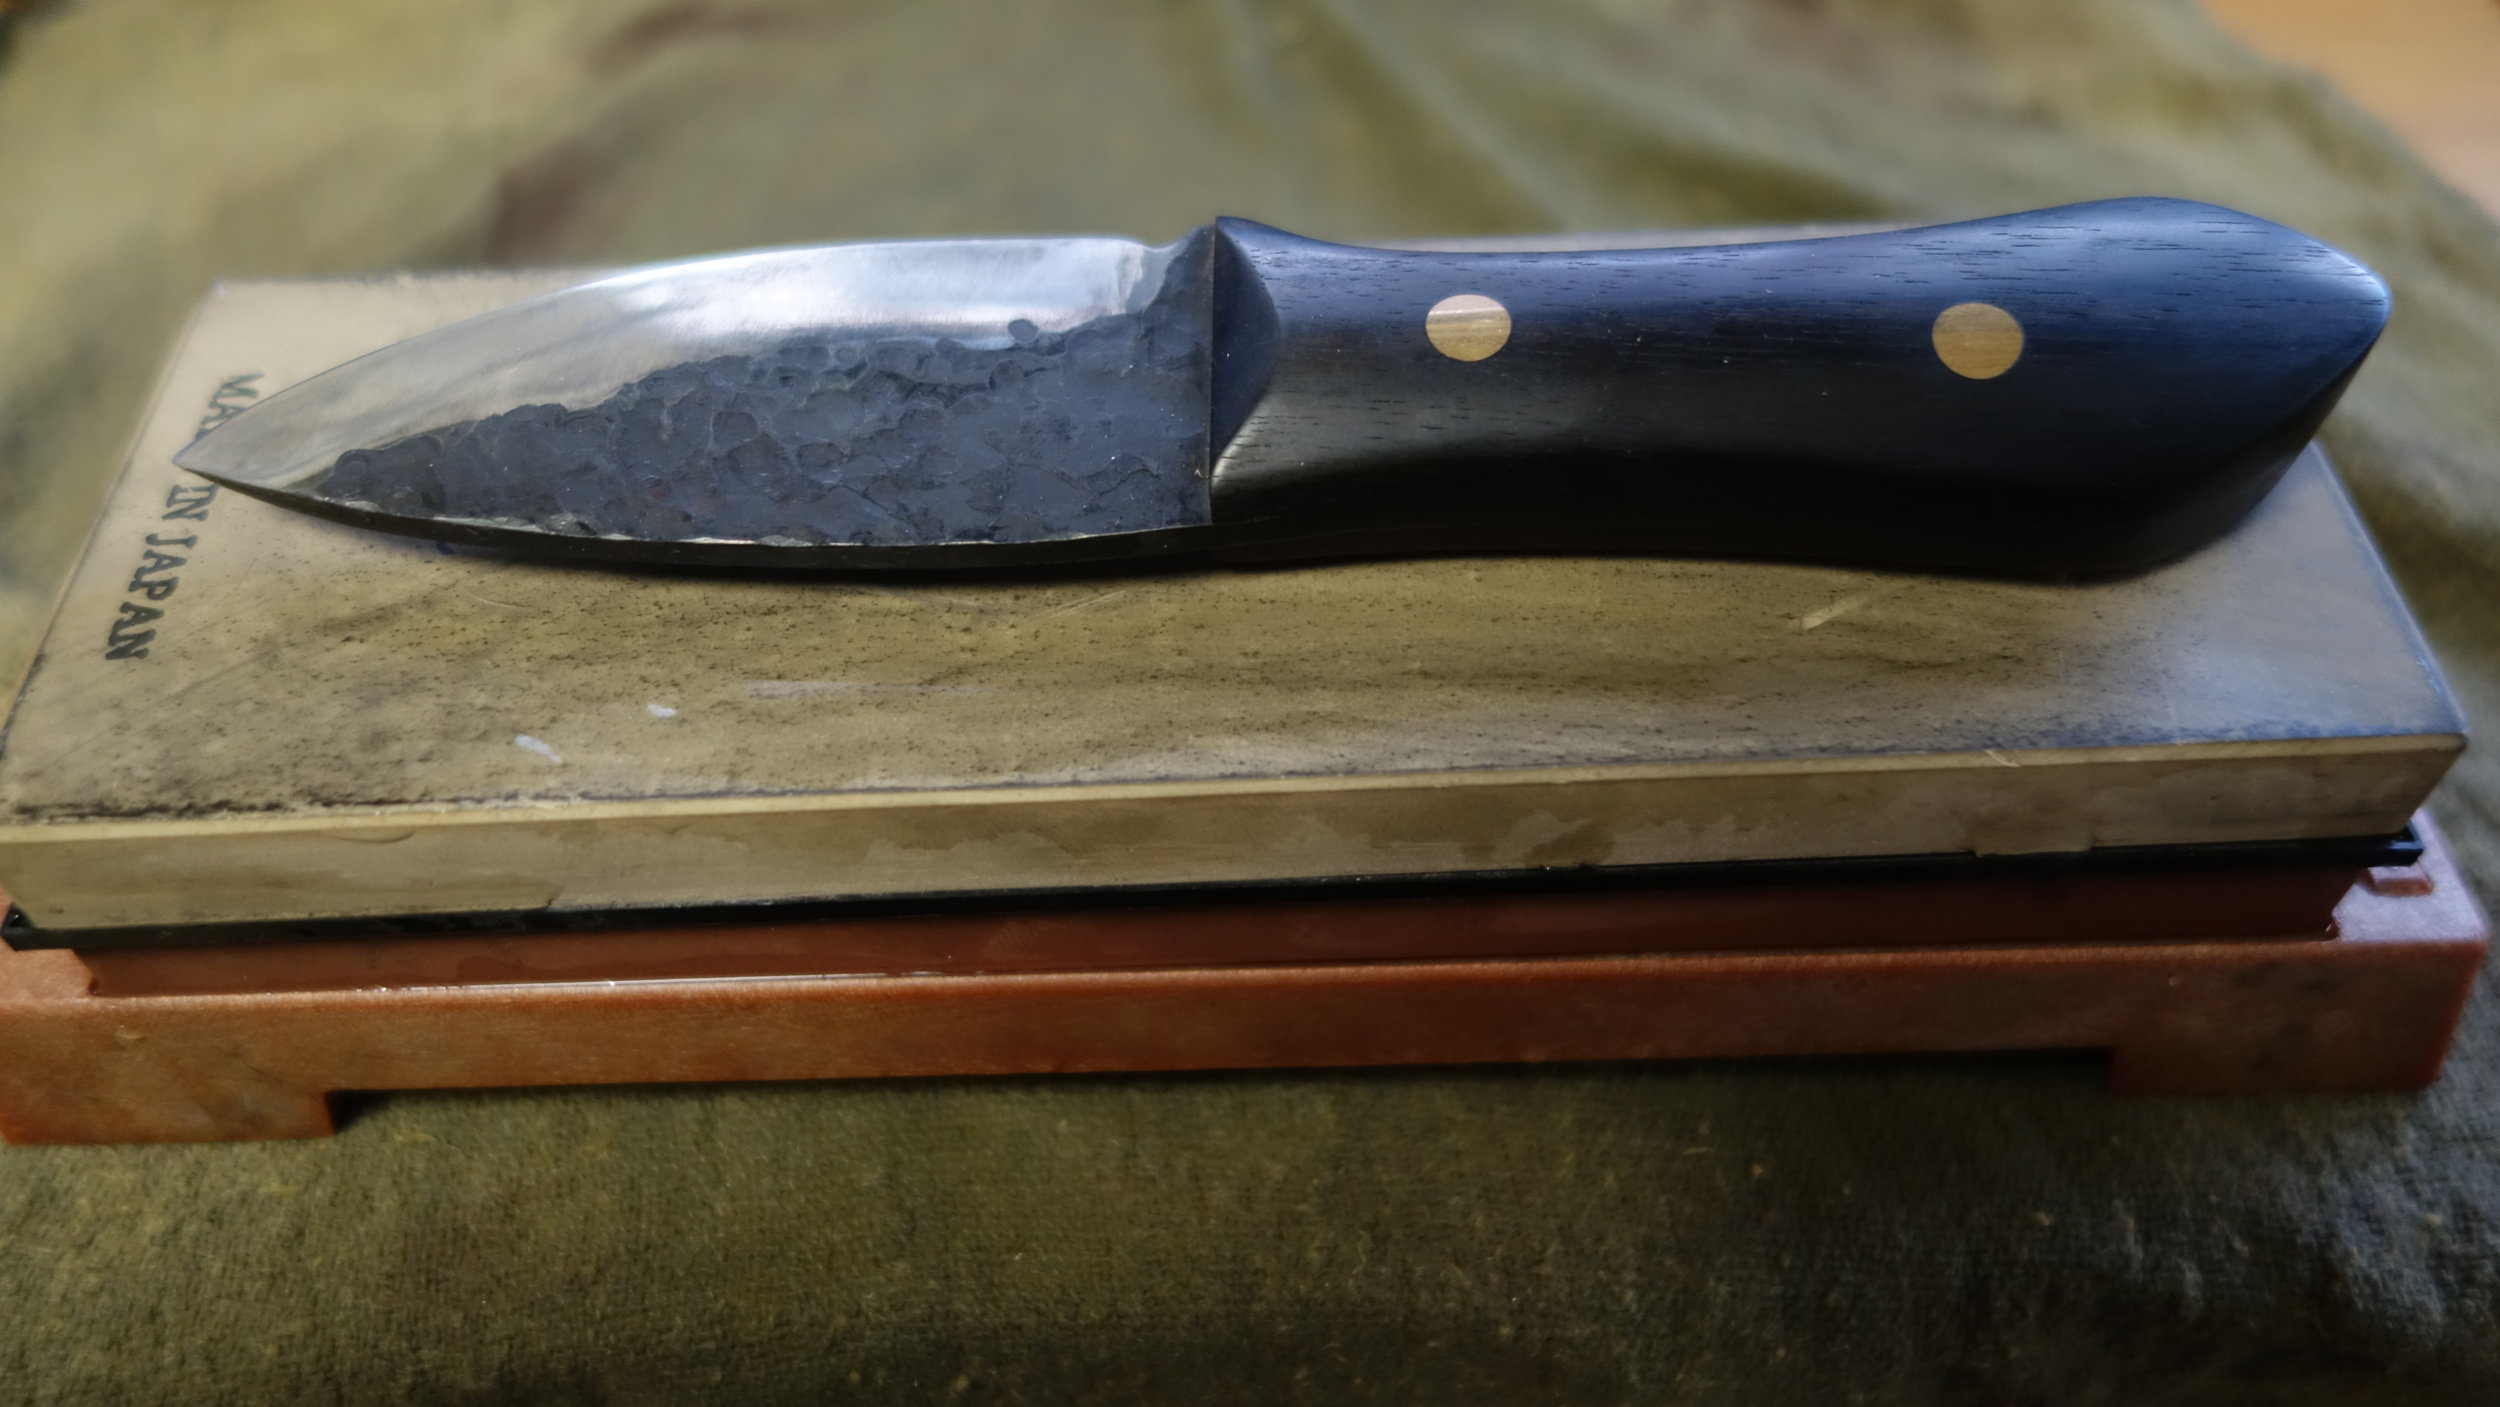
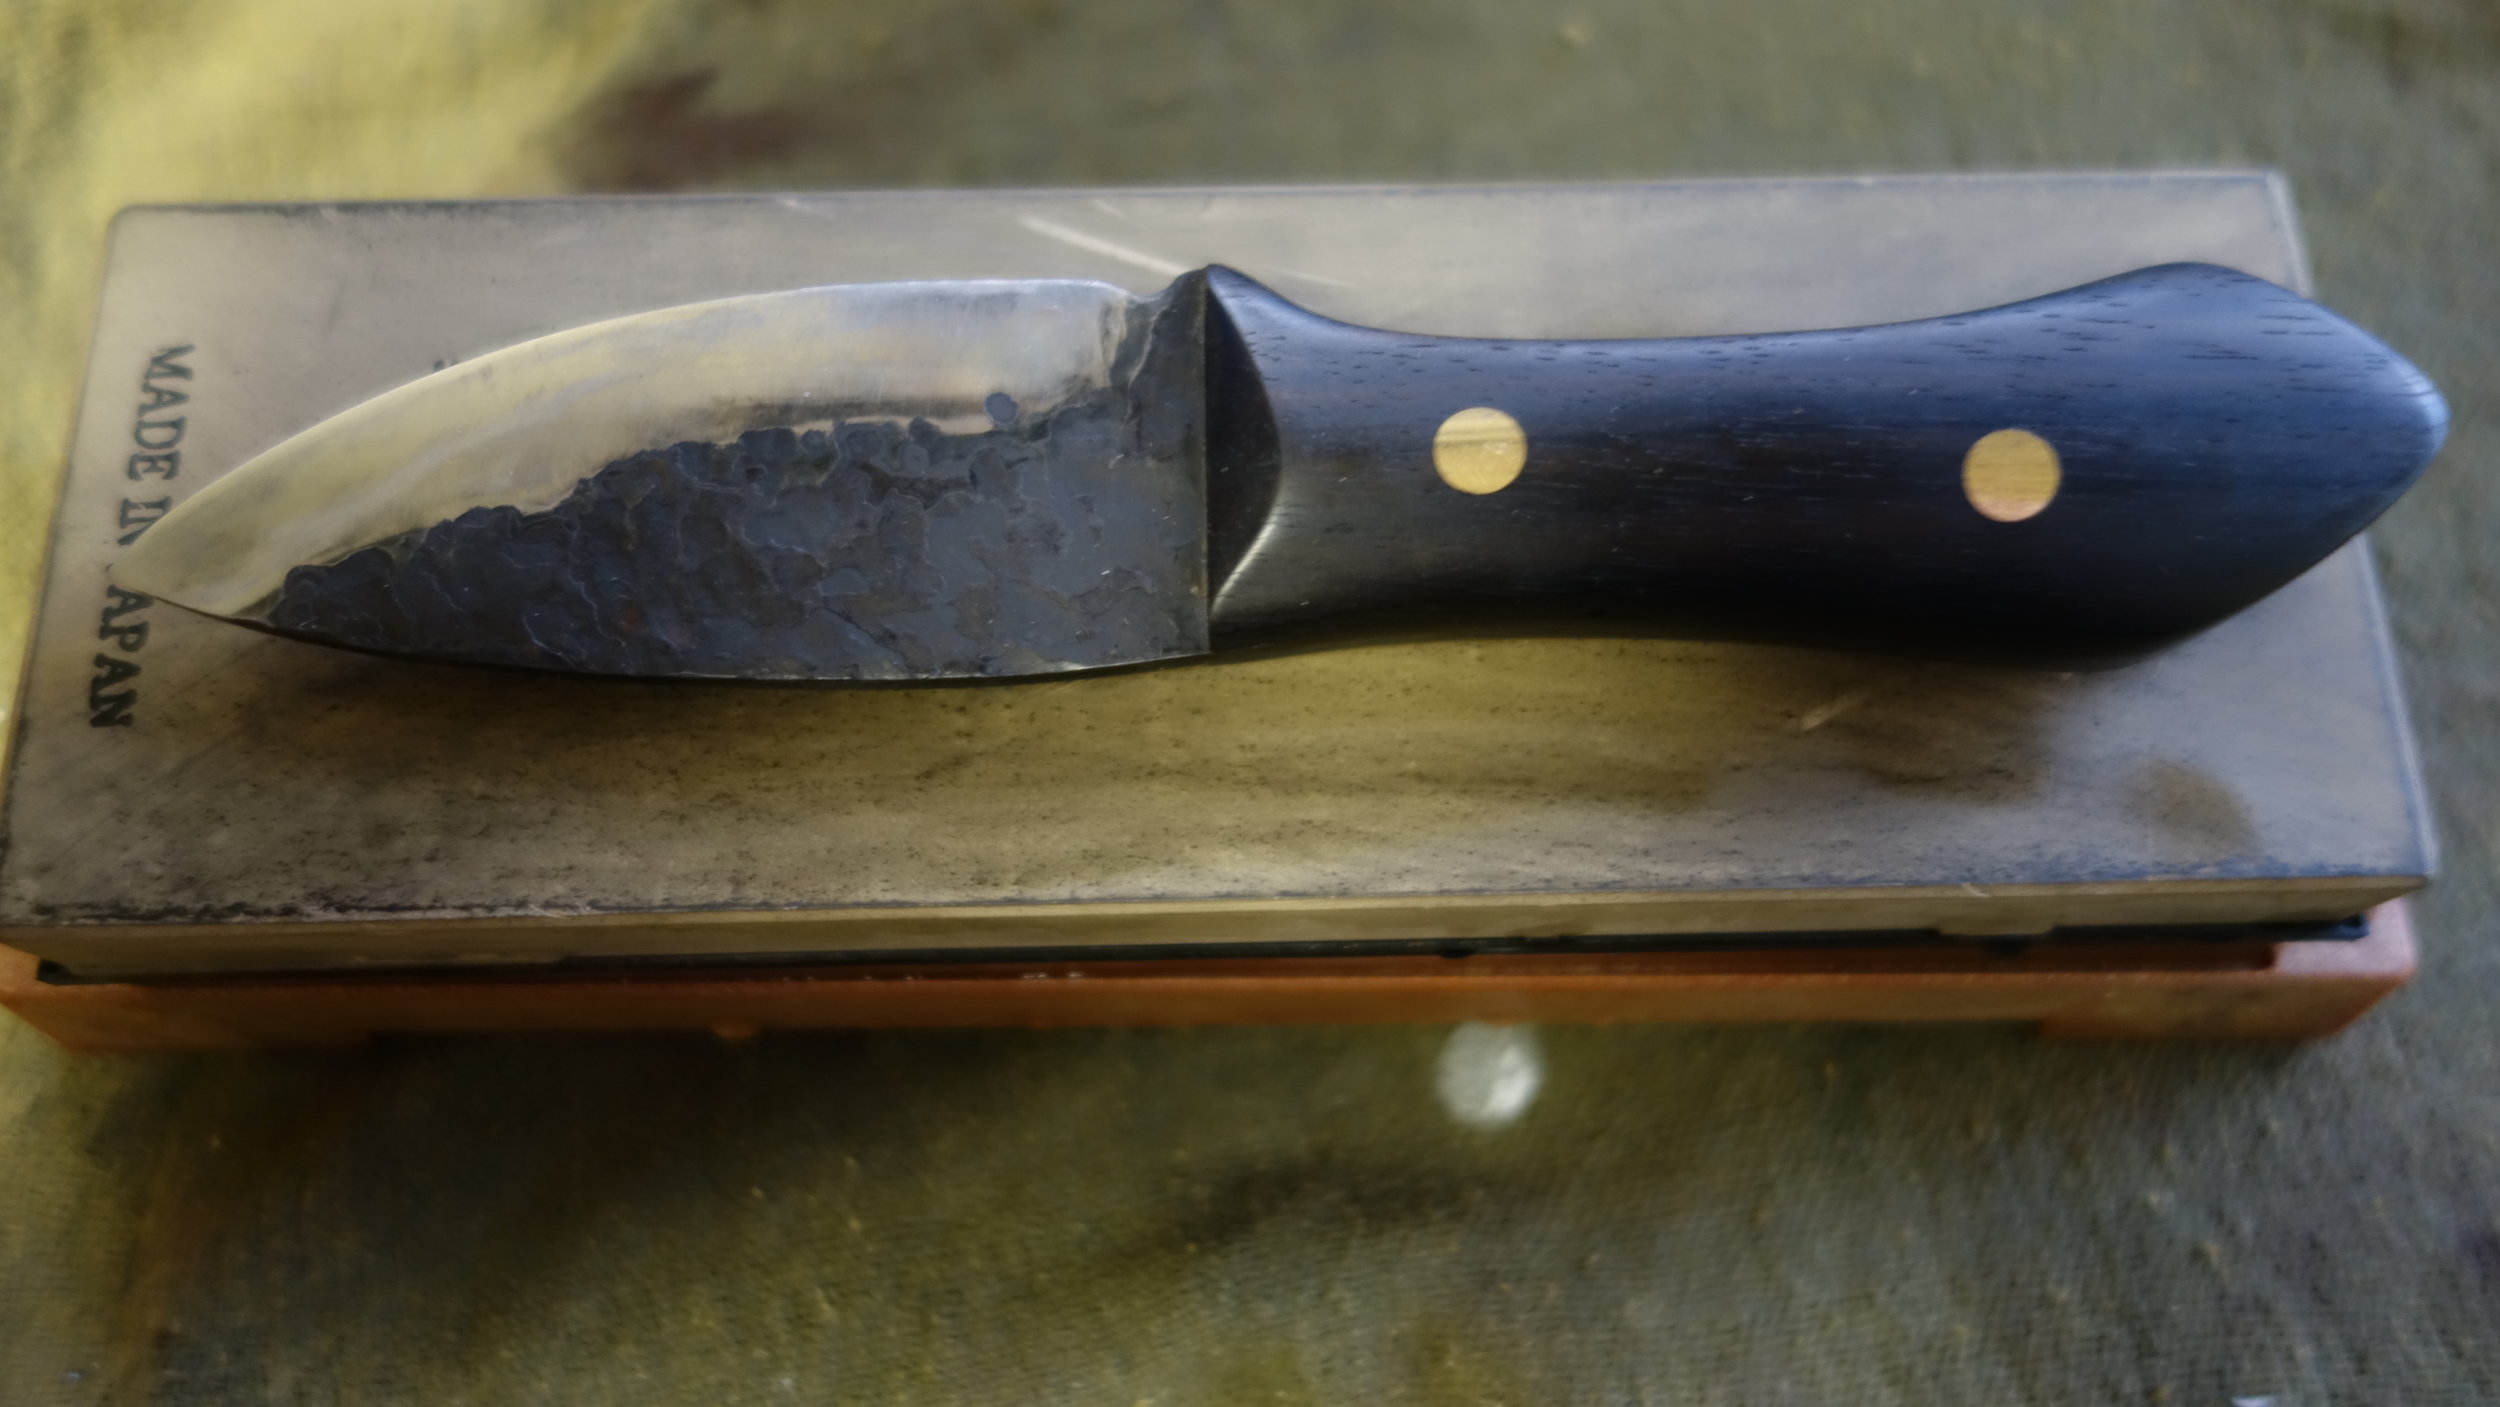
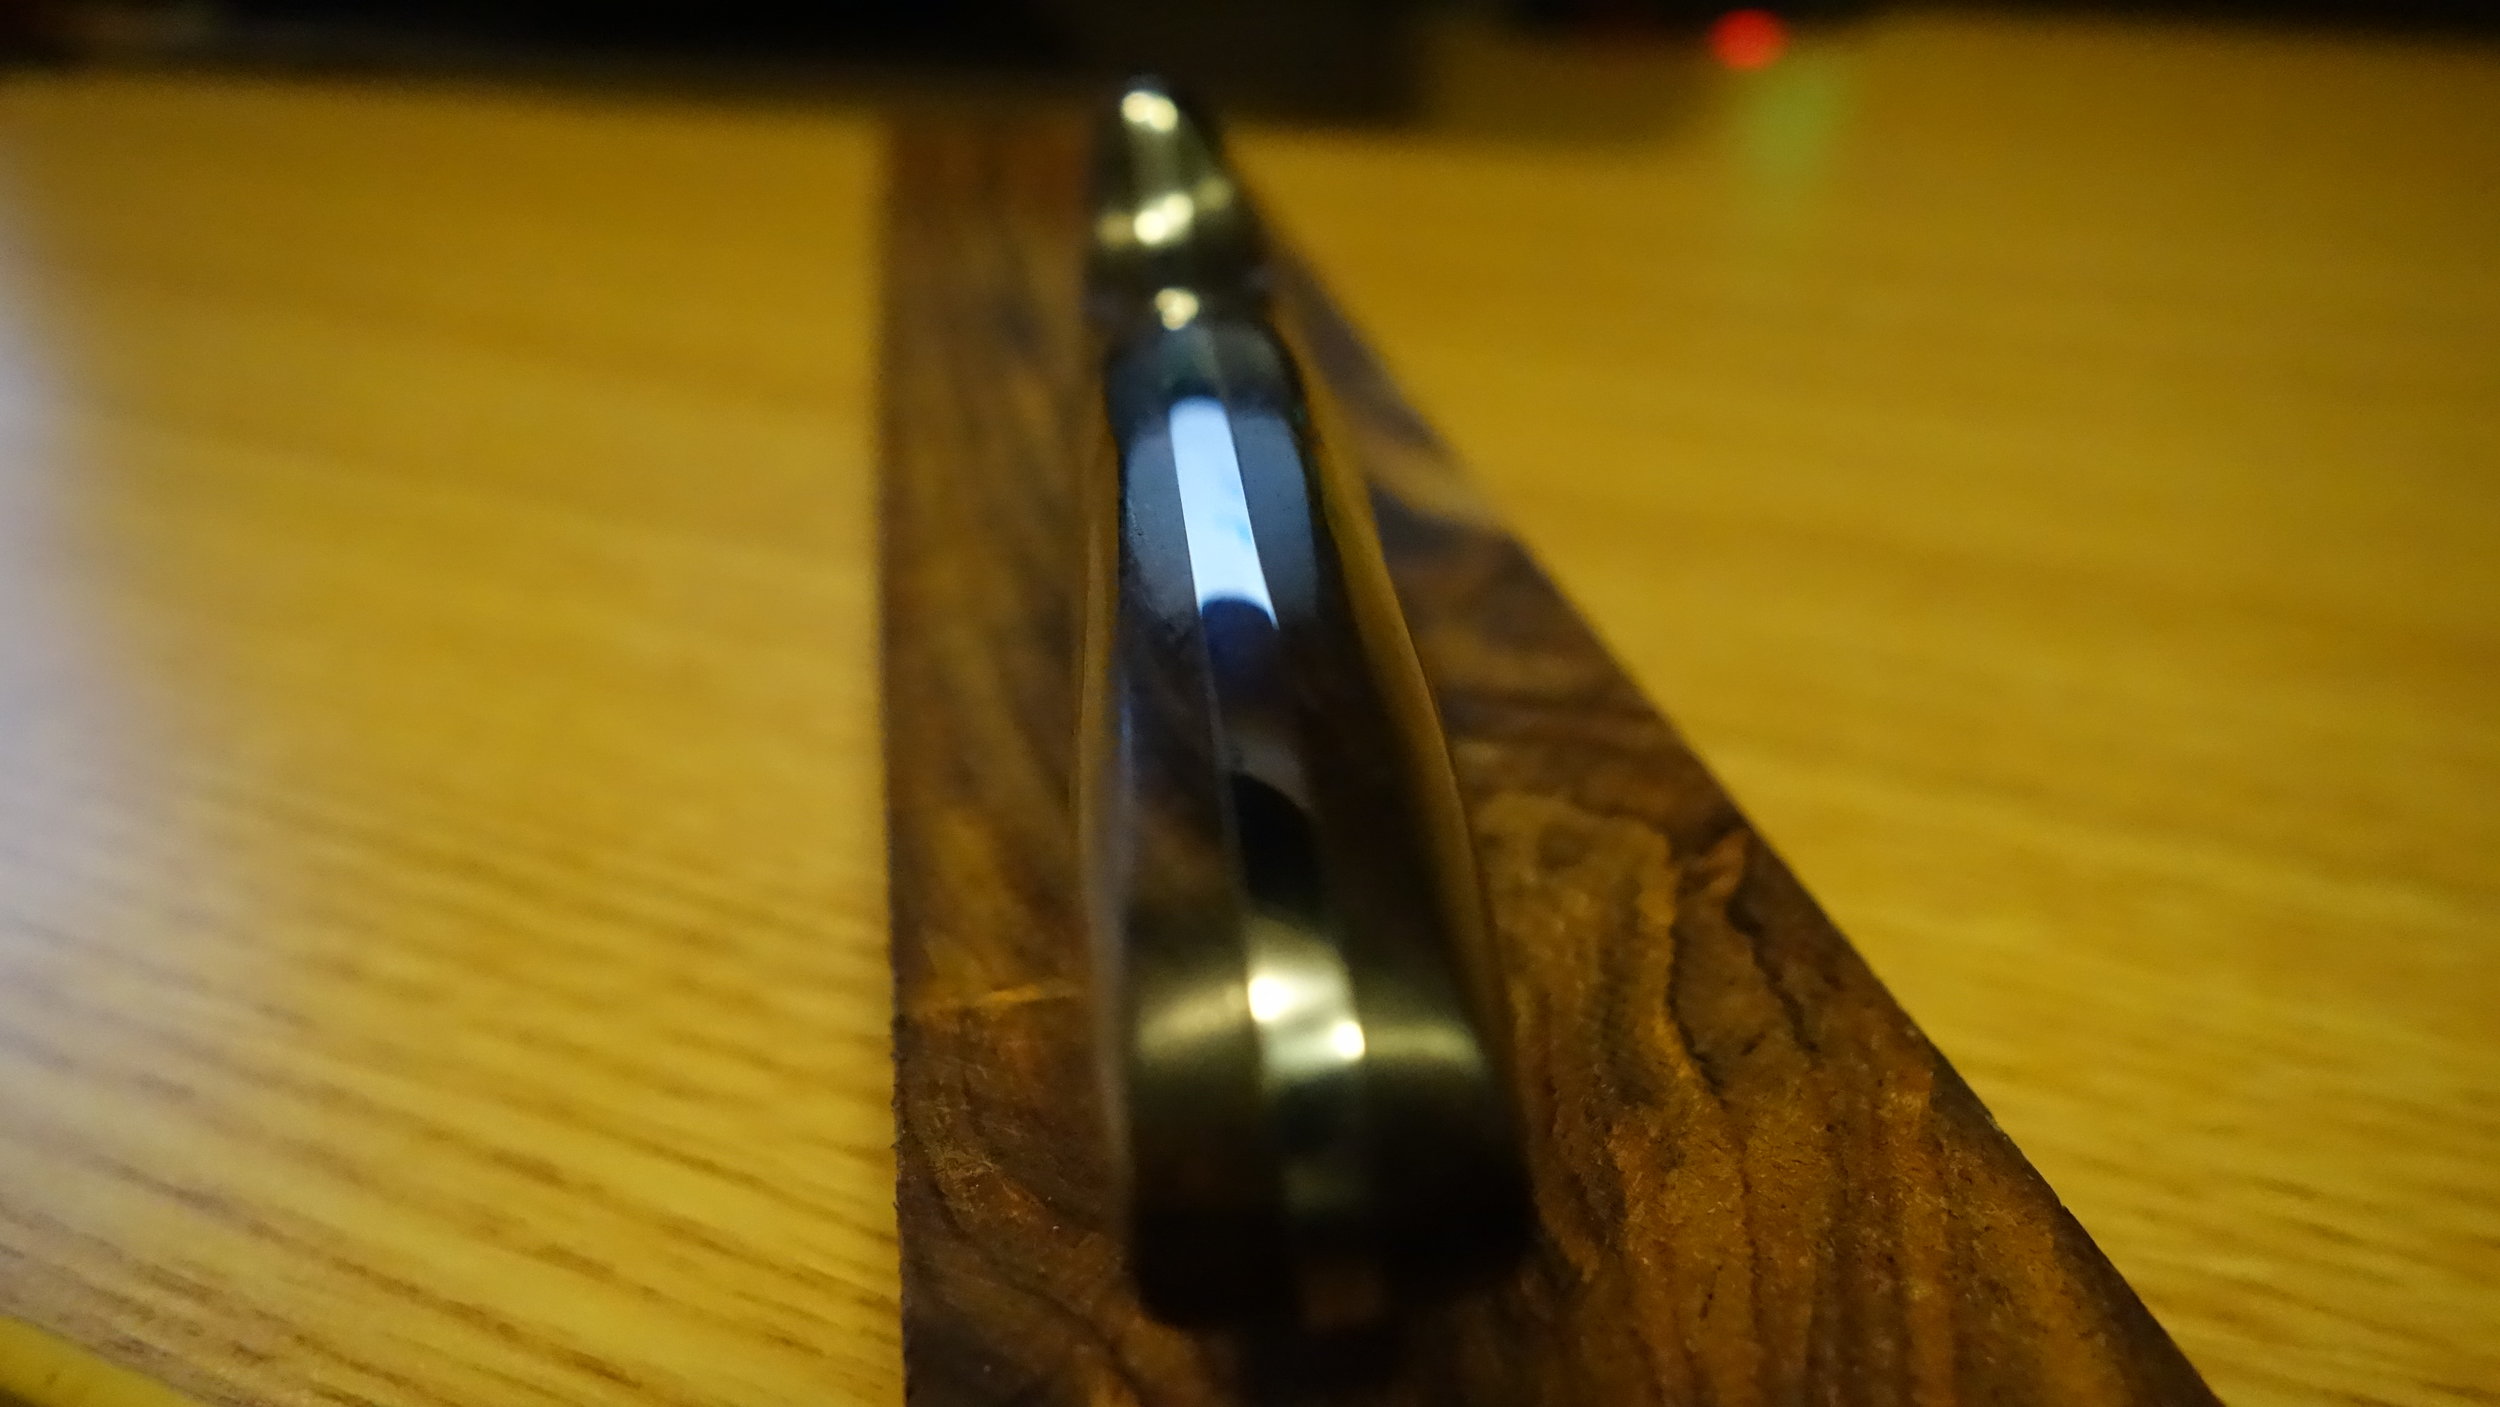
The knife during it’s final sharpen. I really like the finger grooves and handle-work, although that is a luxury that comes from knowing your end user.
Summary:
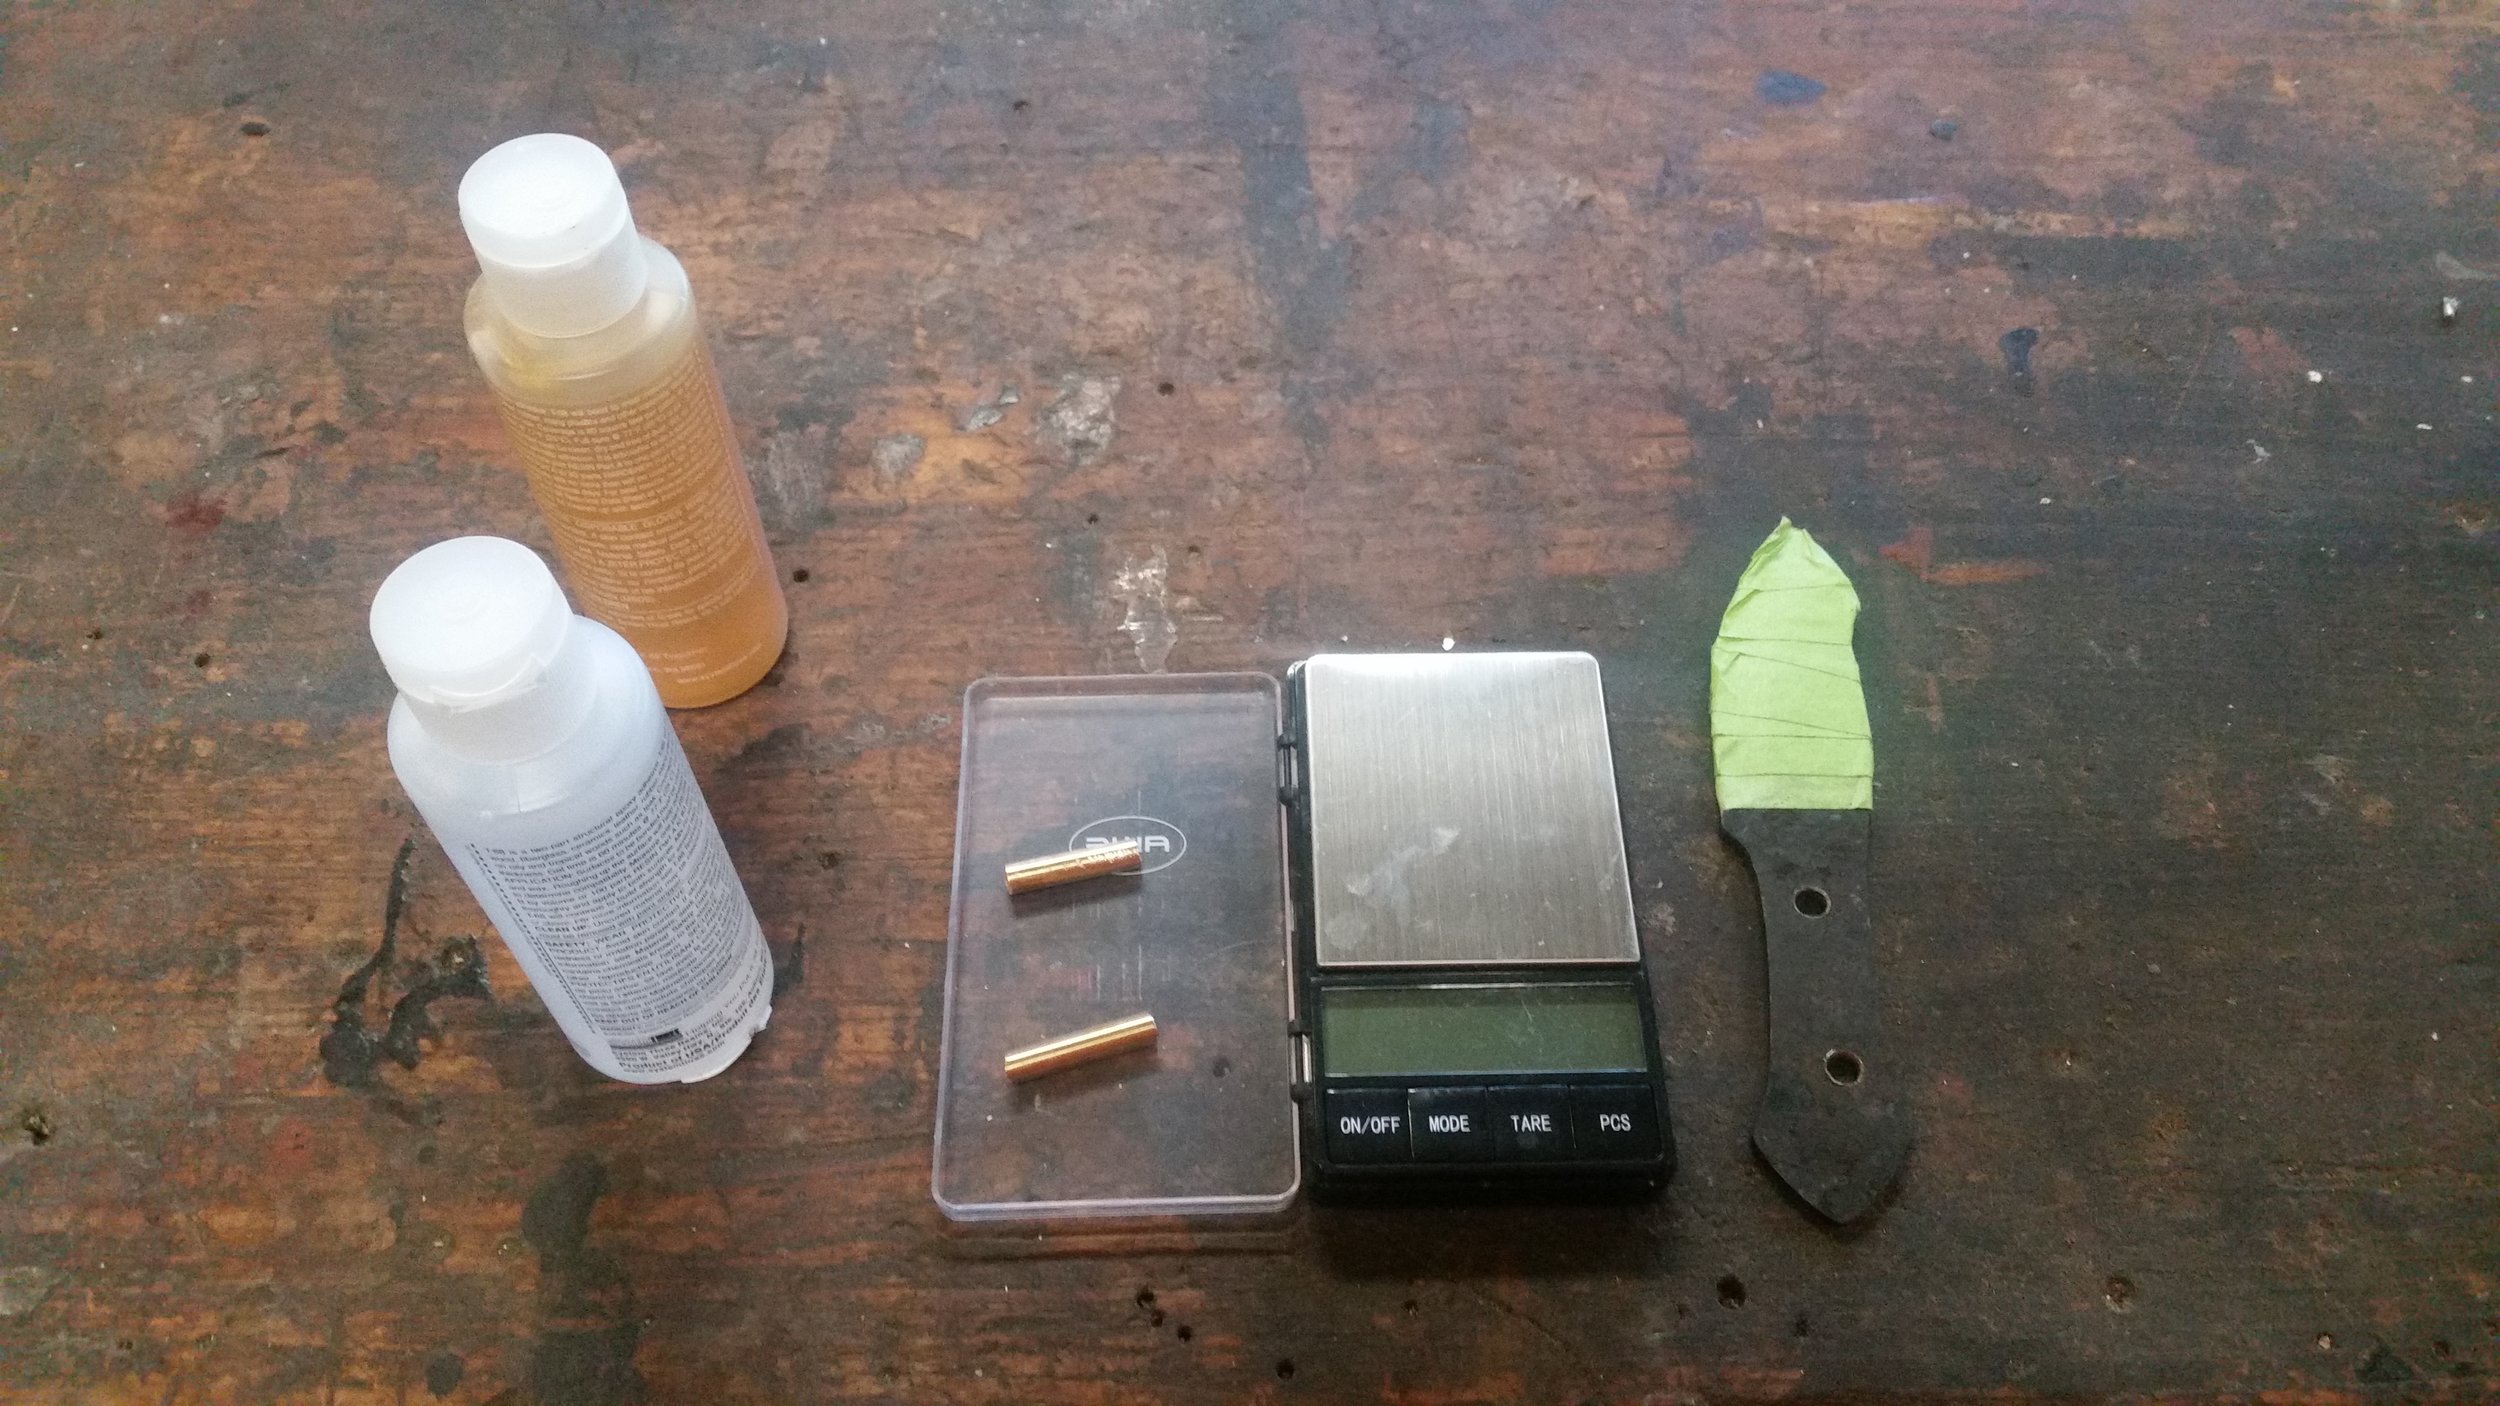
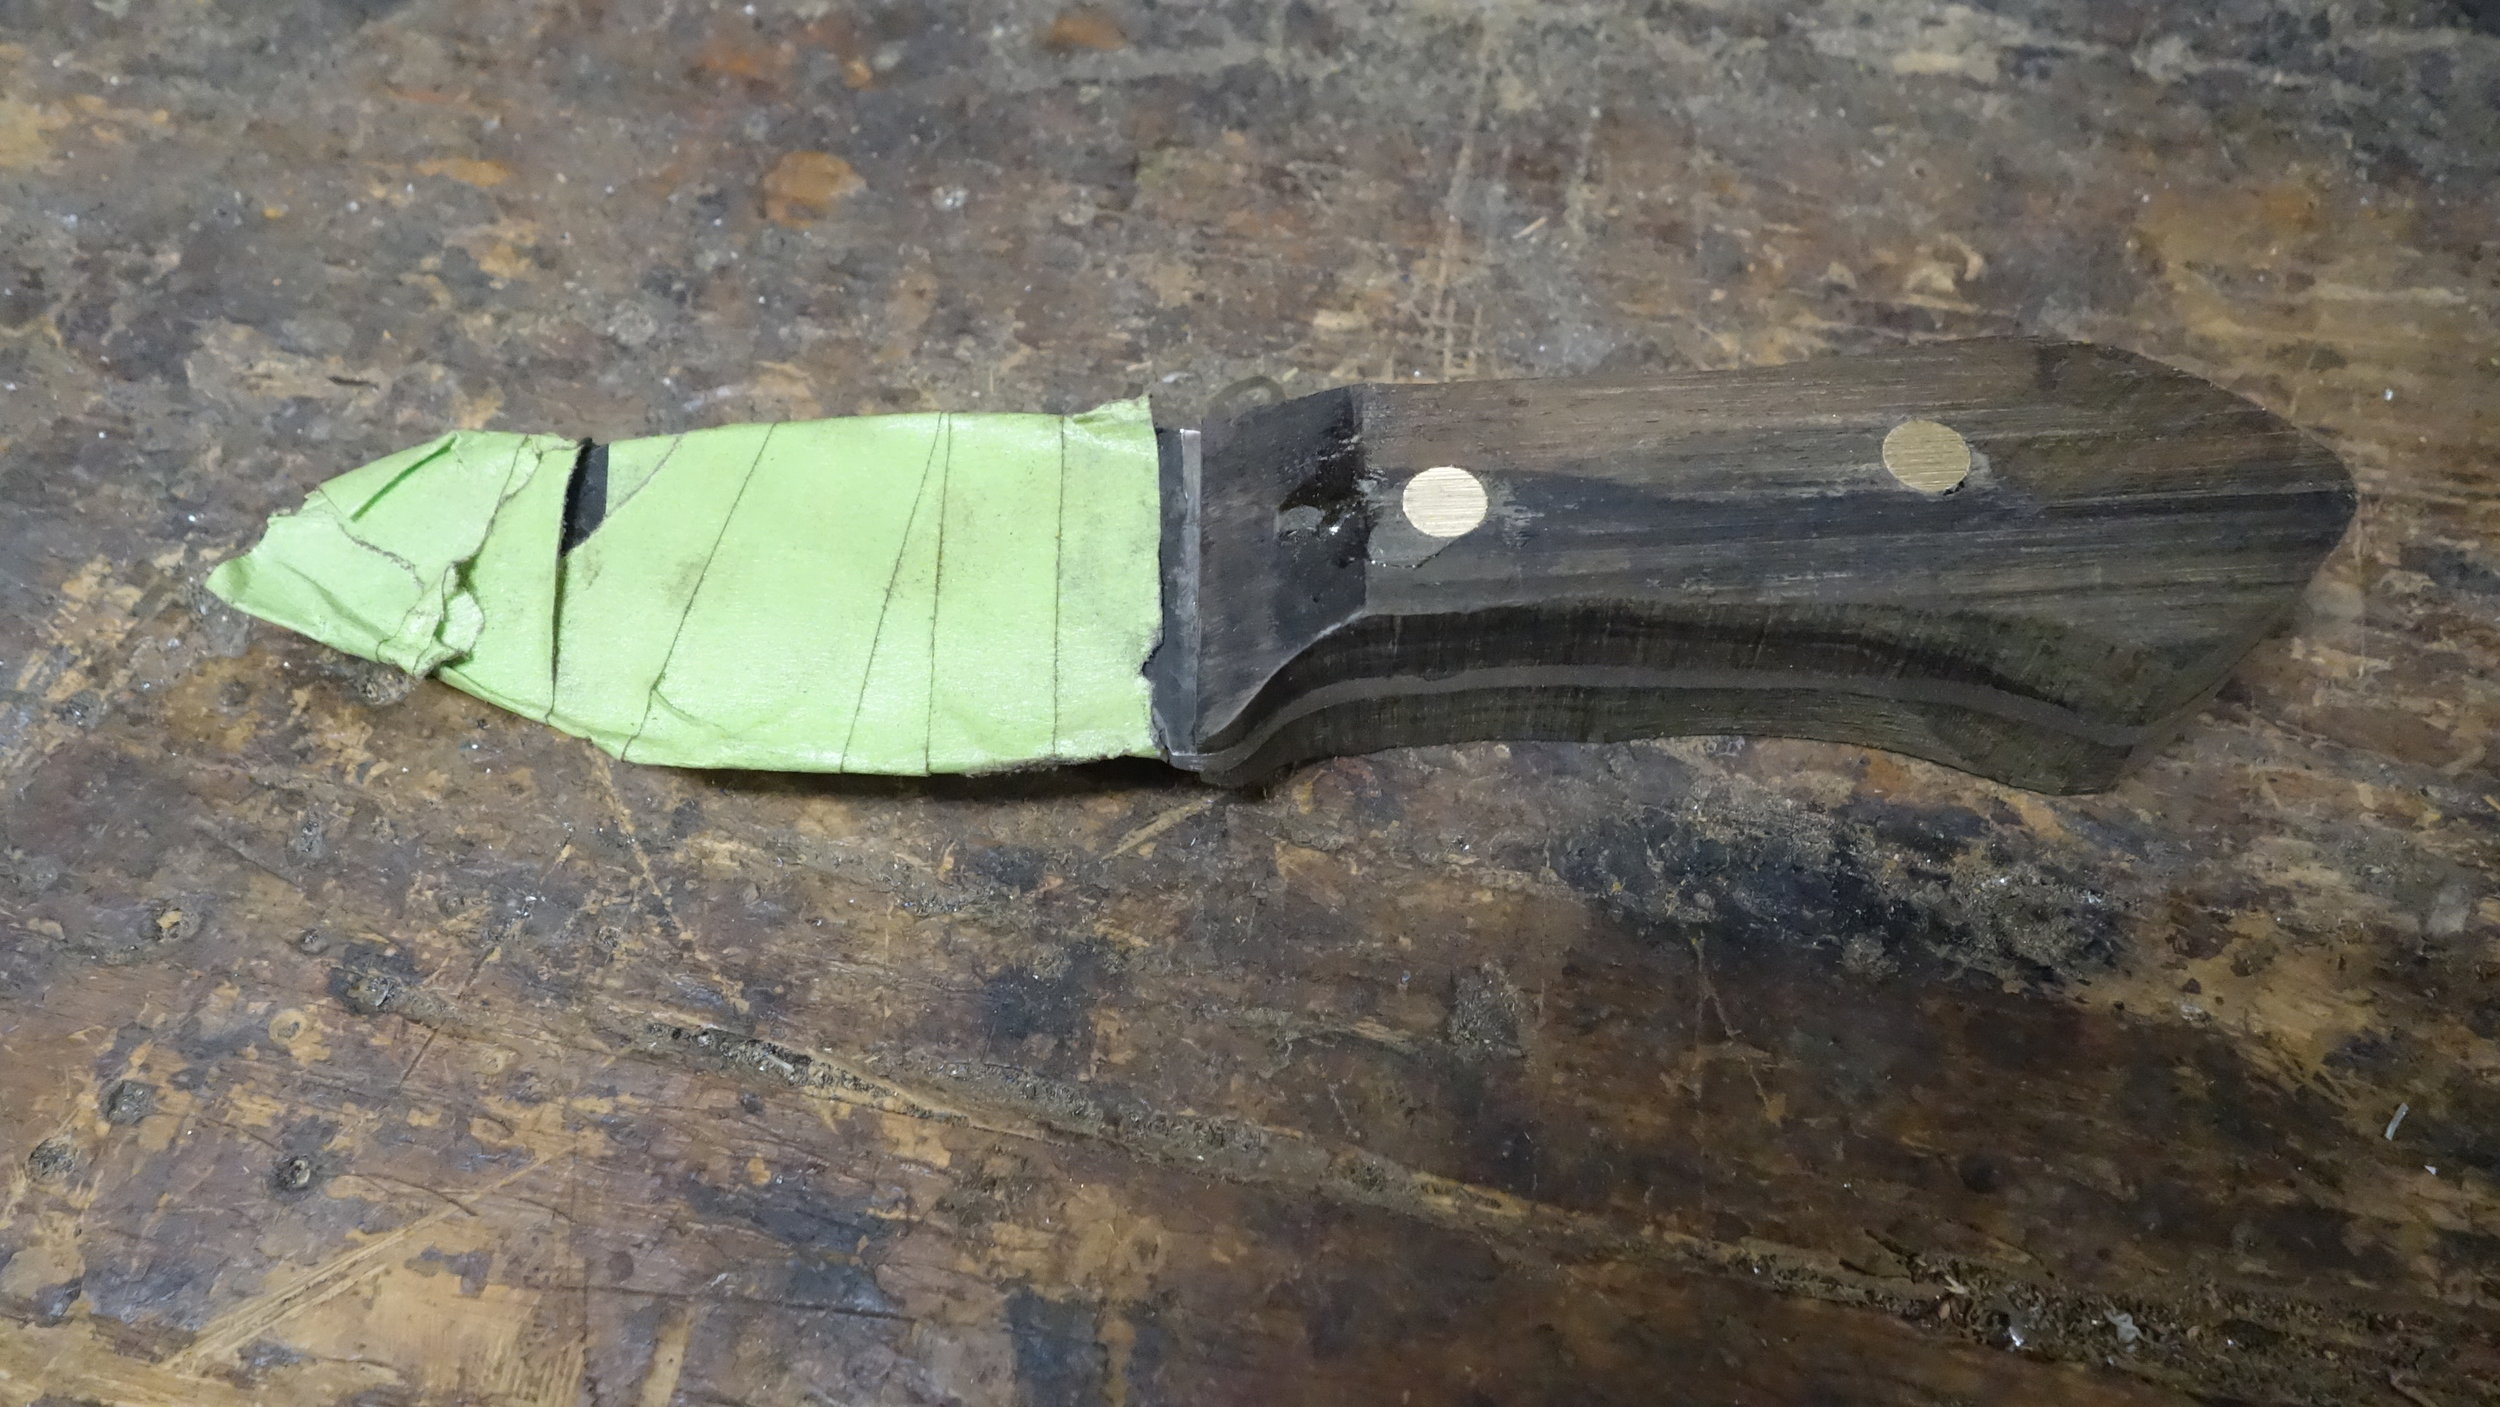
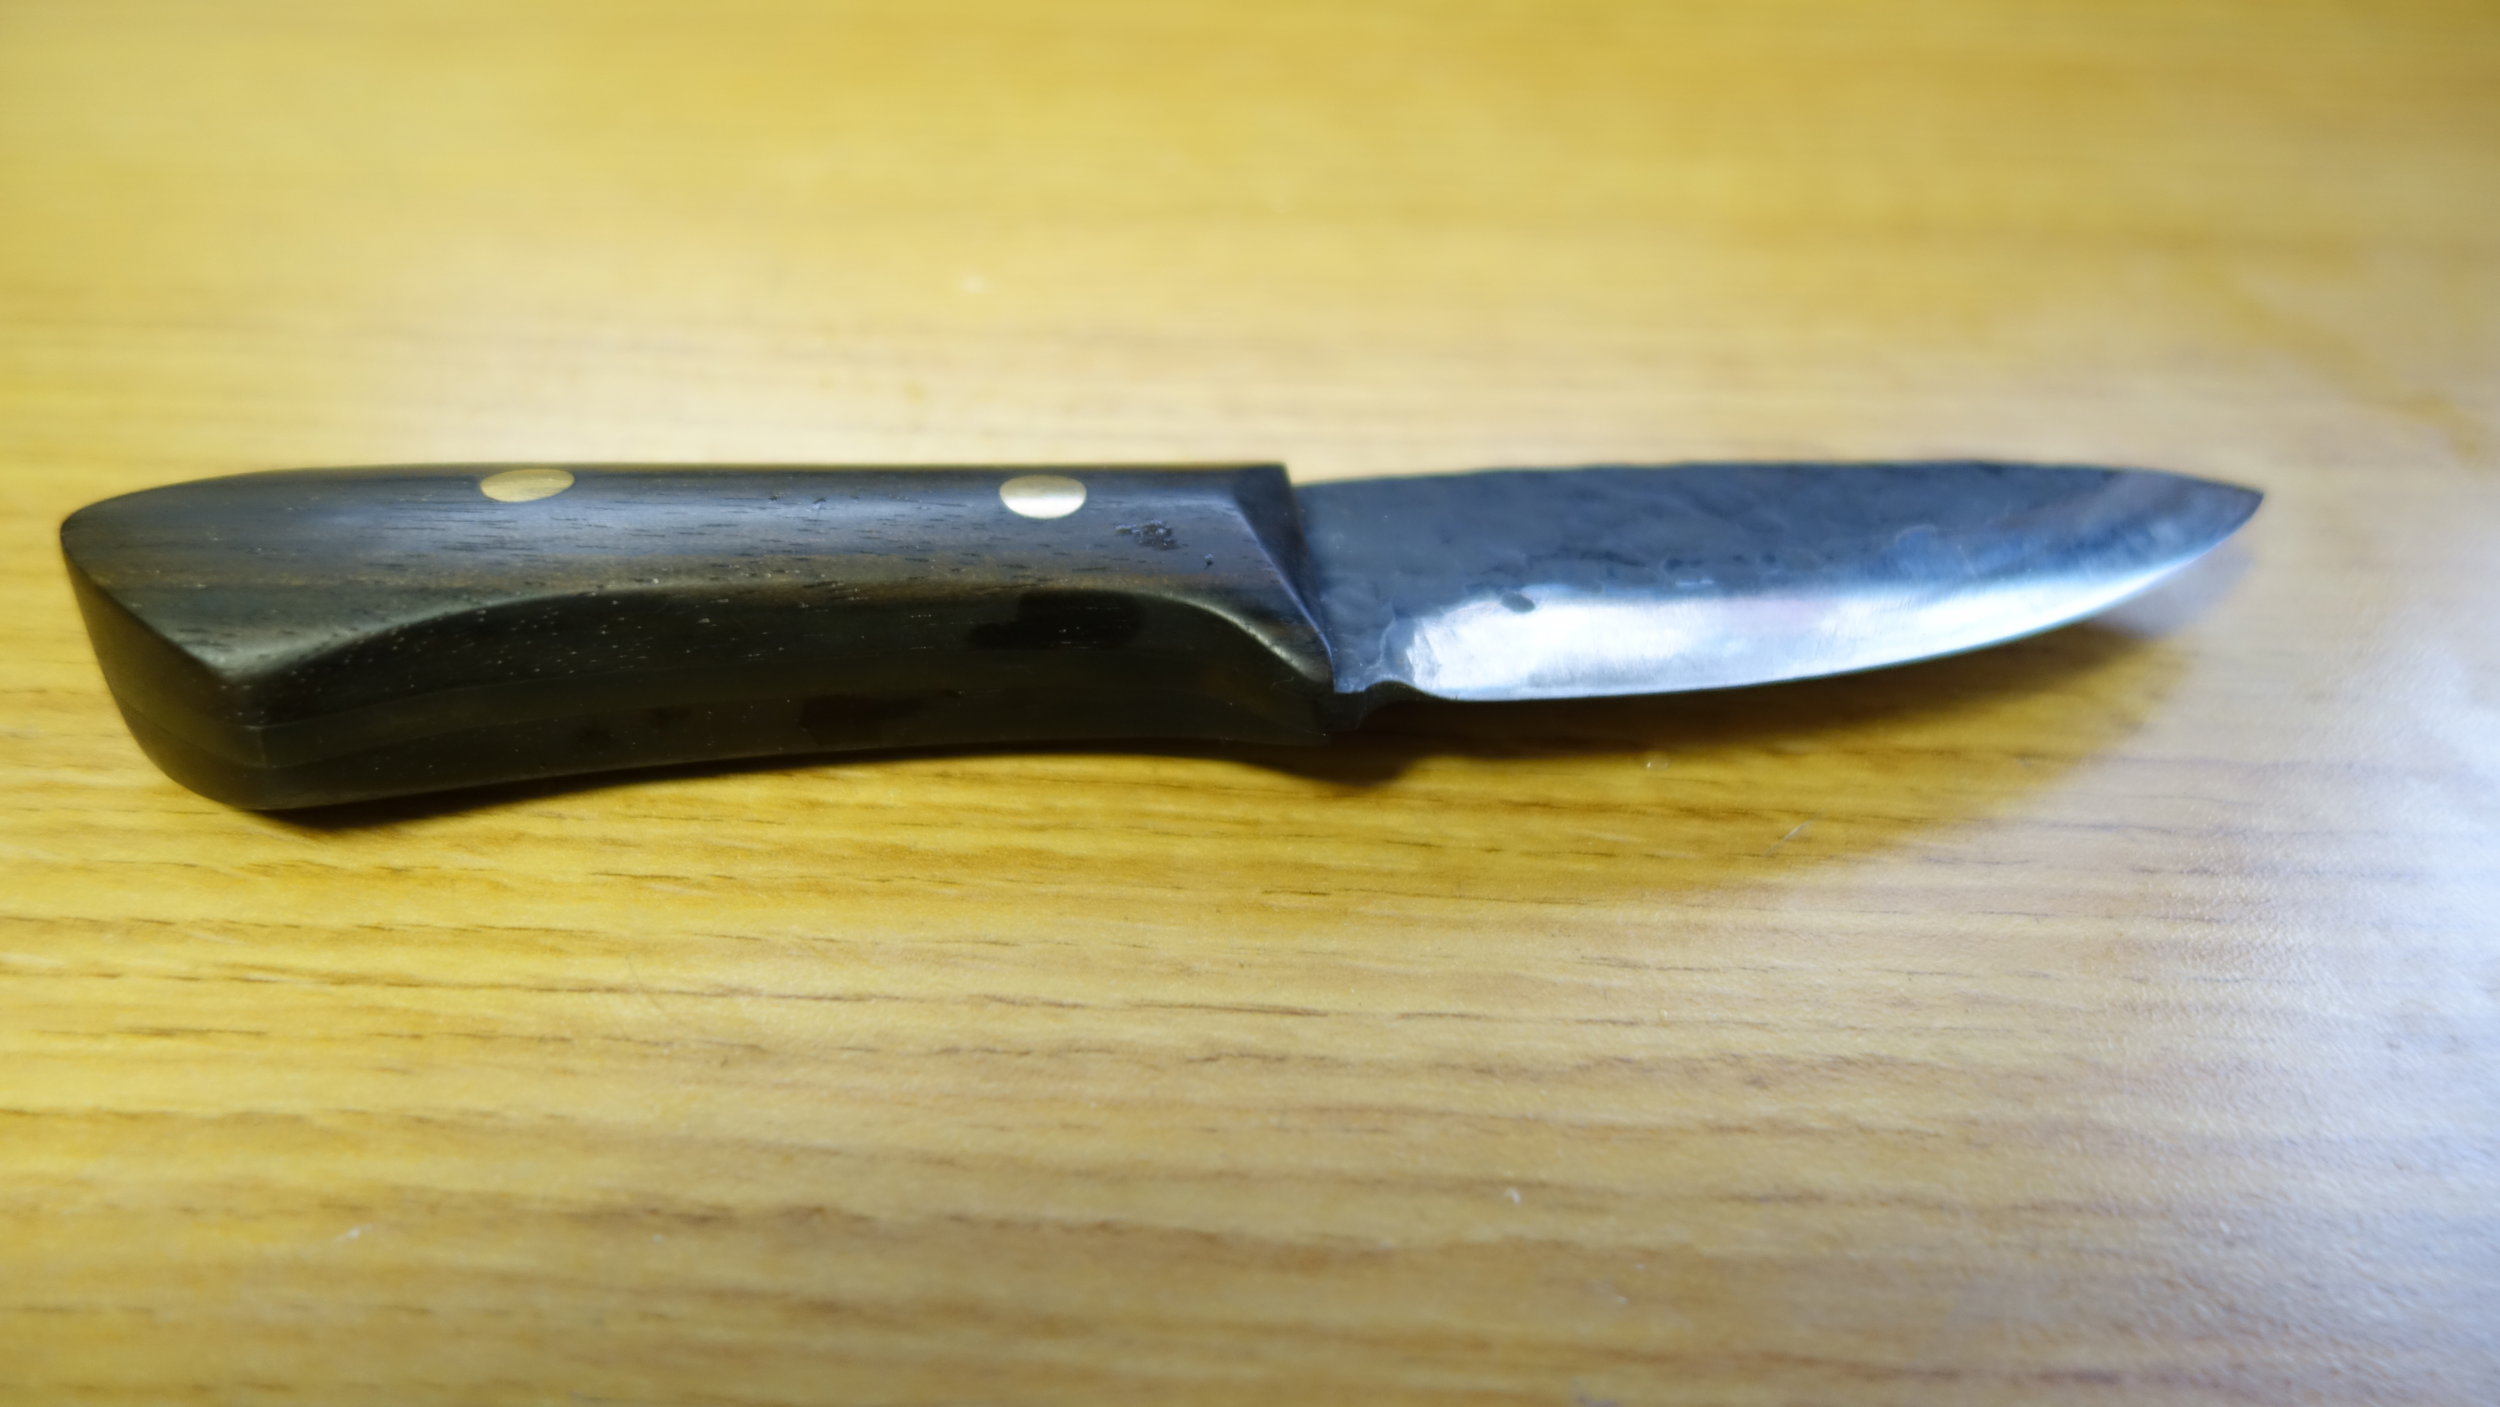
A new camp knife! This knife, which I made as a gift for my uncle, is made from 1095 high carbon steel and follows the same general pattern as my previous camp knives, but has a lot of fun firsts: First micarta handle, first composite handle, first time using stainless handle pins, and (most importantly) this is the first knife for which I have made a from-scratch custom sheath.
The design is loosely inspired by a fall-creek woodcraft knife, but hews a little closer to my prior work (which in turn is based on Walter Sorrels style) in terms of the finishes and aesthetic flares. Now that I have the process down, I’m trying to be more intentional about the theming for each knife. The goal with this one was “no-nonsense modern”, and that informed both the handle and pin materials selection. The leather sheath is a slight departure from that theme, but my uncle lives in New Mexico, and I wanted to bring some of those browns and tans into the project.
The Blade:
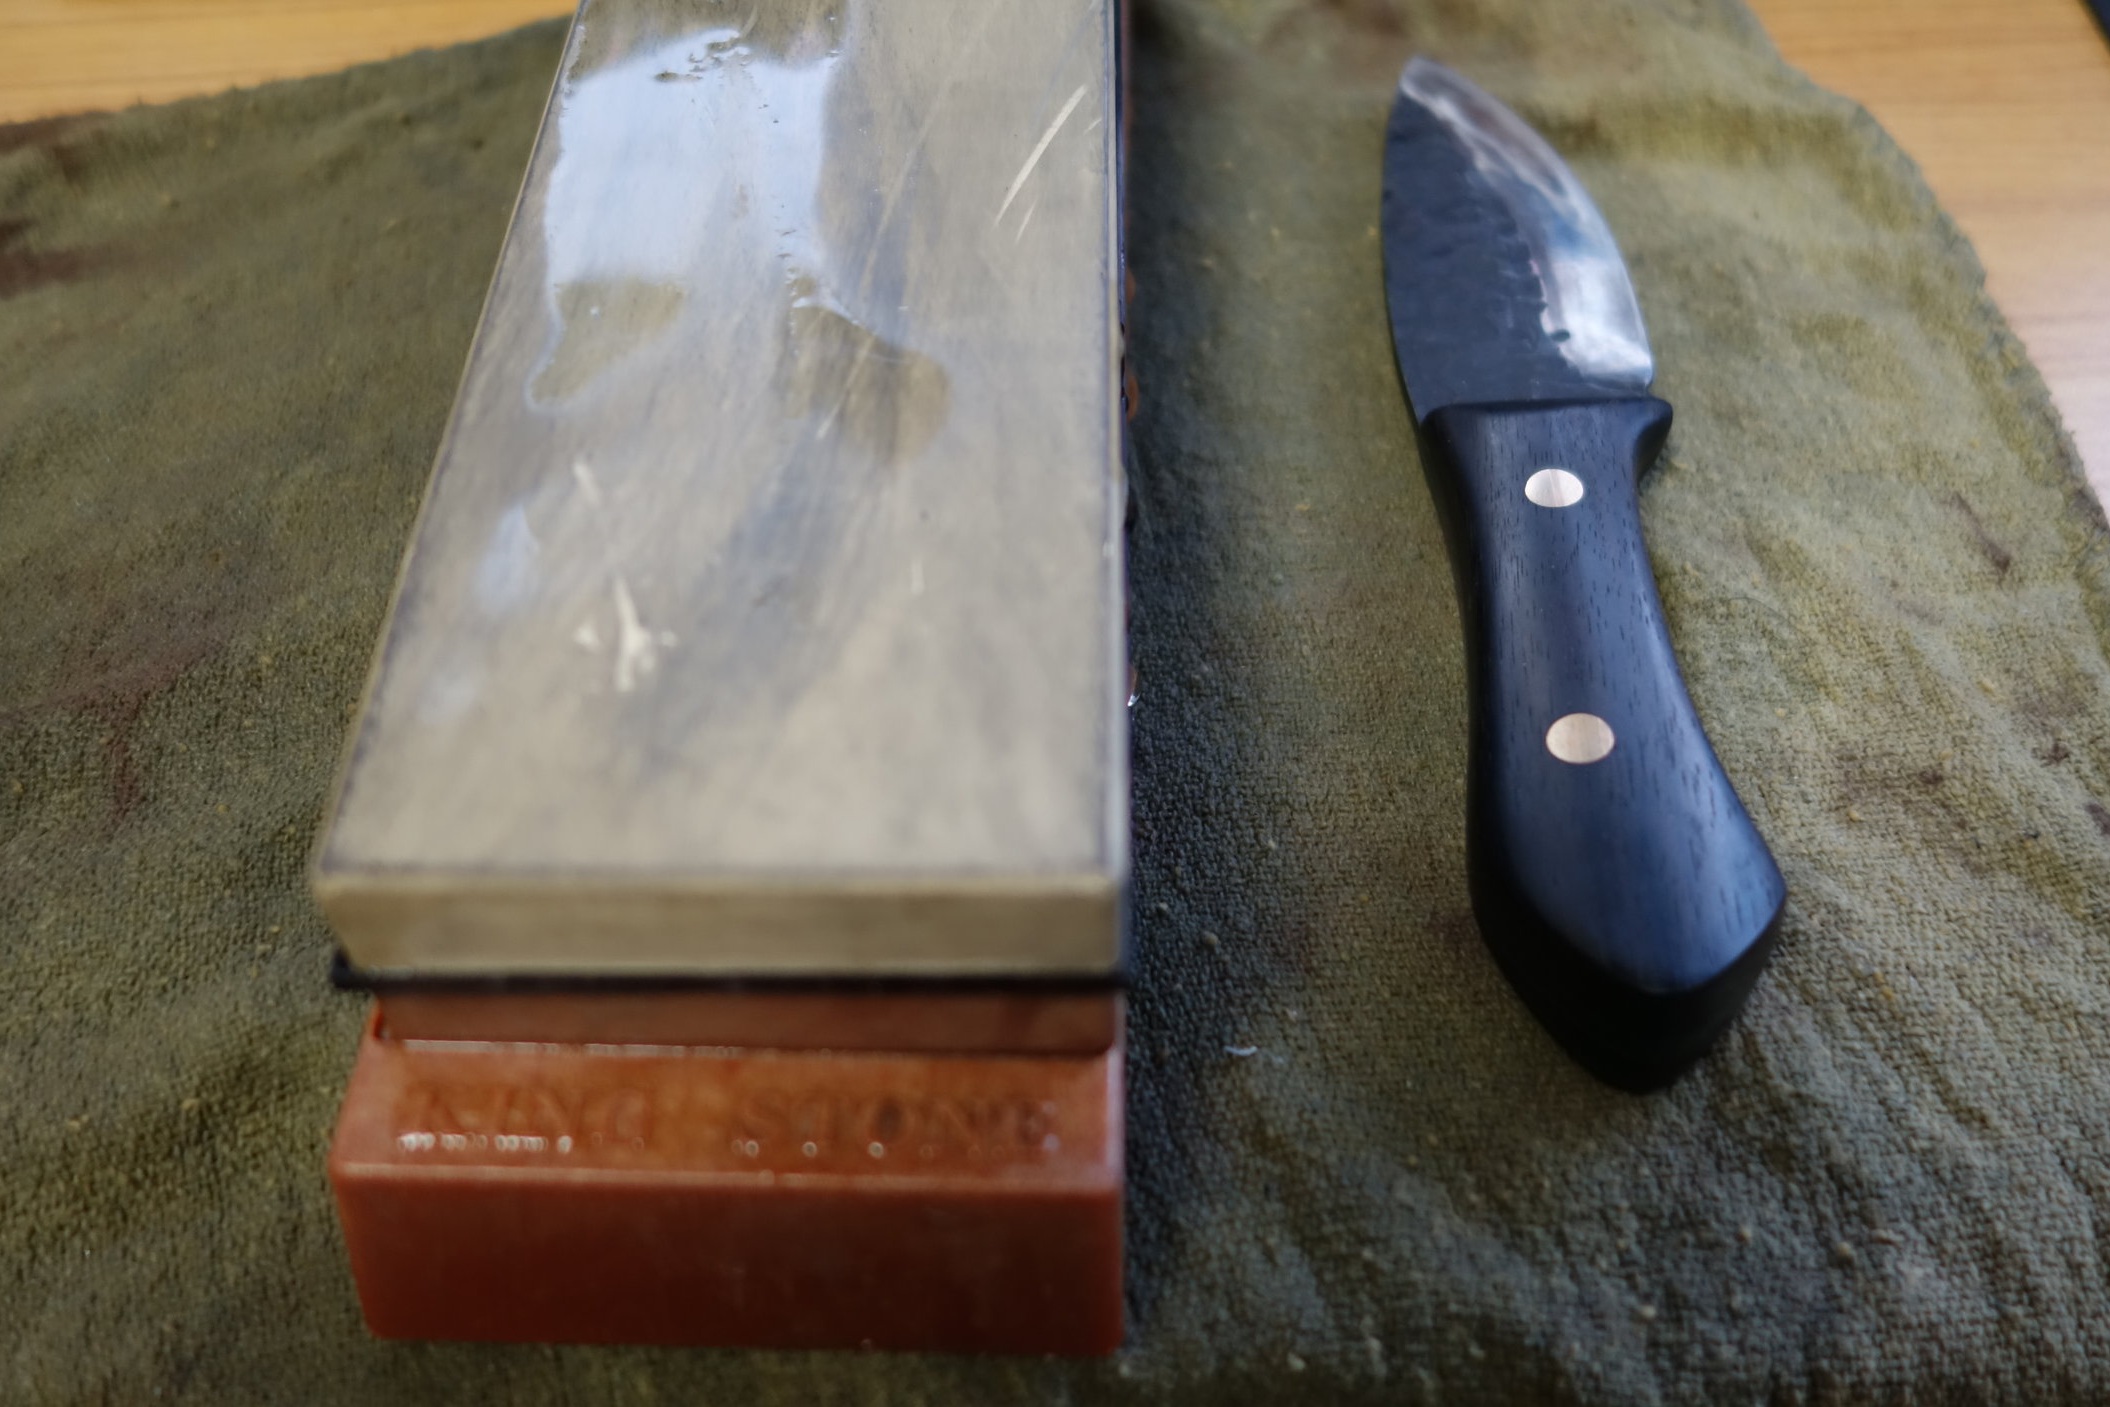
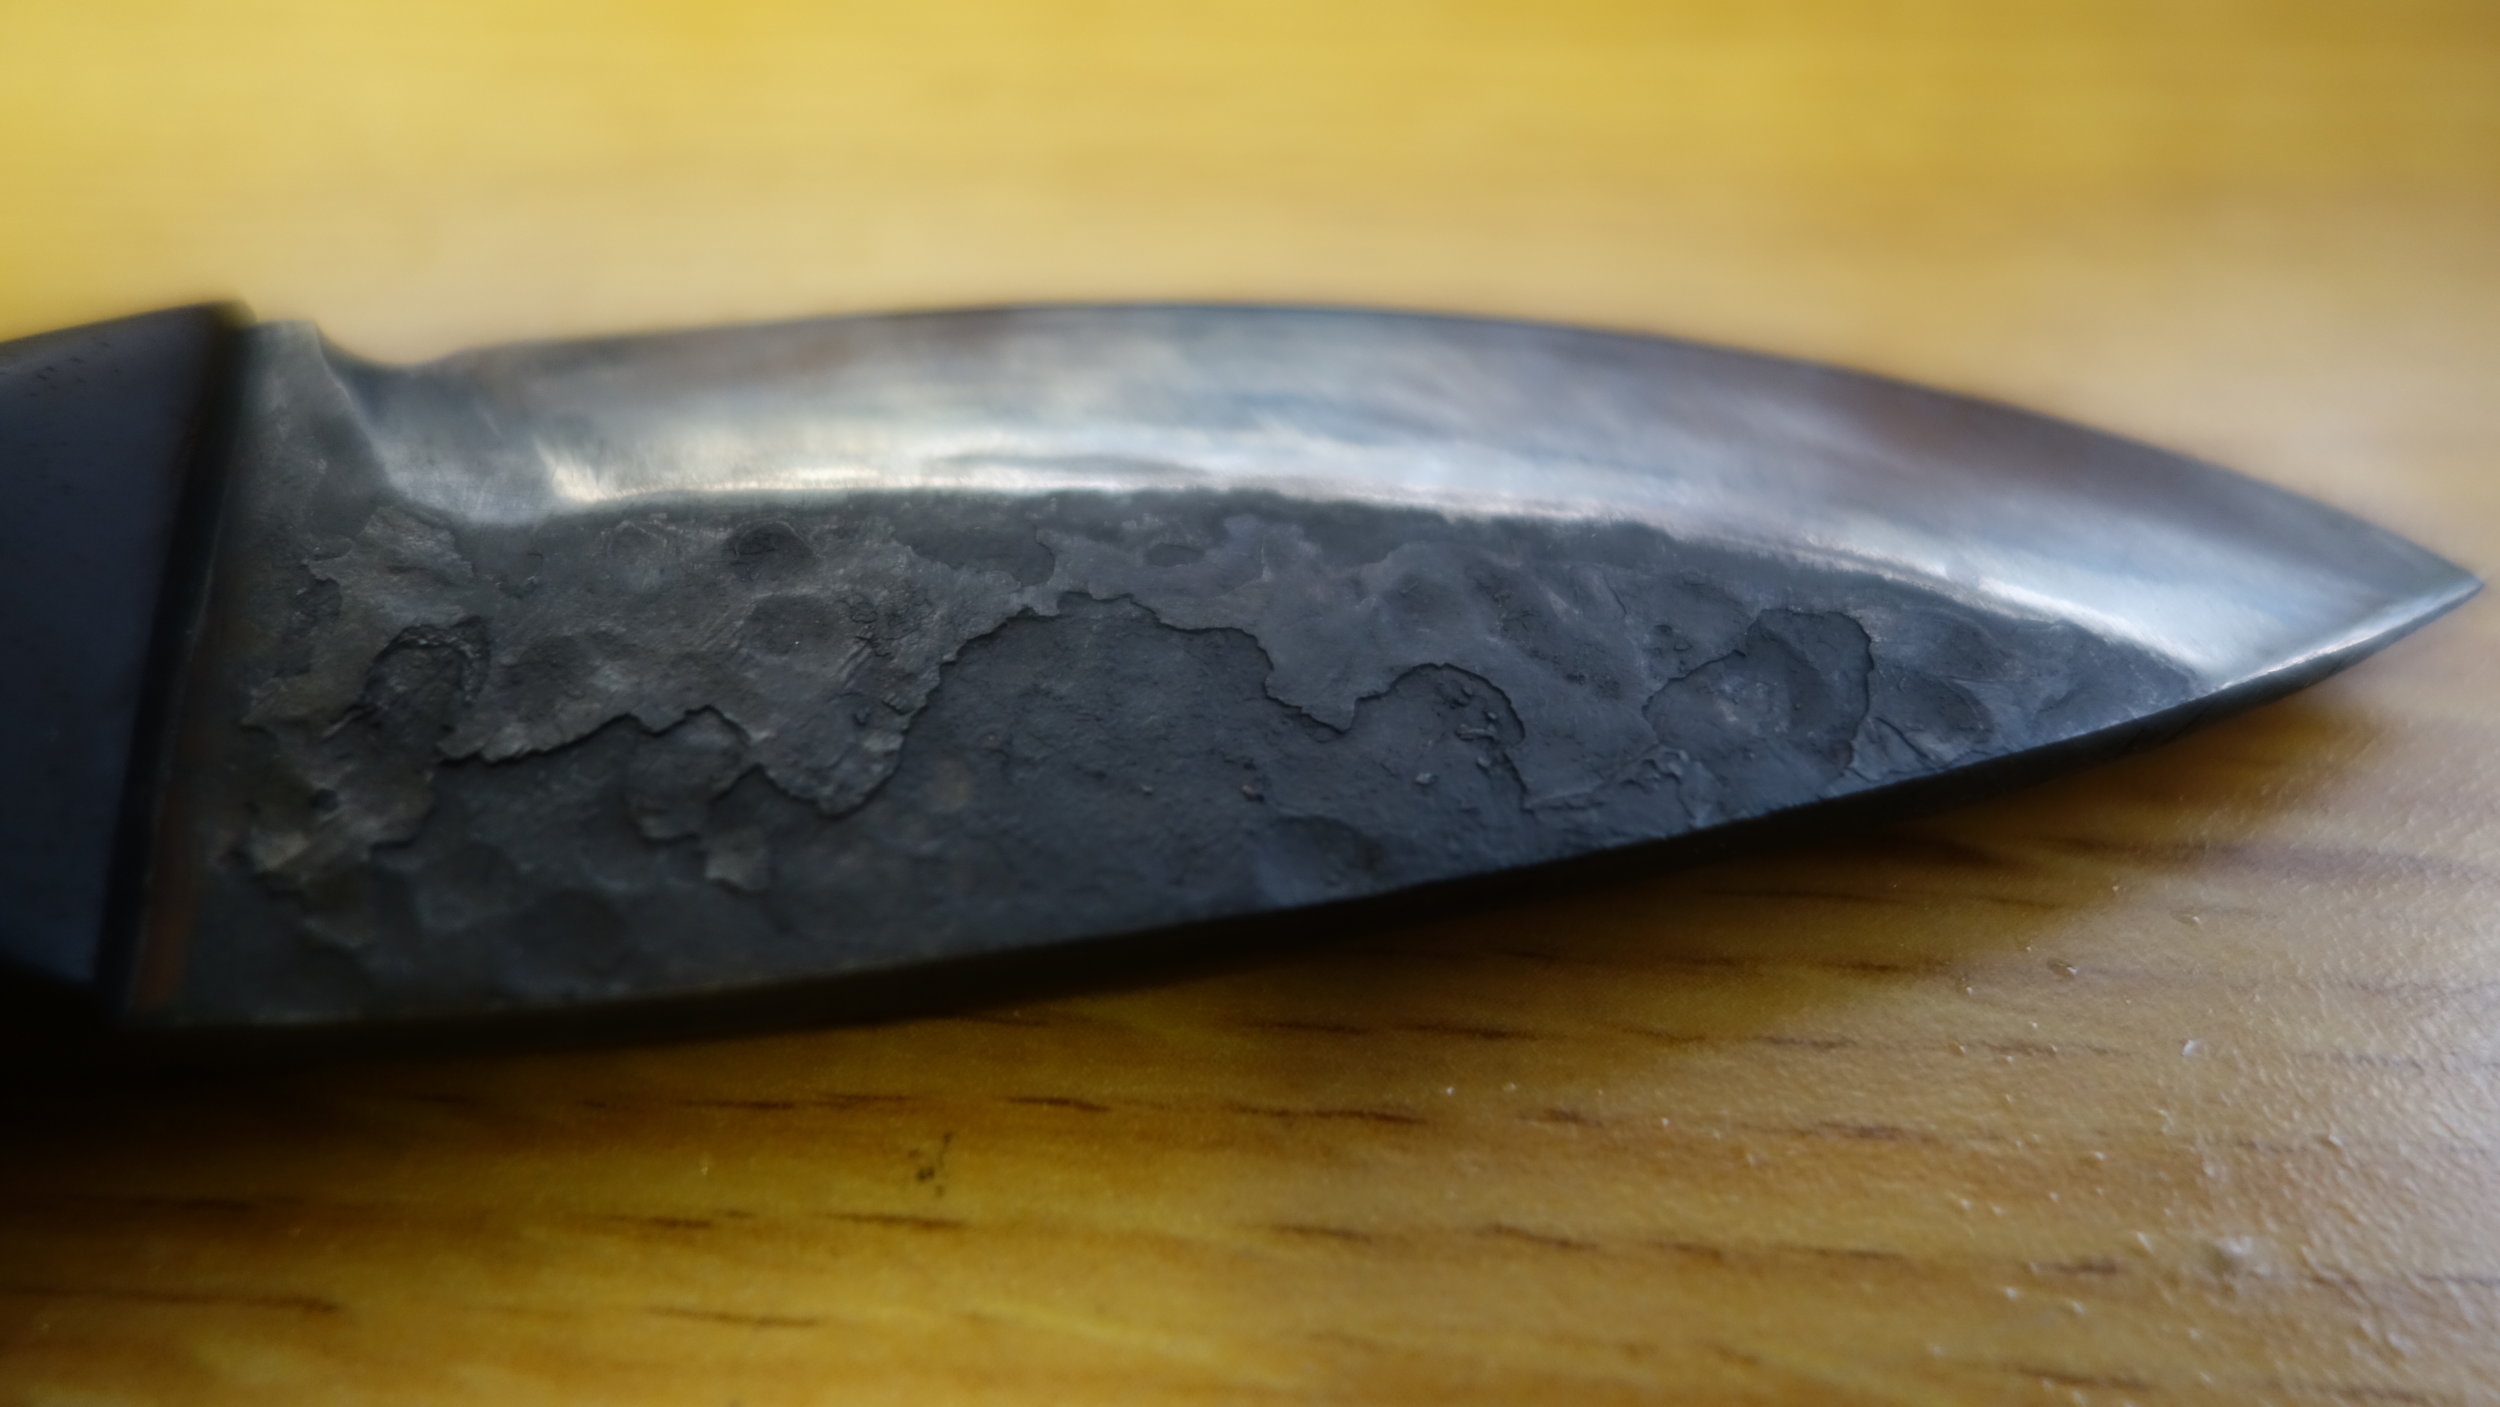
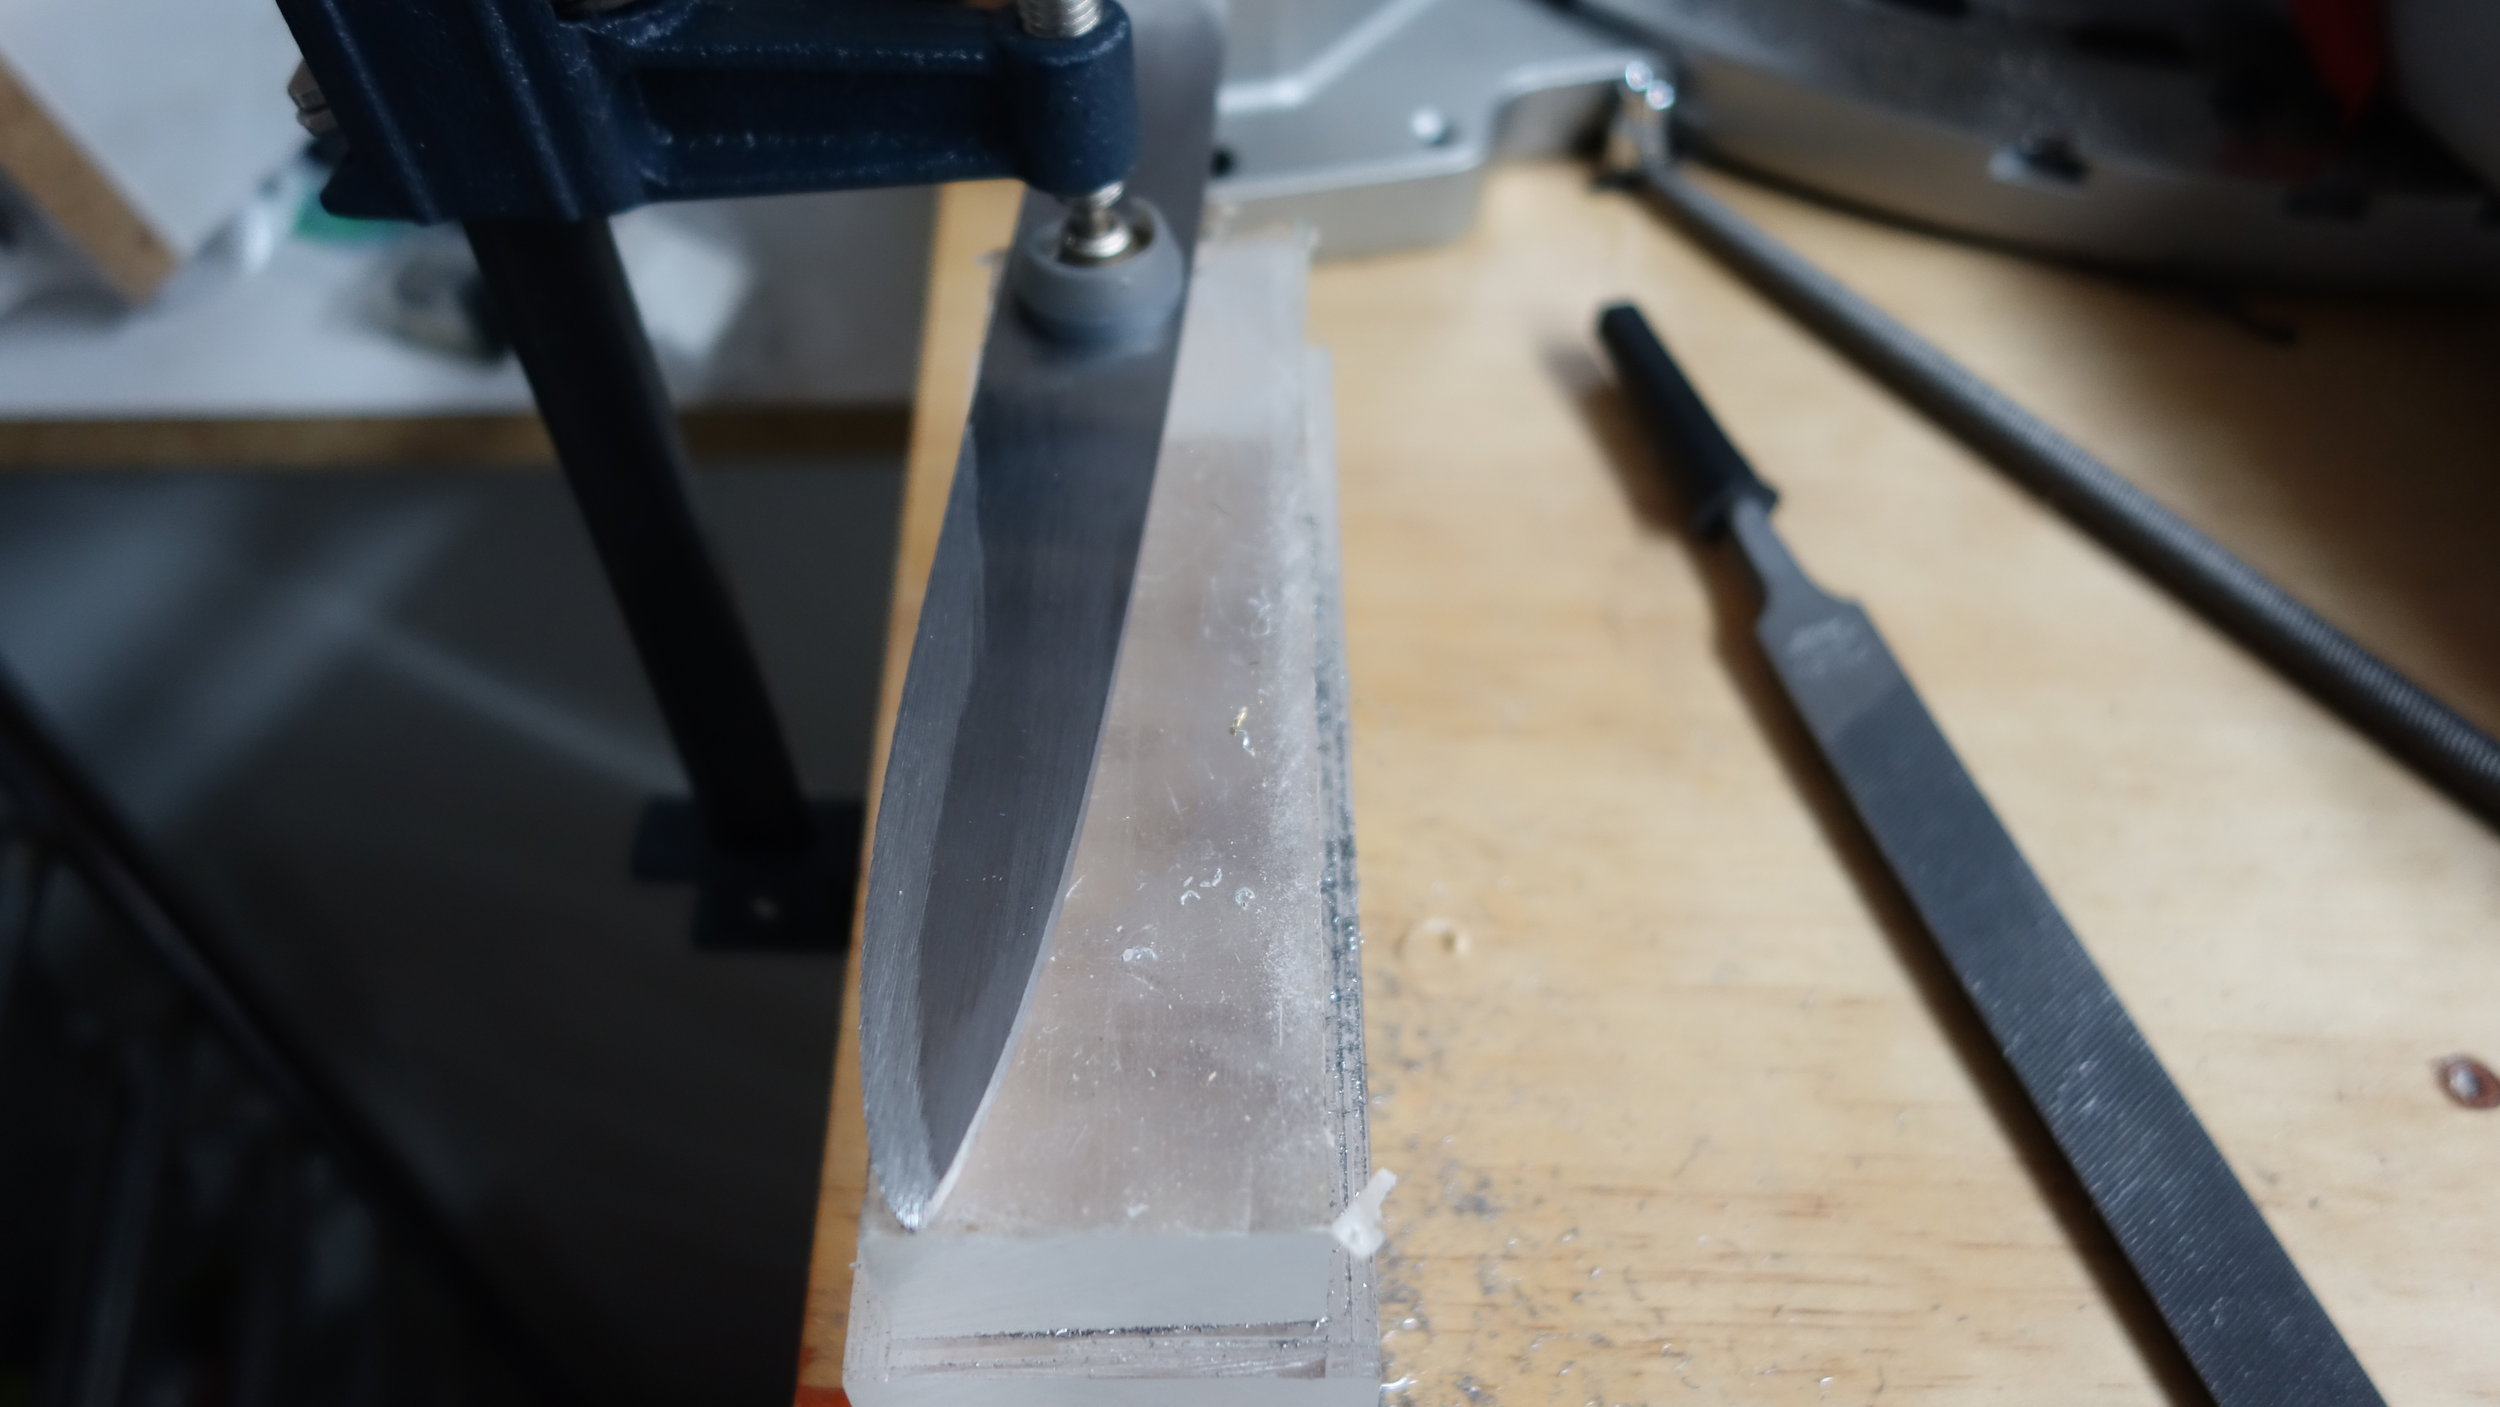
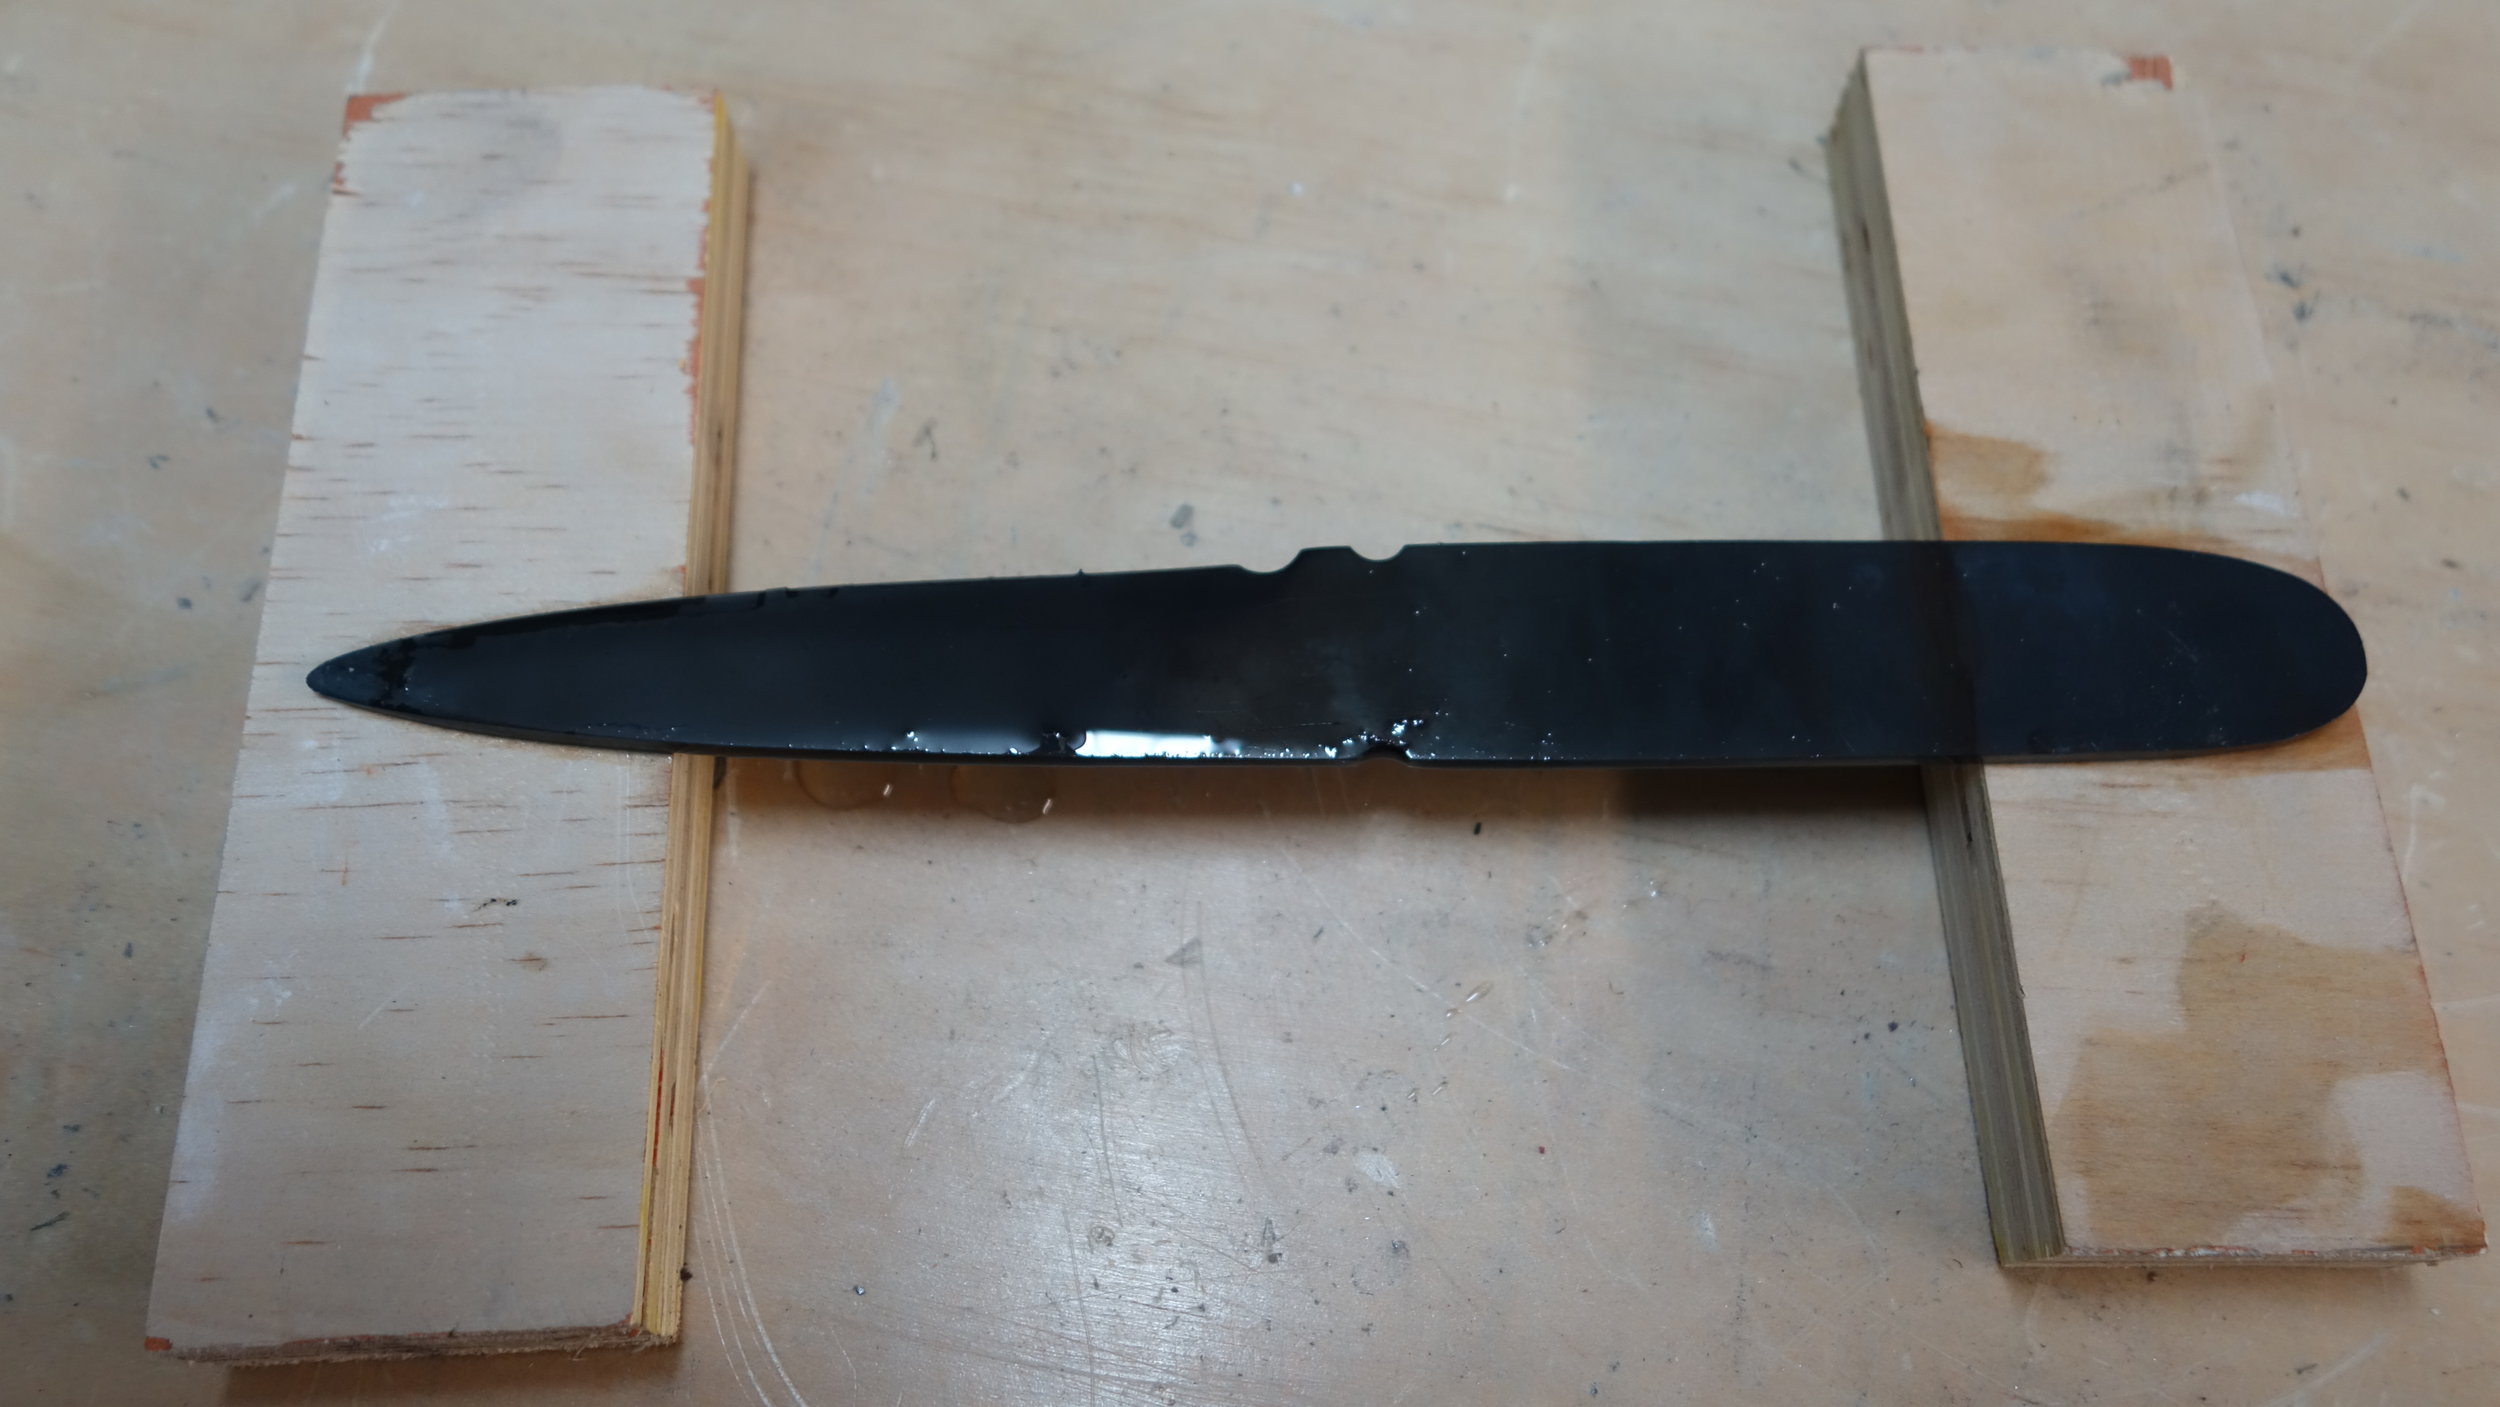
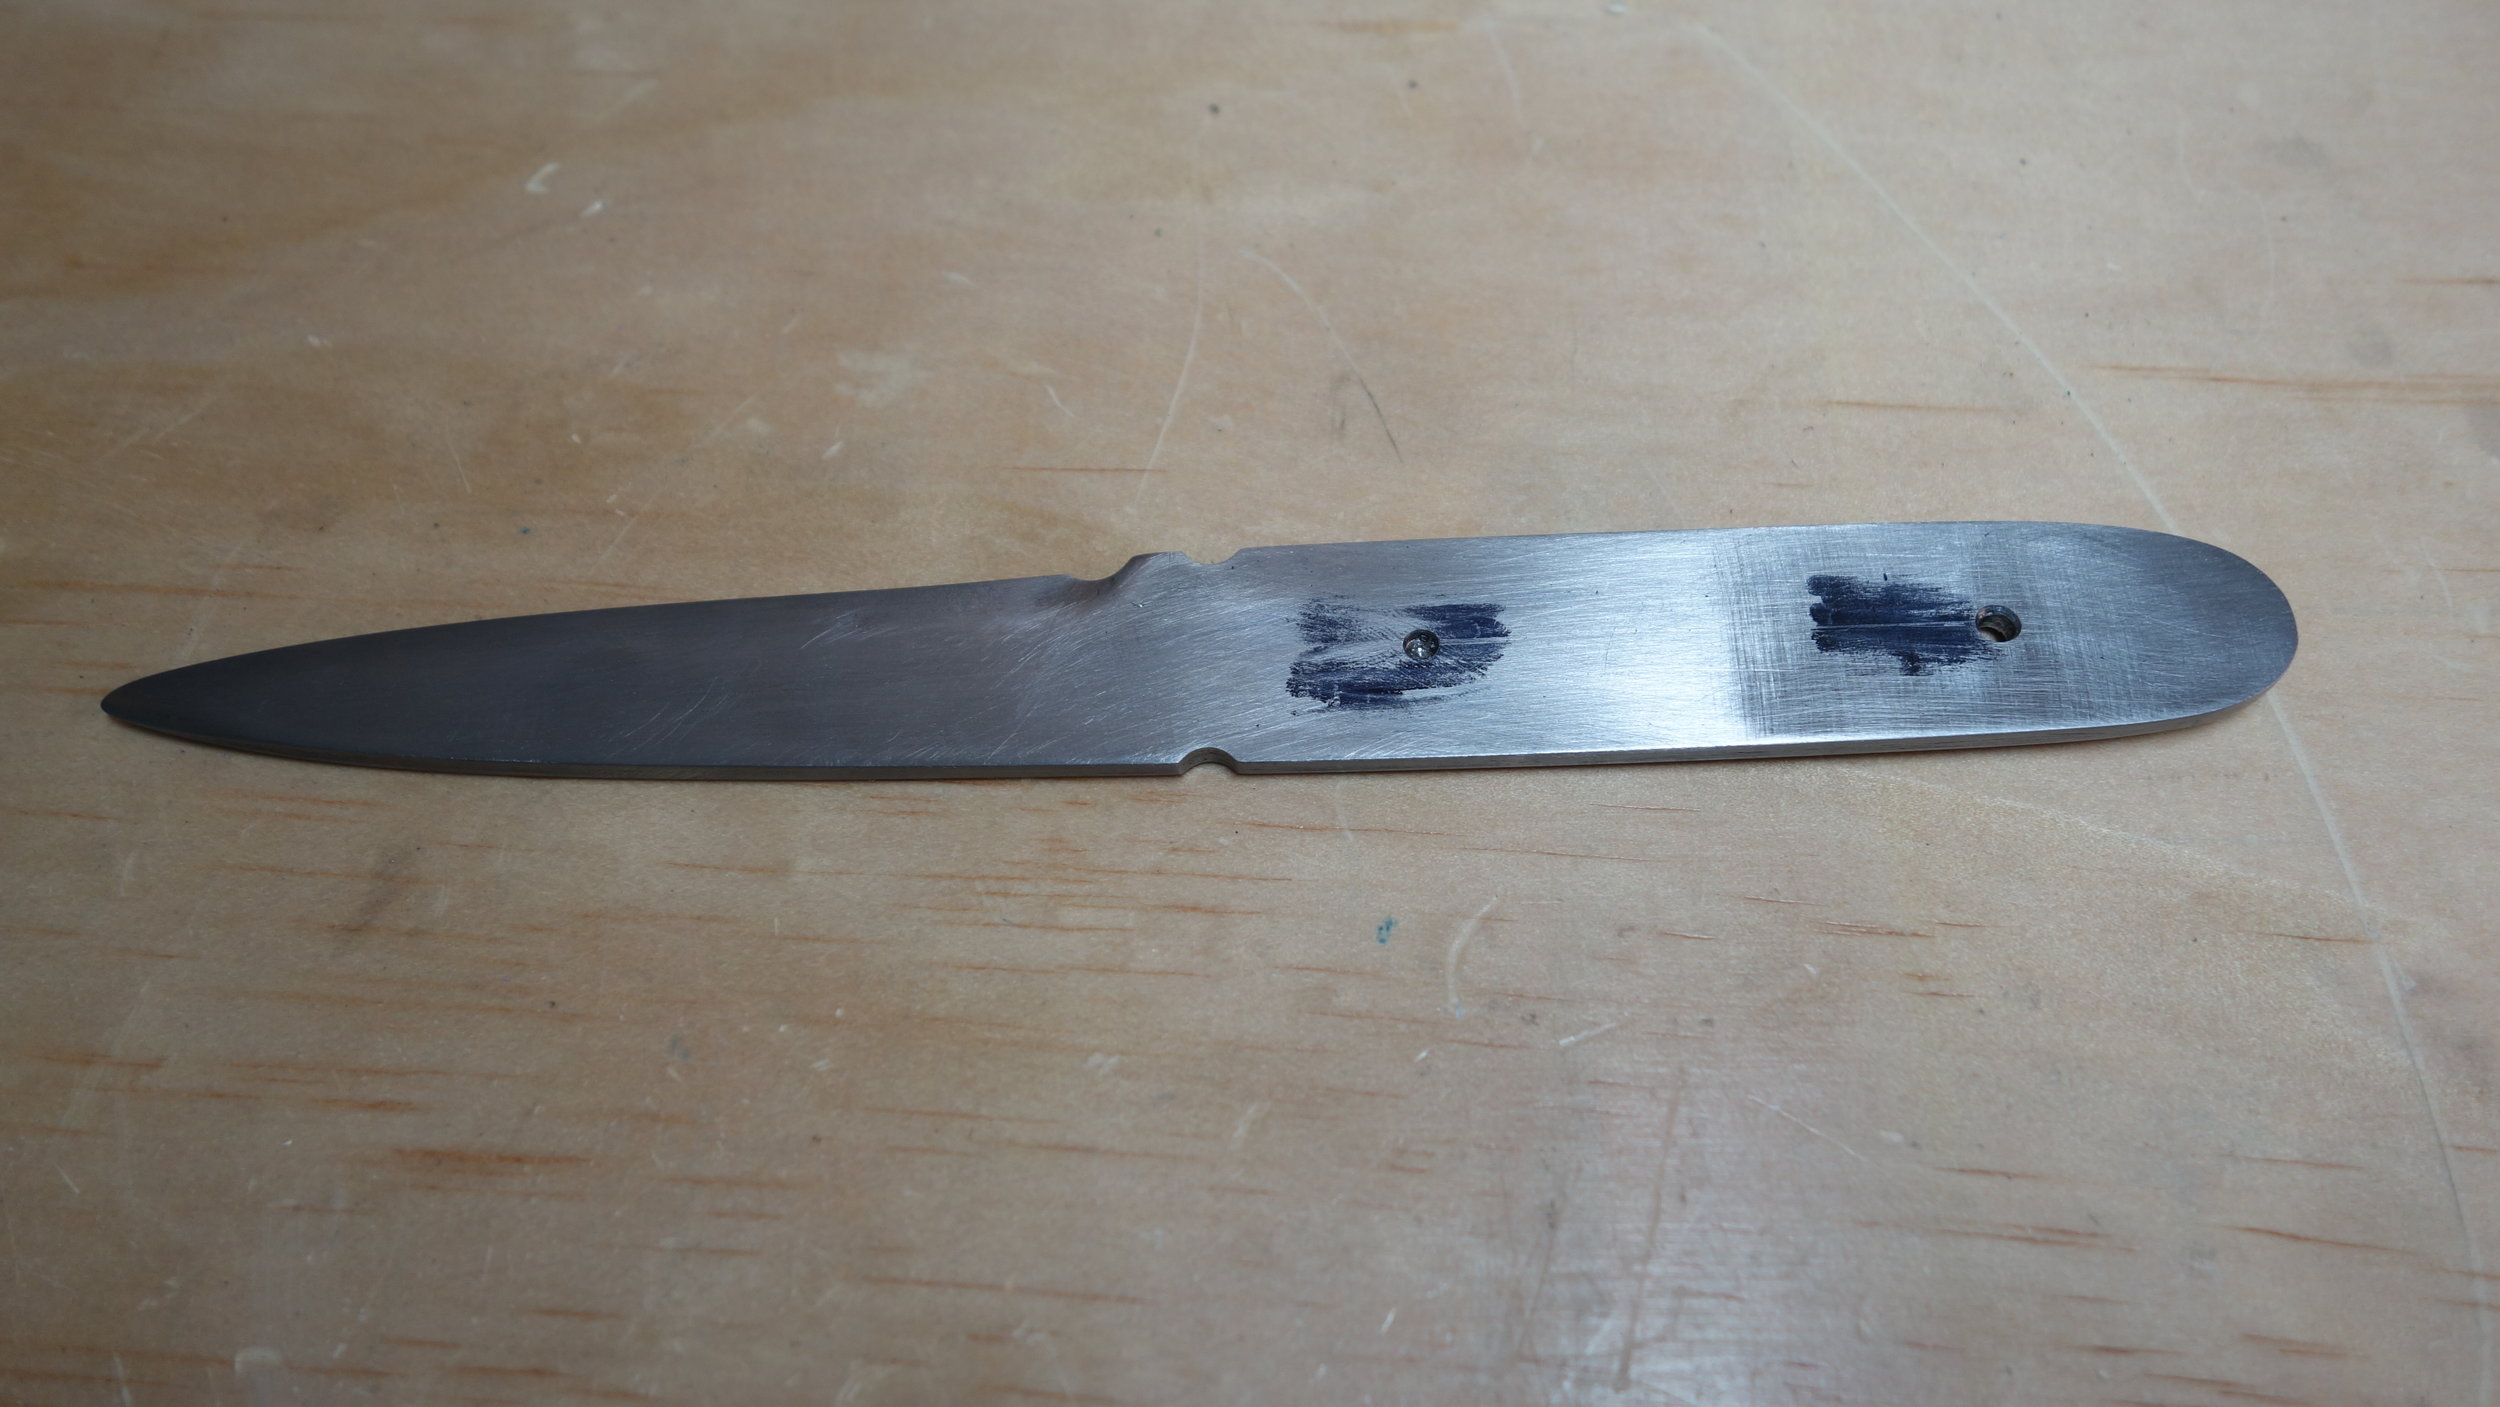
Not too many pictures of the knife itself I’m afraid, I made this blade as a side project while running a knife making class and photos weren’t top of mind. It follows the same process as my earlier camp knives though so you can take a look at those for a sense of the process. I did try putting a mustard stain on the blade (since 1095 takes a patina easily it creates cool patterns) but the result ended up looking kind of messy so I removed it. I think next timer I’ll avoid overlaps between mustard lines. The finish is a skotchbright-satin for easy touch ups. I did try out an ATP 641 anti-scale compound that worked pretty well. I’ve used it on a variety of tools since and it does a pretty good job.
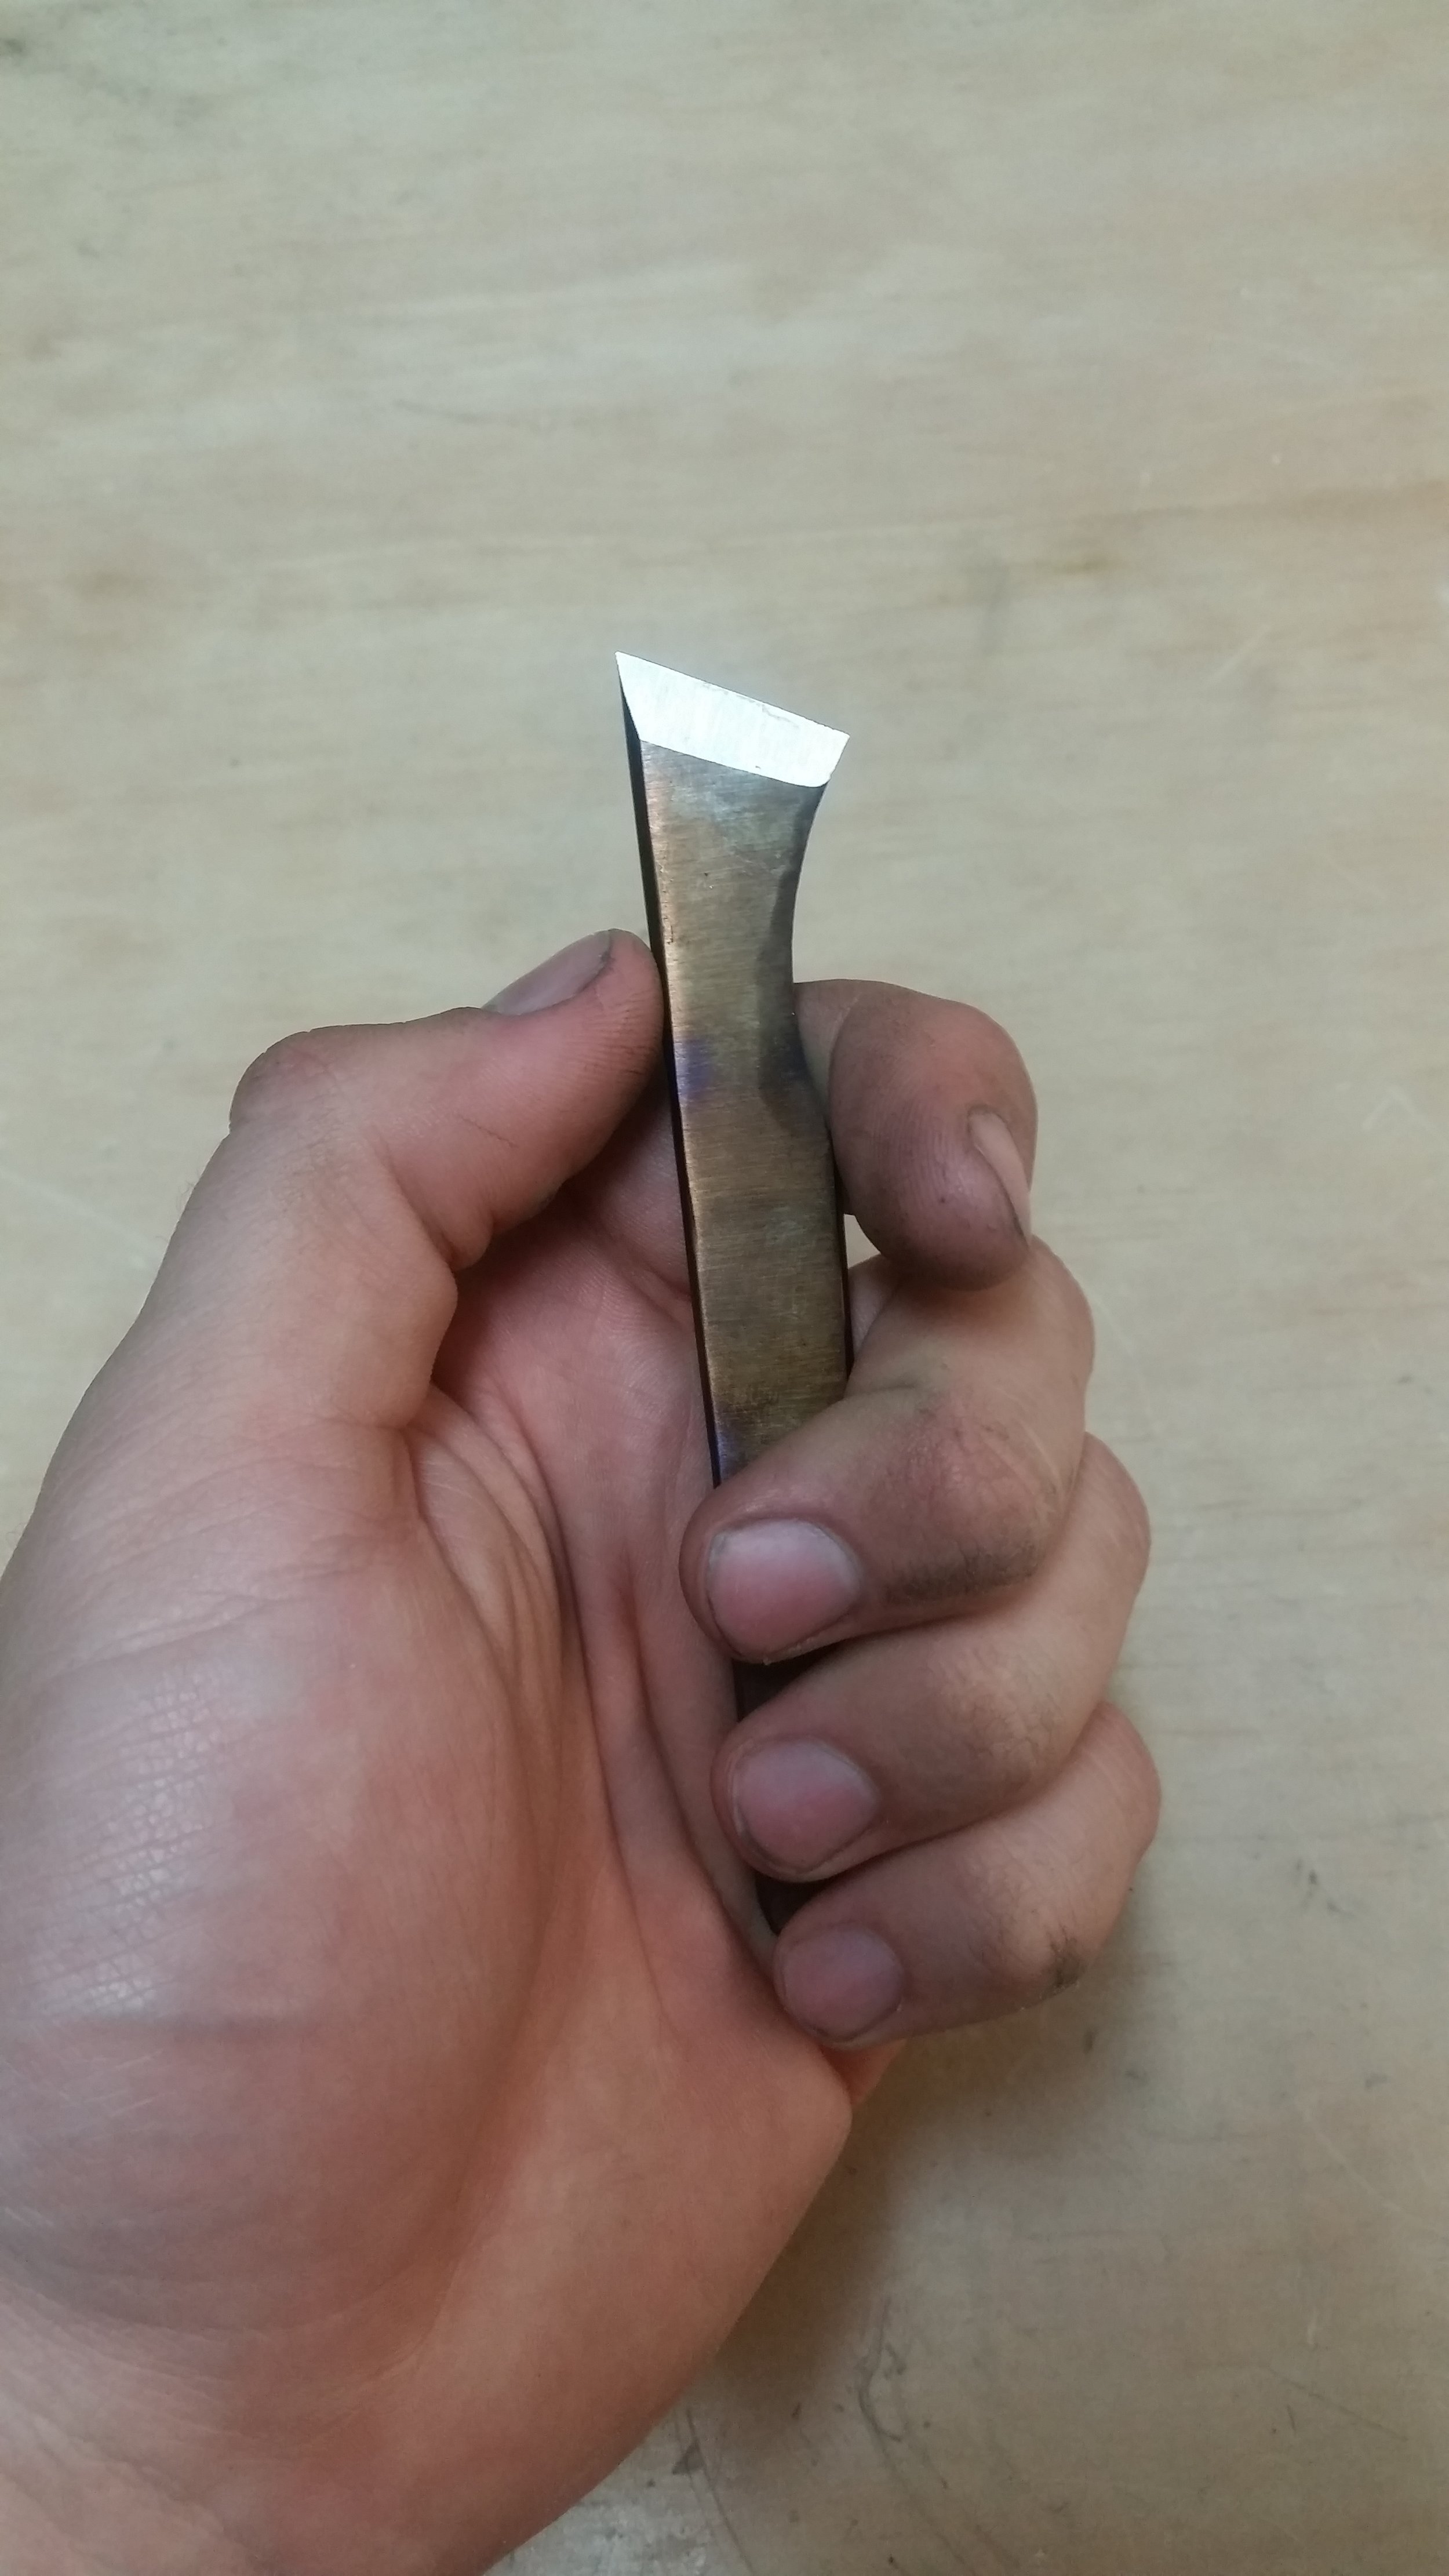
The handle setup is black micarta with orange acrylic panels for visibility. This was a really easy way to add visual flare (I epoxied the each panel first before attaching it to the knife) I’ll definitely do it for future synthetic handles.


The Sheath:
This was the big learning opportunity for this build: Custom Sheath! I started out by tracing the blade onto printer paper, then added half an inch to the perimeter, a belt loop tab, and cut the leather to match. I then wrapped the knife in plastic and wet-formed the leather to match the blade shape. I do not now recall applying glue, but from my records I think I went with “Barge all-purpose TF Cement” applied after the shaping and before the stitching. Once shaped, I used a stitching punch to space the holes, and then drilled them out. The thread is saddle-stitched, waxed, and hammered for a clean durable look. You can’t see it in these photos, but there is a third layer of leather that acts as a liner and protects the stitching from the blade in use.
Overall, I am very pleased with this sheath, and I will likely use a similar design on my next few knives as I get a feel for the process. The one design element I want to call out specifically is the belt loop. Here I used a pretty short belt loop, which I find to be more comfortable for around-camp use. That is partially because I expect my uncle to get more use out of this tool car-camping. For someone that is going backpacking, a longer loop (so it hangs below the backpack belt strap) might be appropriate.