Summary:
This is a knife that I made, hopefully the first of many, as a collaboration between myself and my father. I made the blade, and he made the handle. Both the blade and handle were completed almost entirely using metal files and a hacksaw. The one exception being an unsuccessful attempt to put the final polish on the blade with a handheld belt sander.
This knife is based on a very excellent video (below) by Walter Sorrels and is composed of 1/8" 1095 steel. Which I quenched in peanut oil and then subjected to two, one hour, 350 degree (f) tempers in the oven. It remains to be seen how well the knife holds an edge in practice, but it is extremely sharp, which I find to be encouraging.


Build Pictures:

Cutting the steel to size. The hacksaw made supprisingly quick work of it.

Failed attempt to do the final polish on a handheld belt sander.
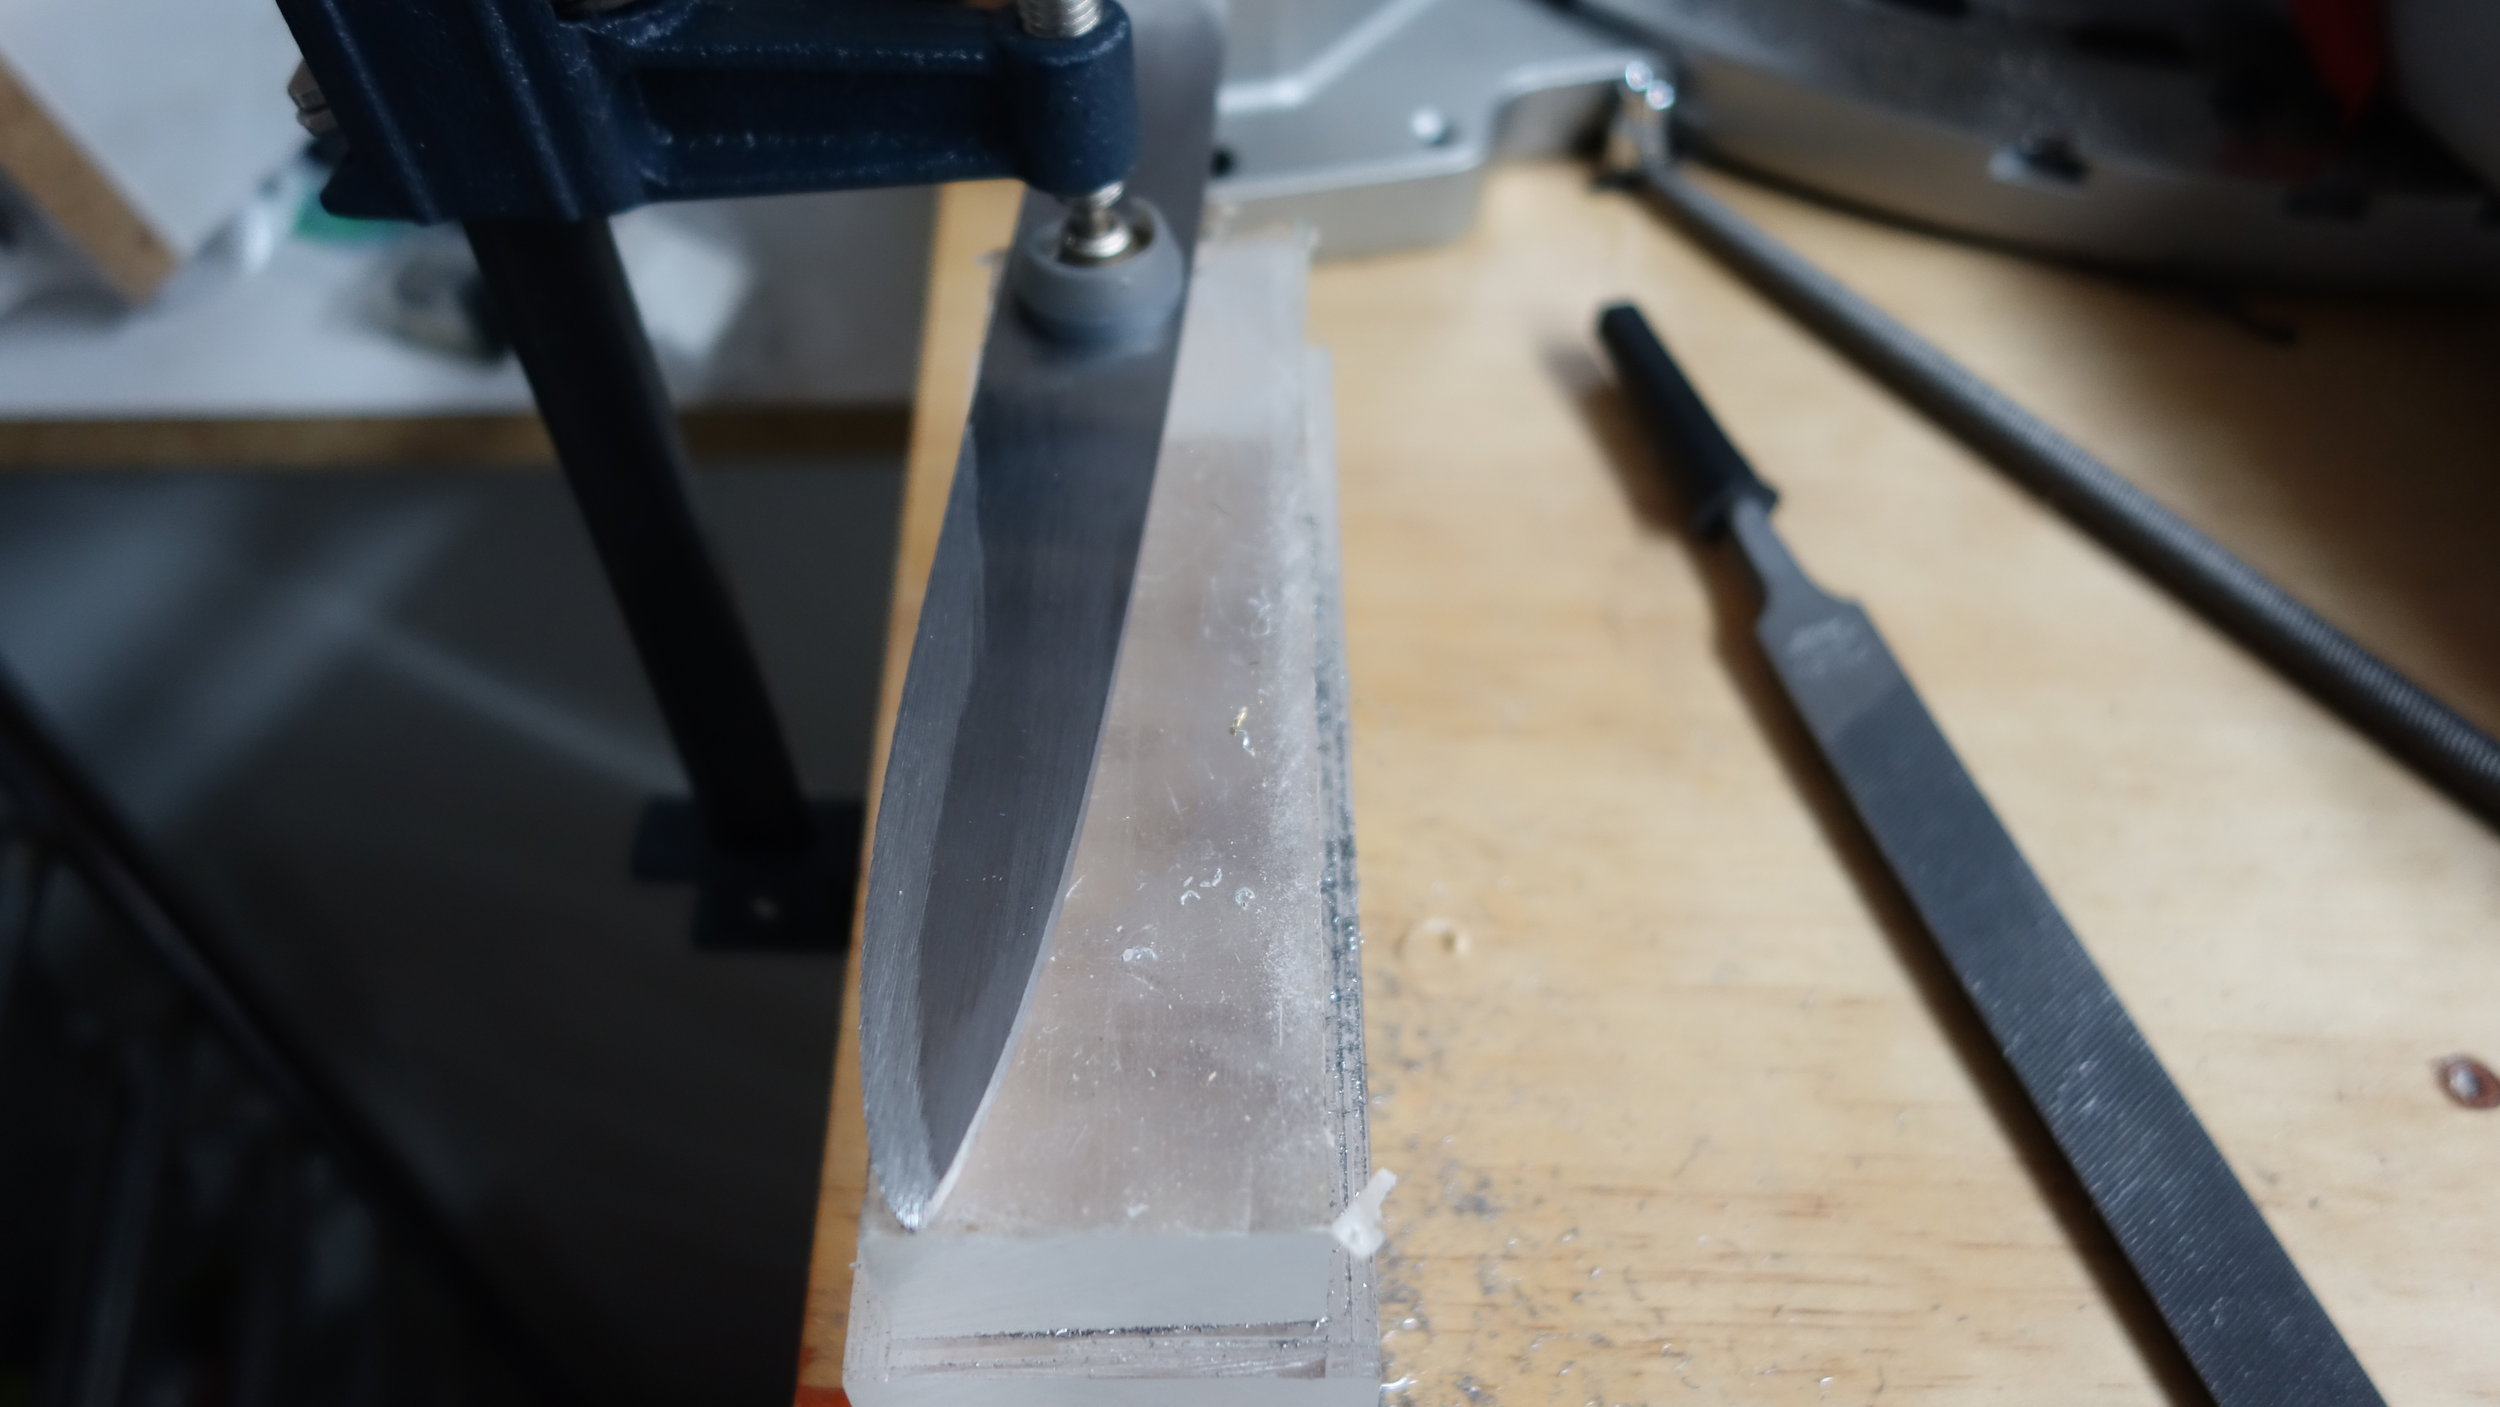
It's all about that edge...

Peanut oil quench.
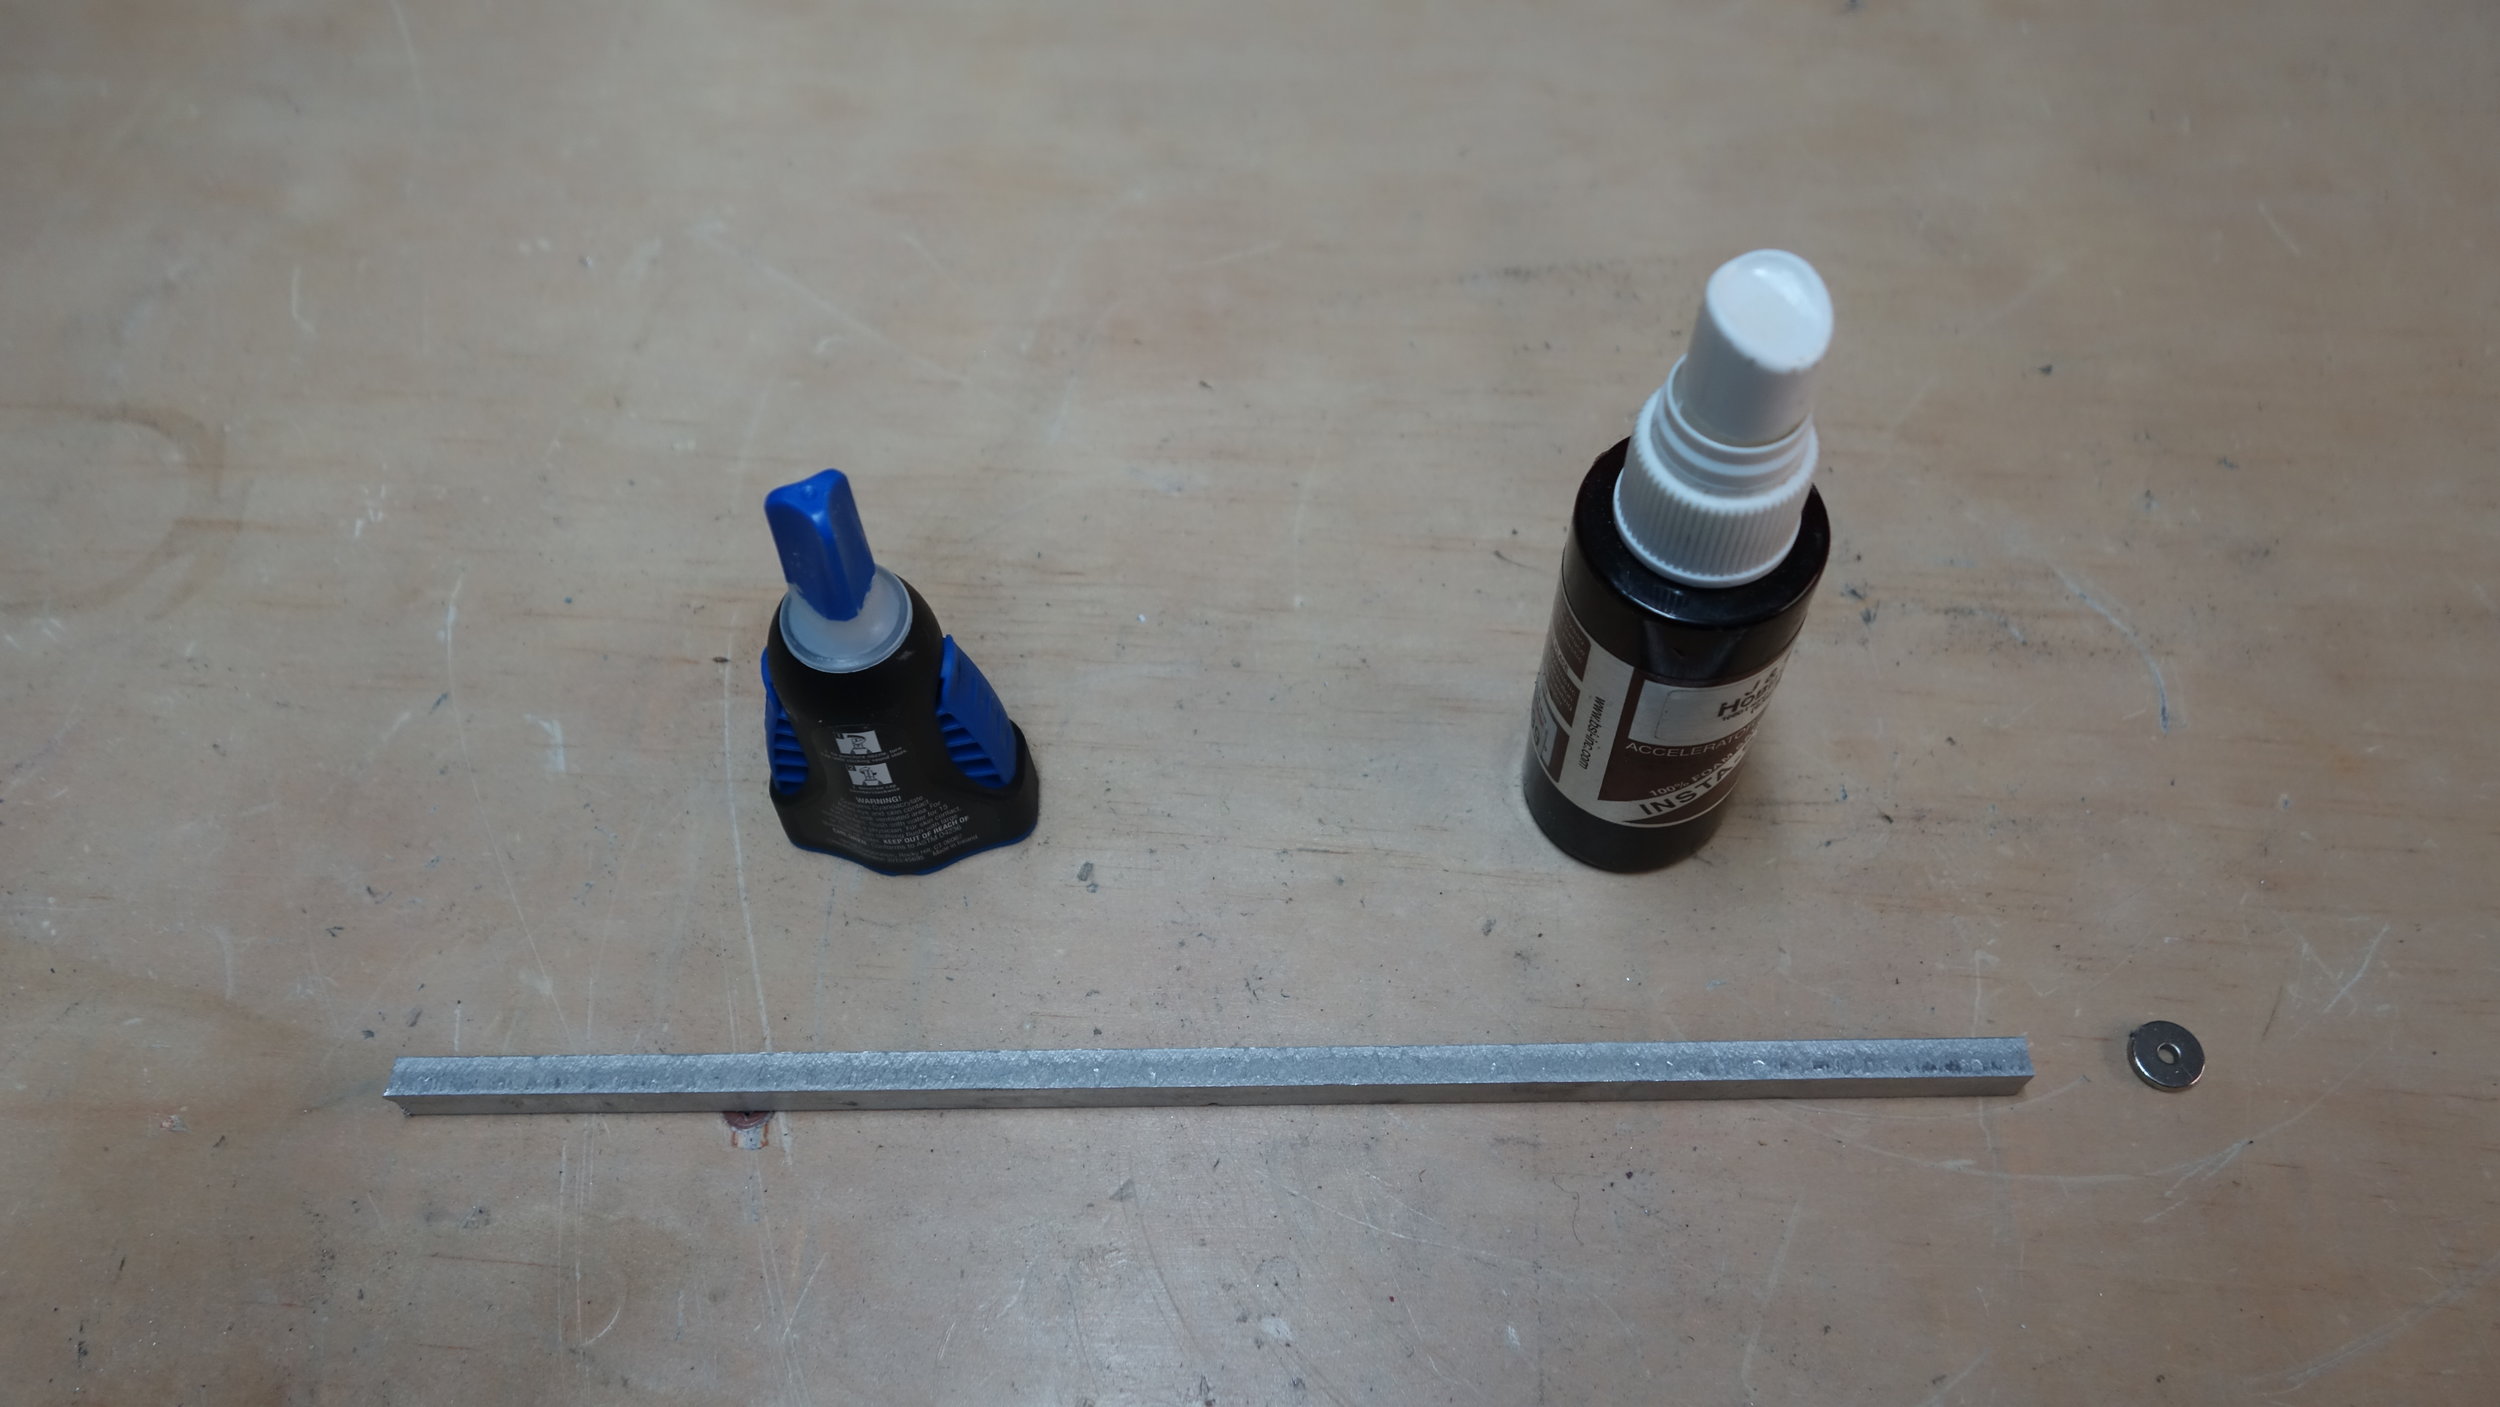
Magnet glued to a steel rod to test for temp.

It's a barbecue... A very hot barbicue...
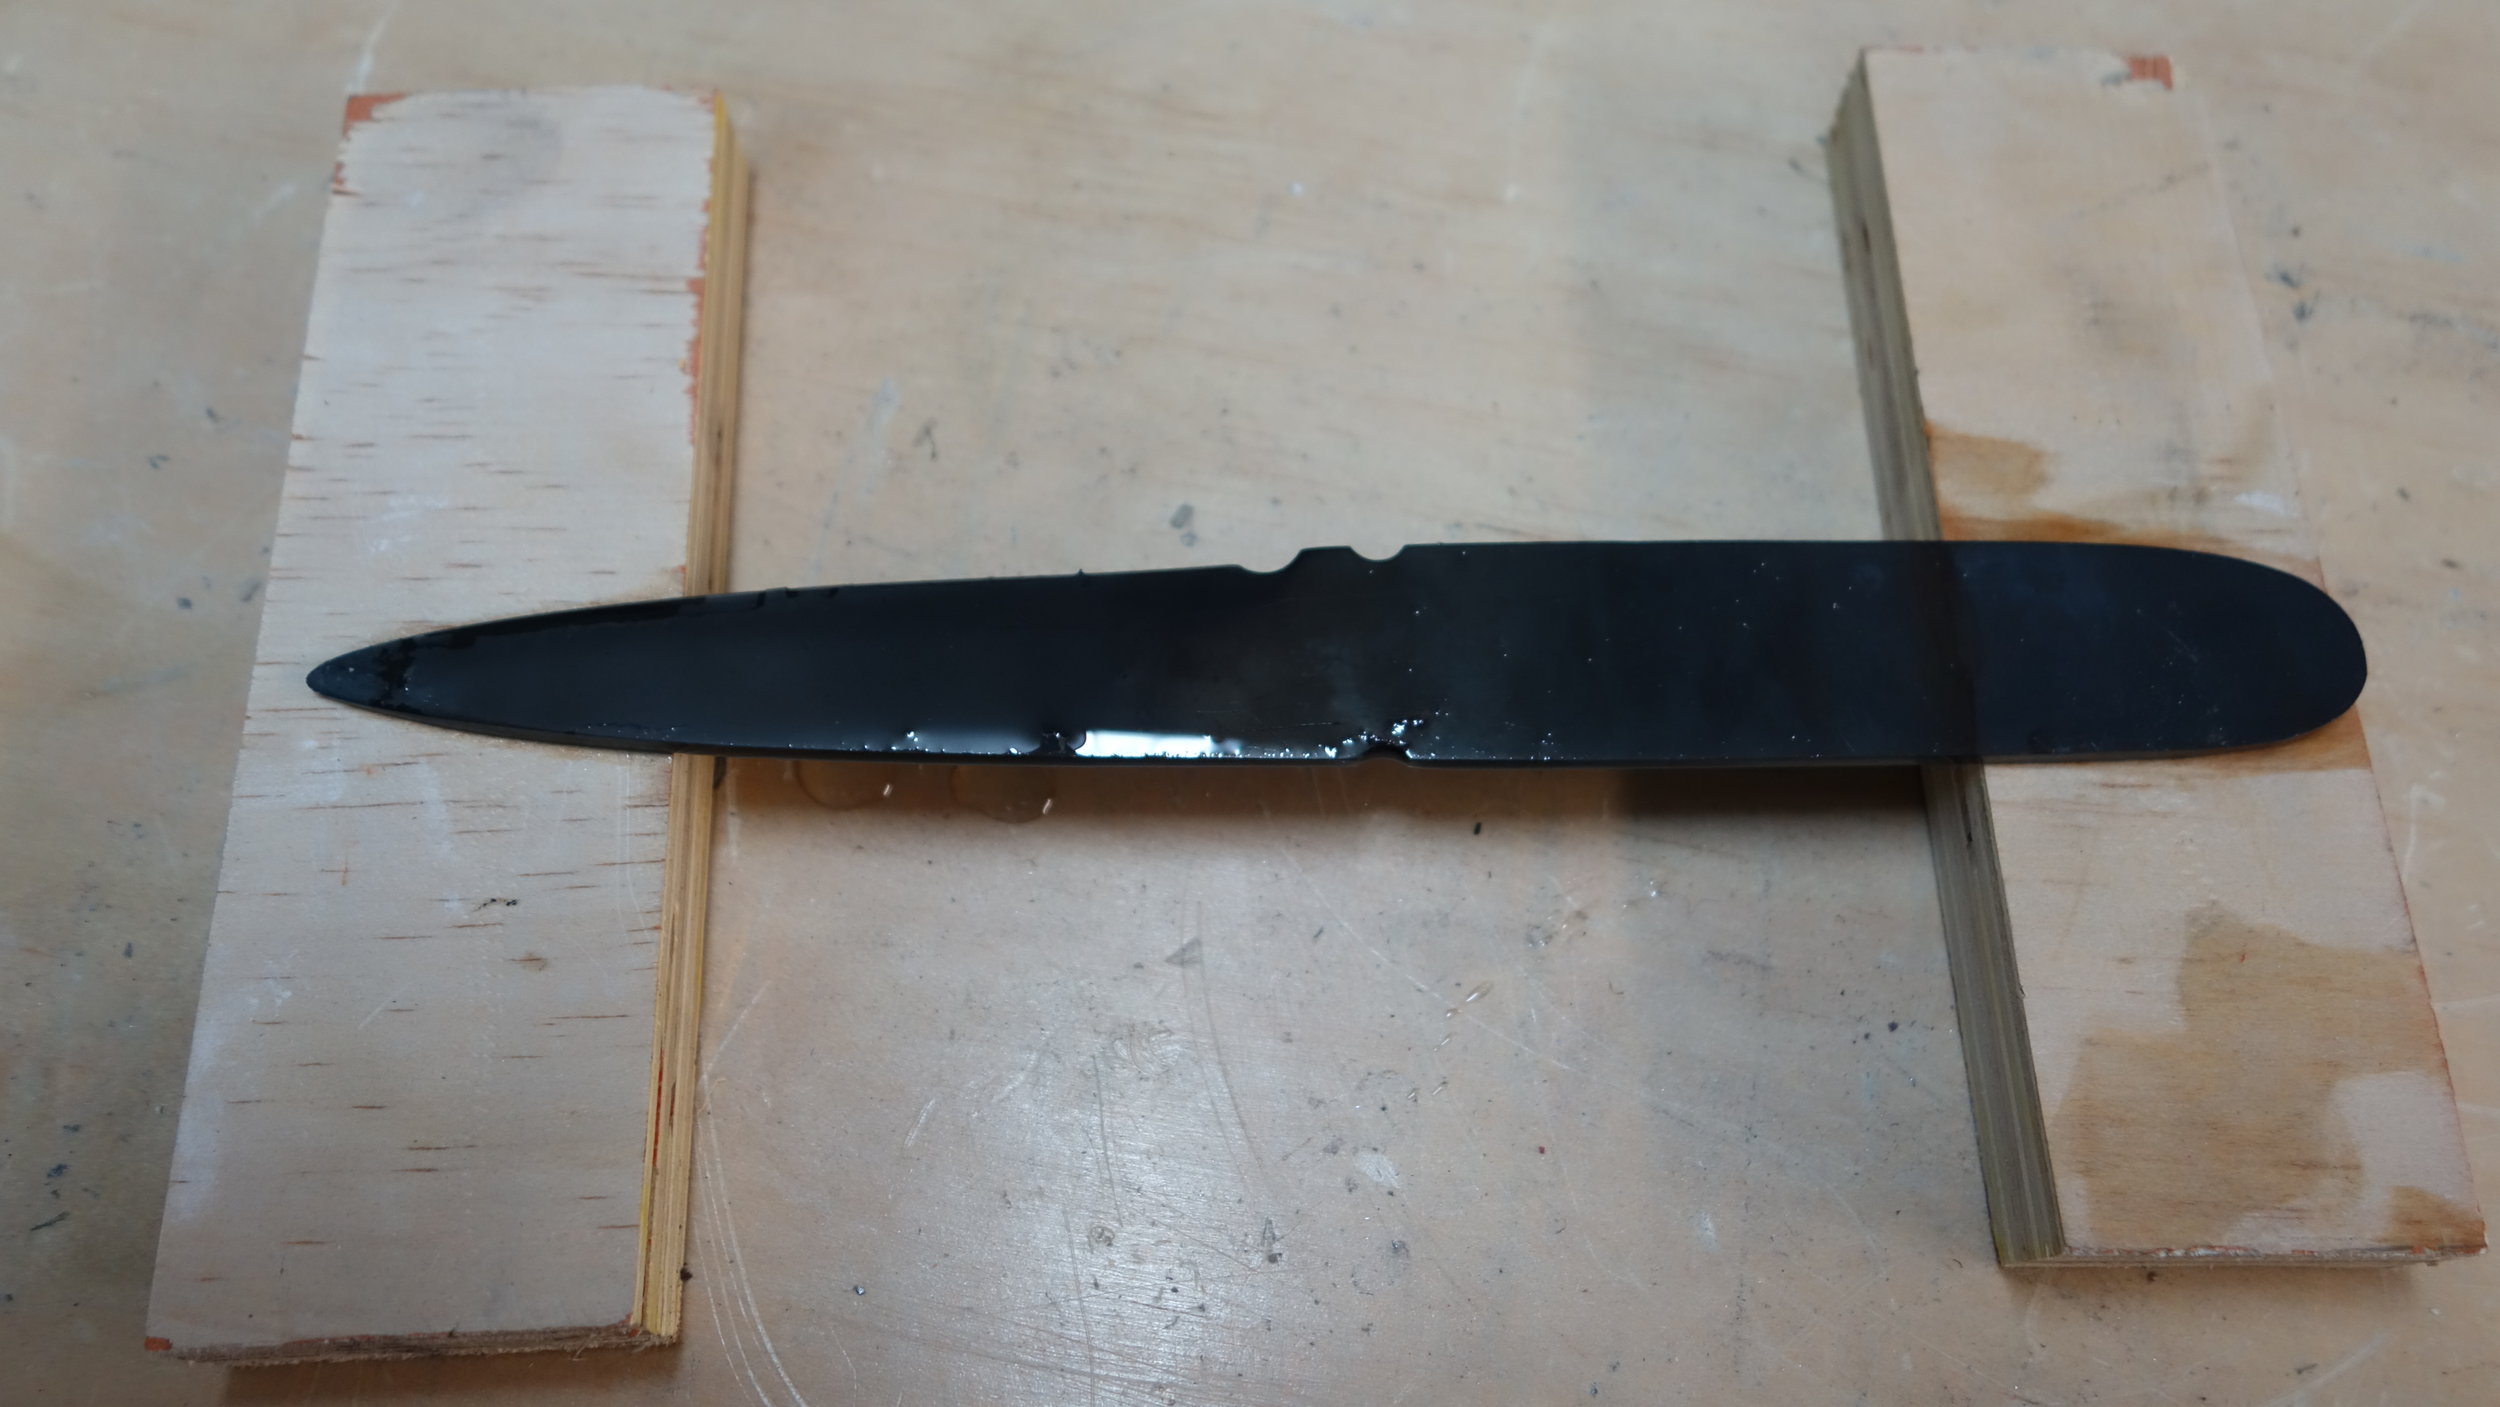
Knife post-hardening. I almost wish I could keep the black. It's not a bad look.
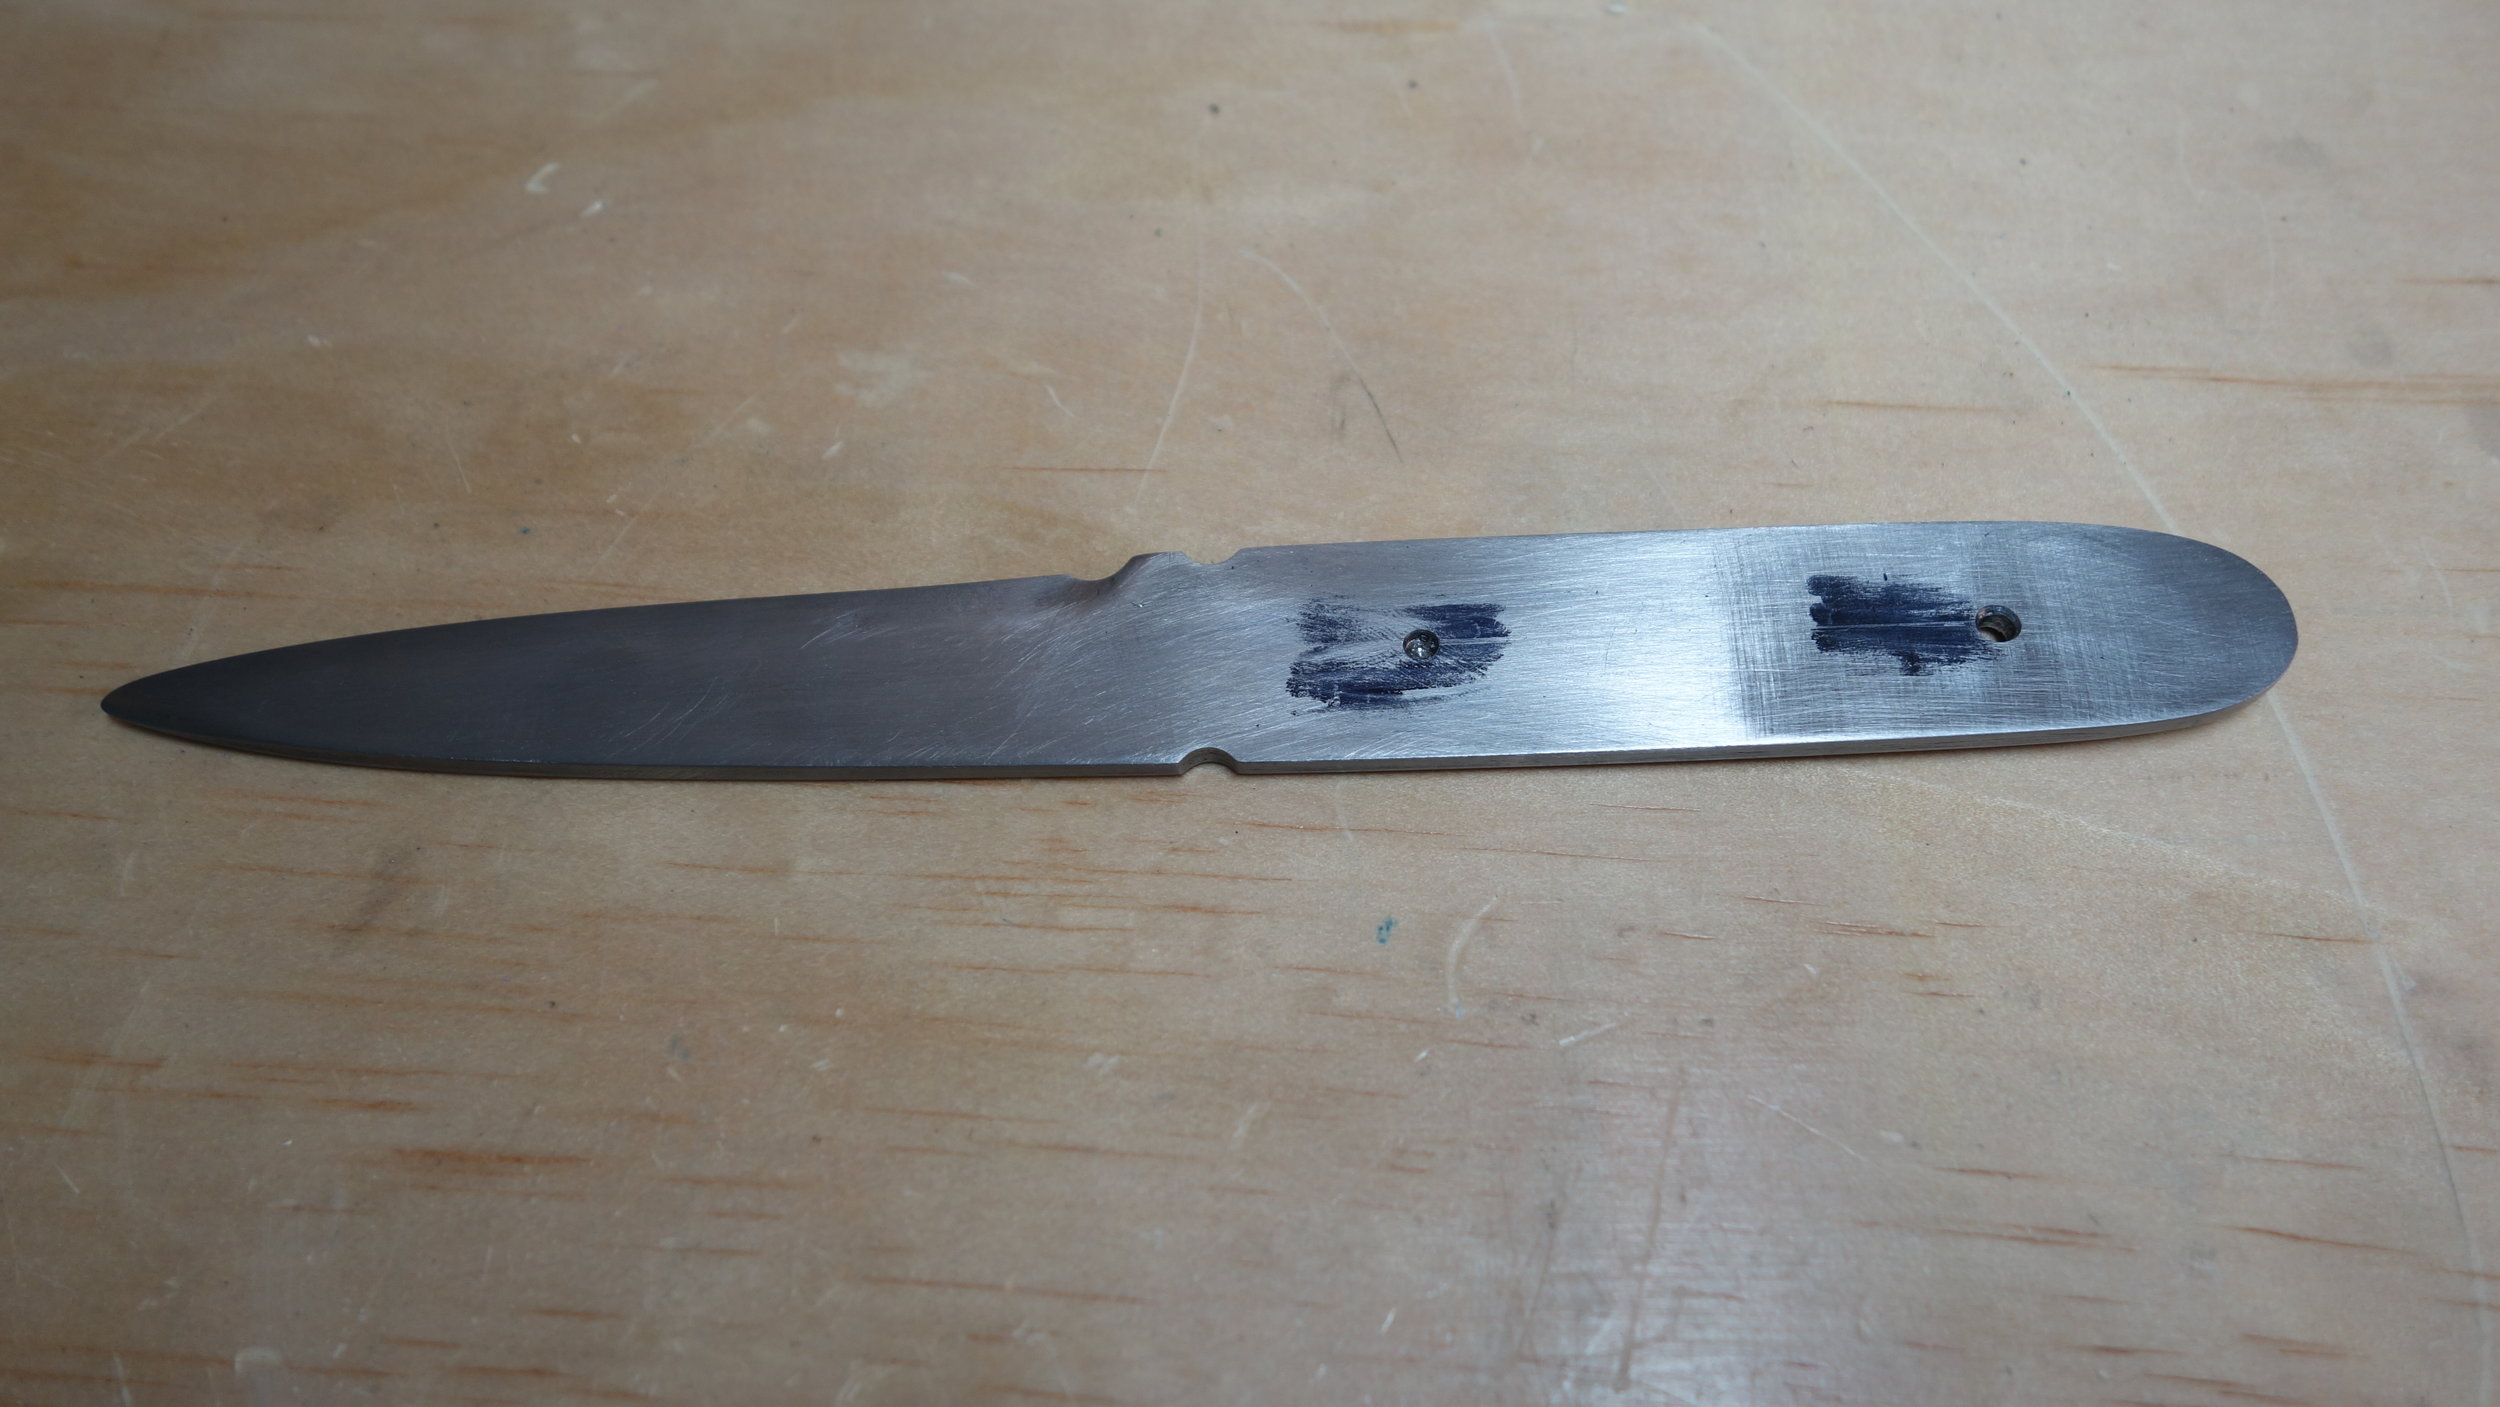
Note: Drilling hardened 1095 is a no go.

Sanding to 400grit for a satin finish.

Time to put on the scales, olive wood is very oily, so it's important to clean both the knife and the wood with acetone.
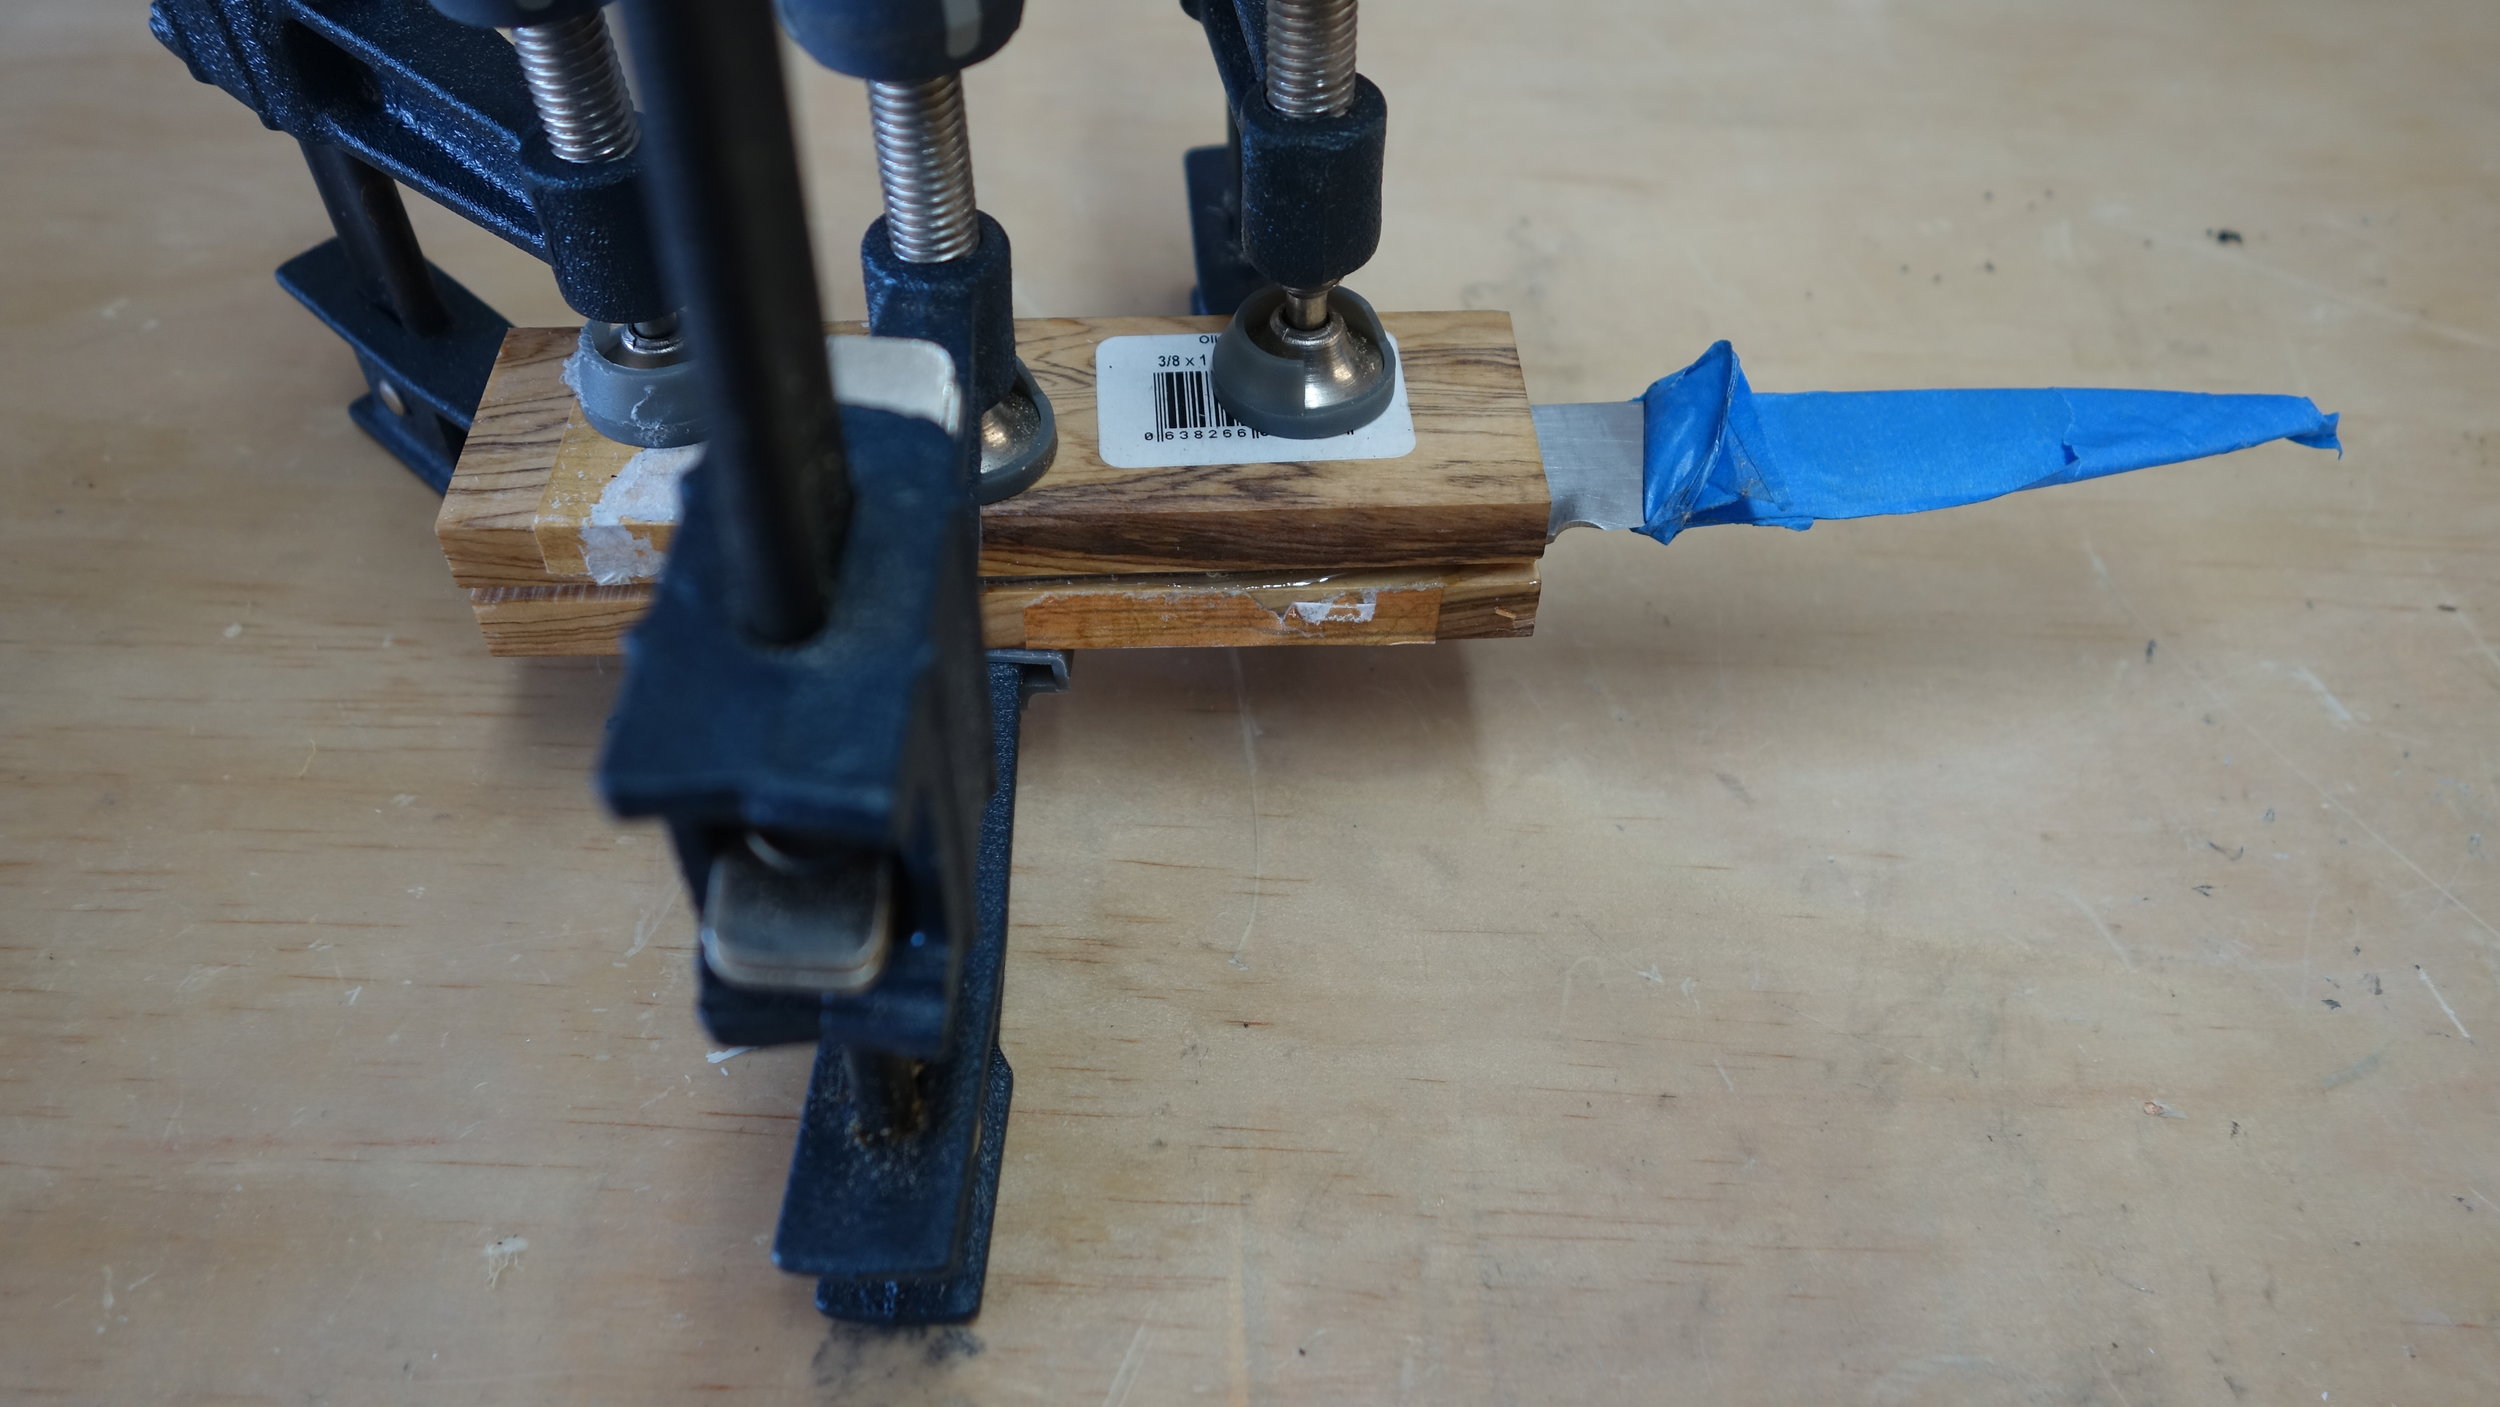
Clamped, Epoxied, and ready for handle shaping.

In addition to my own reflections above, my father also had some reflections which I have included below:
1. We drill the holes for the brass pins before we harden steel. That is an obvious from our last experience.
2. When selecting precut scales, we inspect both sides of the scales and pick the most aesthetic pieces of wood for the external side of the scales. I do not know whether you did this or not, but it is an aesthetic that we want to incorporate.
3. If we are cutting scales from a block, we use the sides of the cut pieces which should be similar or even mirror images unless we make a conscious decision that for aesthetic reasons we want to use a non-matching piece. In addition, I think we should sand and pre-finish the two exterior sides of the pieces preliminary to see that we like the look before committing these pieces to the exterior and discovering after they are pinned include that we do not like the look. This will make for a little more work, but the actual finishing of the sides is the least time-consuming part of making the handle.
4. We precut the scales closer to the actual dimensions of the knife handle. The advantage of this is that we can do more hand sanding which is finer work and be more precise than having to grind it down with either the power sander or a file. I think this will give us a better more precise handle fit and less likelihood of a "mistake" that requires a redo.
5. By using the stir stick and a light amount of epoxy I think we can avoid the situation we just experienced where the epoxy expanded out of the glue area.
6. I am still undecided as to the best way to finish the knife handle. I am going to research this further but I have reservations about only a 220 finish sanding. The question is whether (1) we stop at 220 and apply the oil (2) sand to the 220, apply oil, and then proceed to finish to a 400 grit or (3) finish to 400, apply the oil and then re-sand and buff accordingly. Each of these has a theoretical advantage with the first choice perhaps getting a better oil absorption and the risk that the finer sanding will result in wood that is harder for the oil to penetrate, but I also think that the 220 finish may not be as durable or hard as the 400 grit finish. I am going to do some further research and we can discuss this later.