Update and PDF:
7 years later, this hammer remains one of the highest traffic projects on the blog and “machinists hammer plans PDF” remains one of the most frequent google searches leading people to the site. With that in mind, I wanted to upload some rough drawings and provide a bit of an update. The documentation (PDFs and STEP files) can be found below, along with an FAQ .
Drawings: [click to download PDF]
CAD File: [click to download STEP]
Is the hammer still in use?
Yes! It is one of the 3-4 hammers I have in active rotation and for a while, when I was doing a lot of machine shop work, I even EDC'd it through a belt loop. Over the years I've used it for everything from adjusting machinery, to driving punches, to even (in a pinch) building up staircases and railings. These days it mostly stays home, but it still gets plenty of use in wood, leather, and home-repair projects.
Do you like the design?
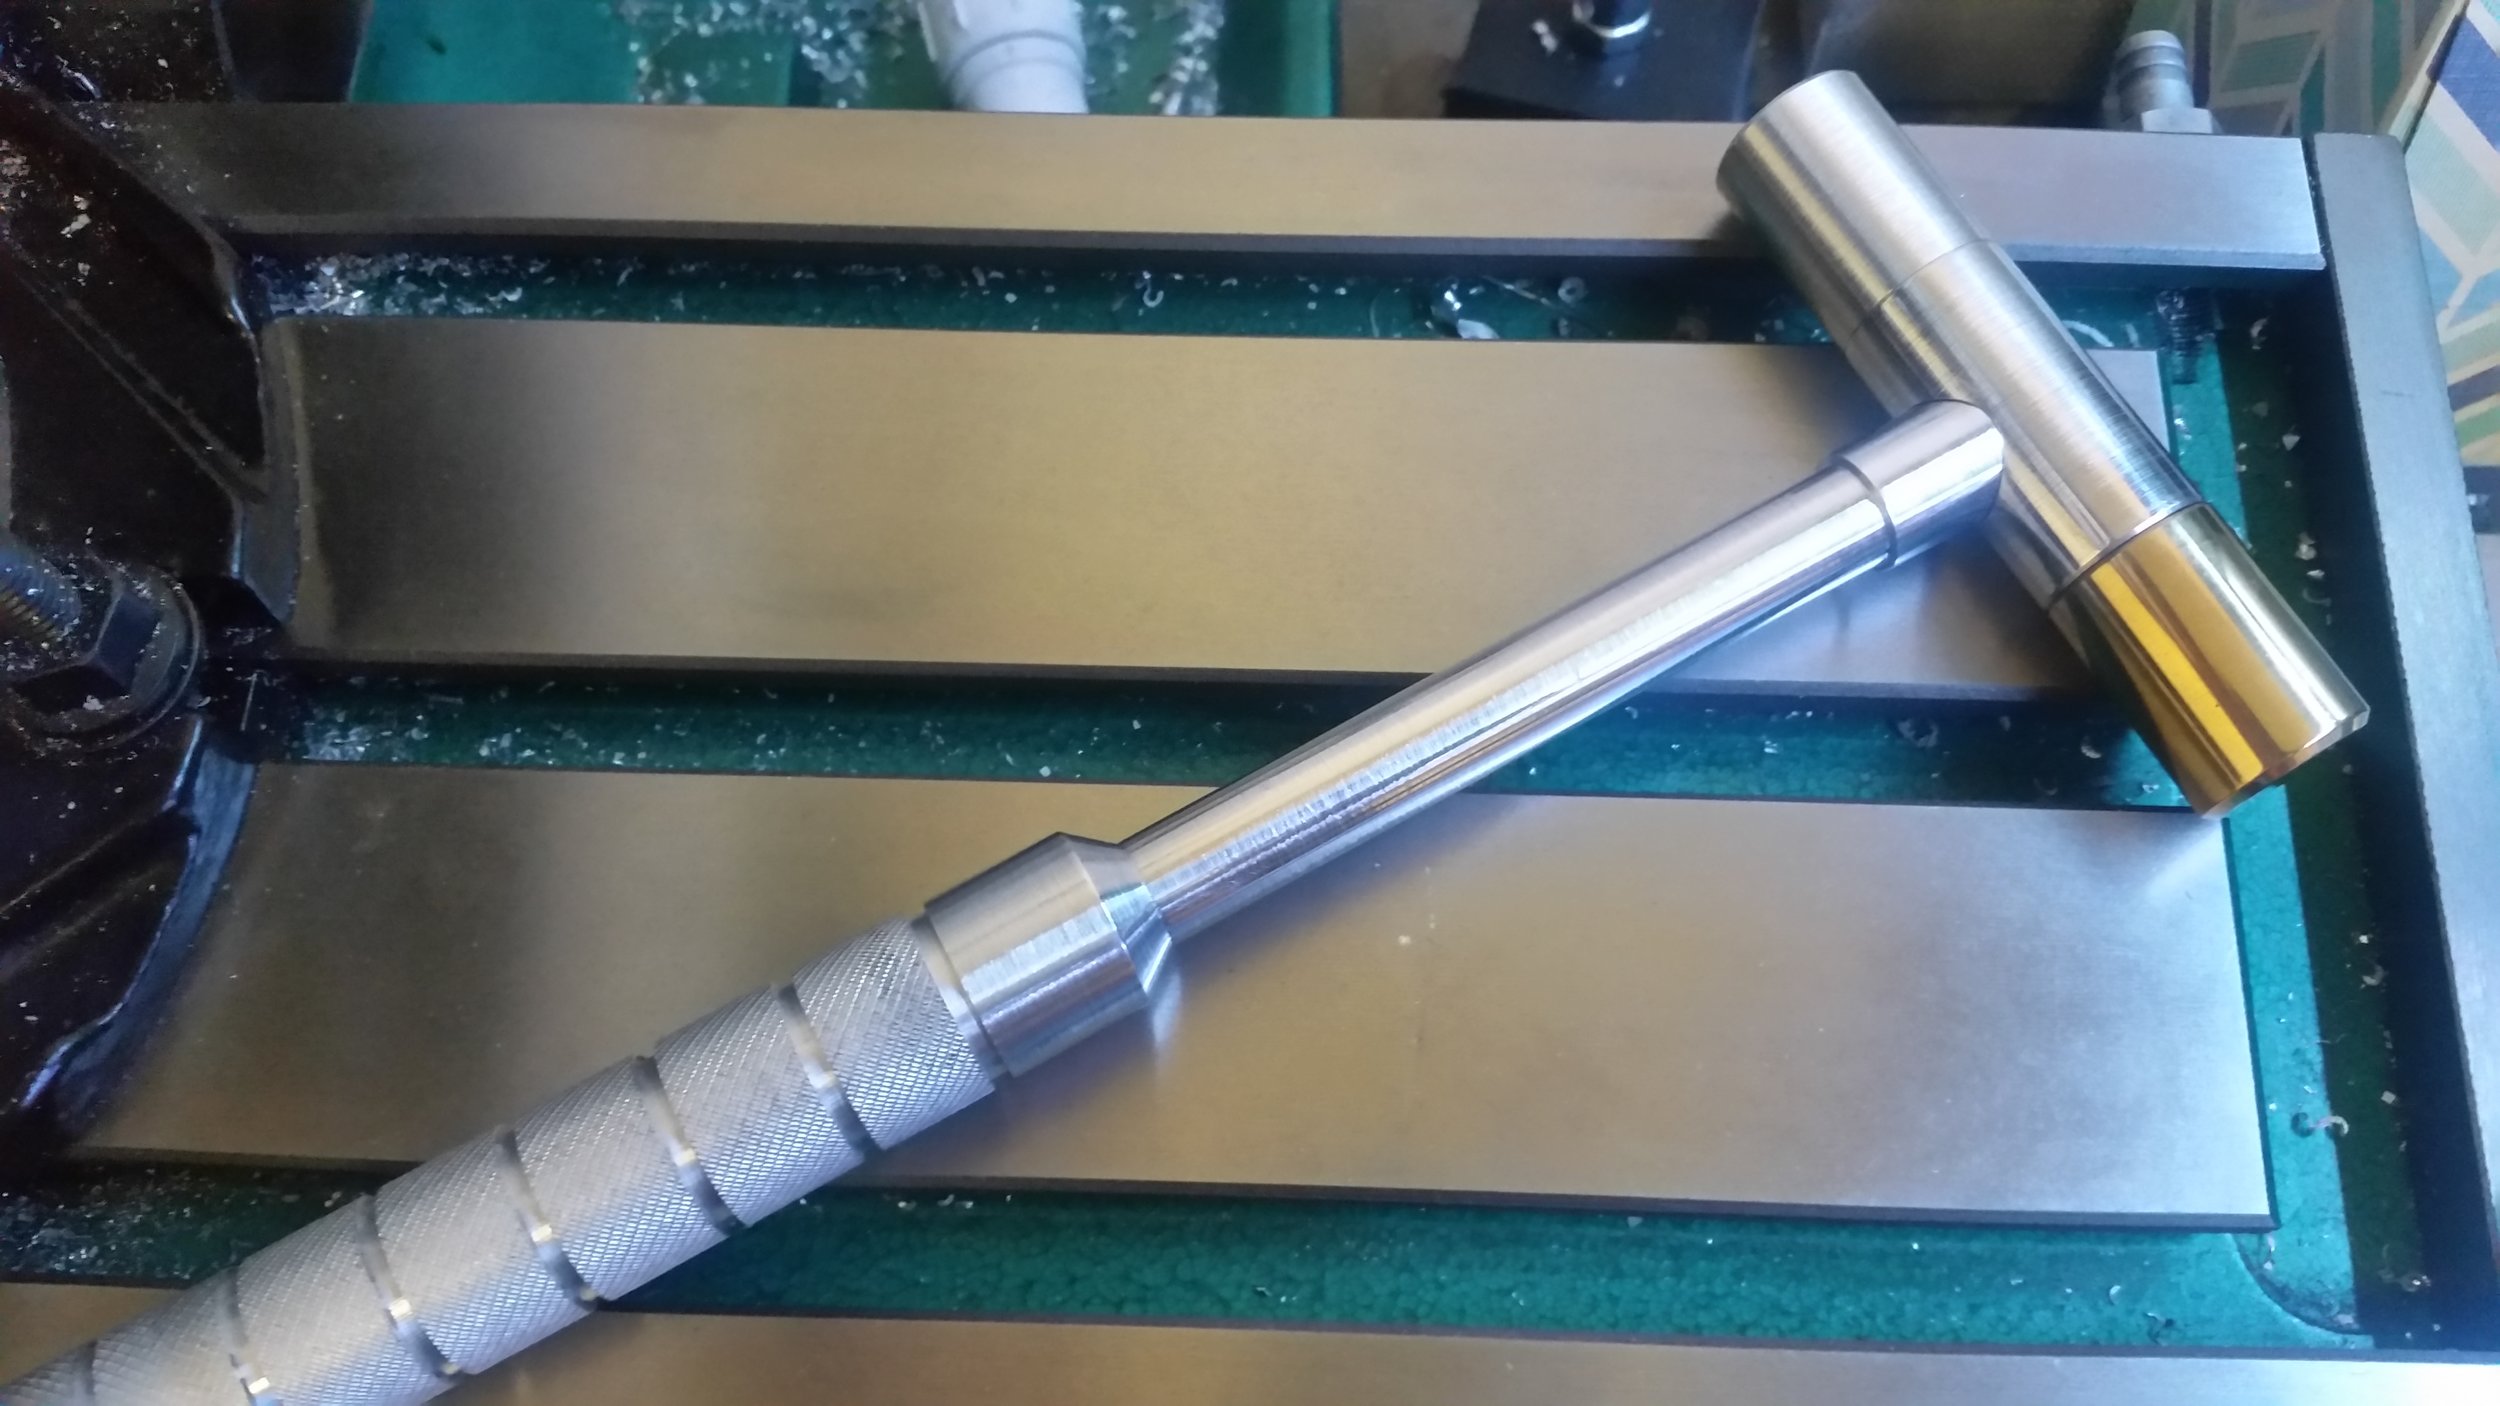
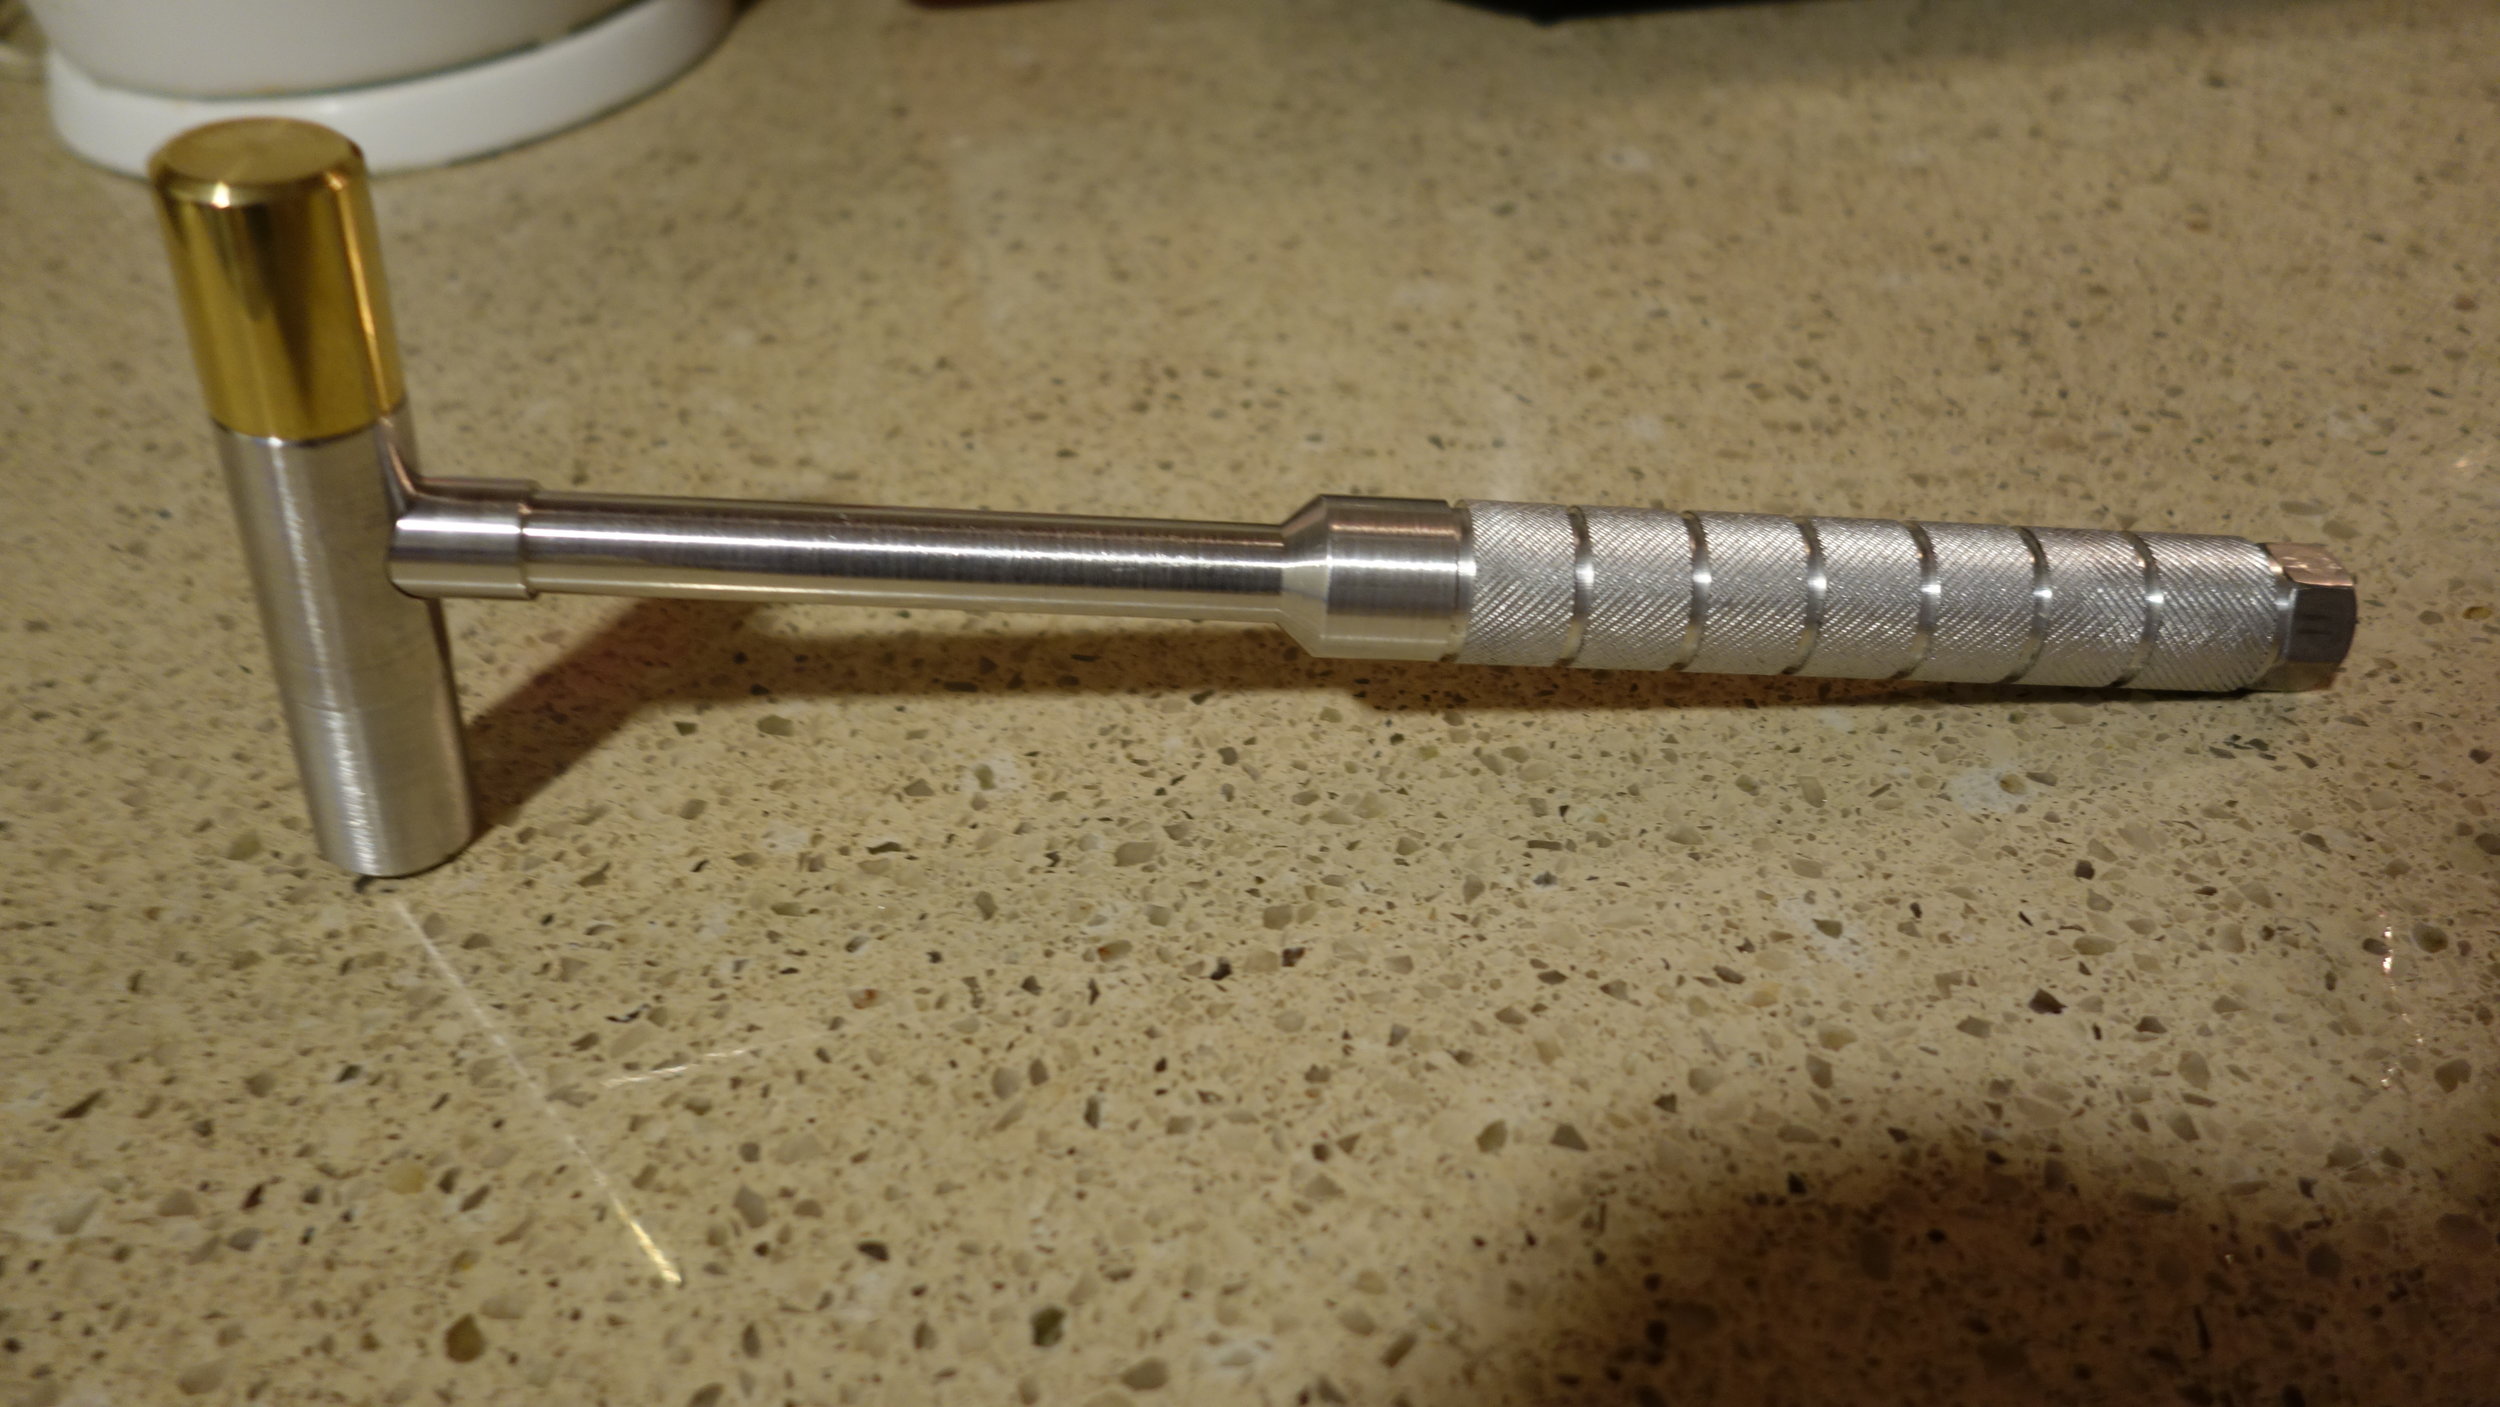
On the whole, yes. Making the heads a standard stock size was a great decision, and I'm really happy with the three-head design. The handle has held up very well and remains comfortable for extended use (unlike the ribbed design I used on the deconstruction hammer). Keeping the profile thin was also a great call since it makes carrying the hammer as a general backup tool easy and comfortable.
Is there anything you would change about the design?
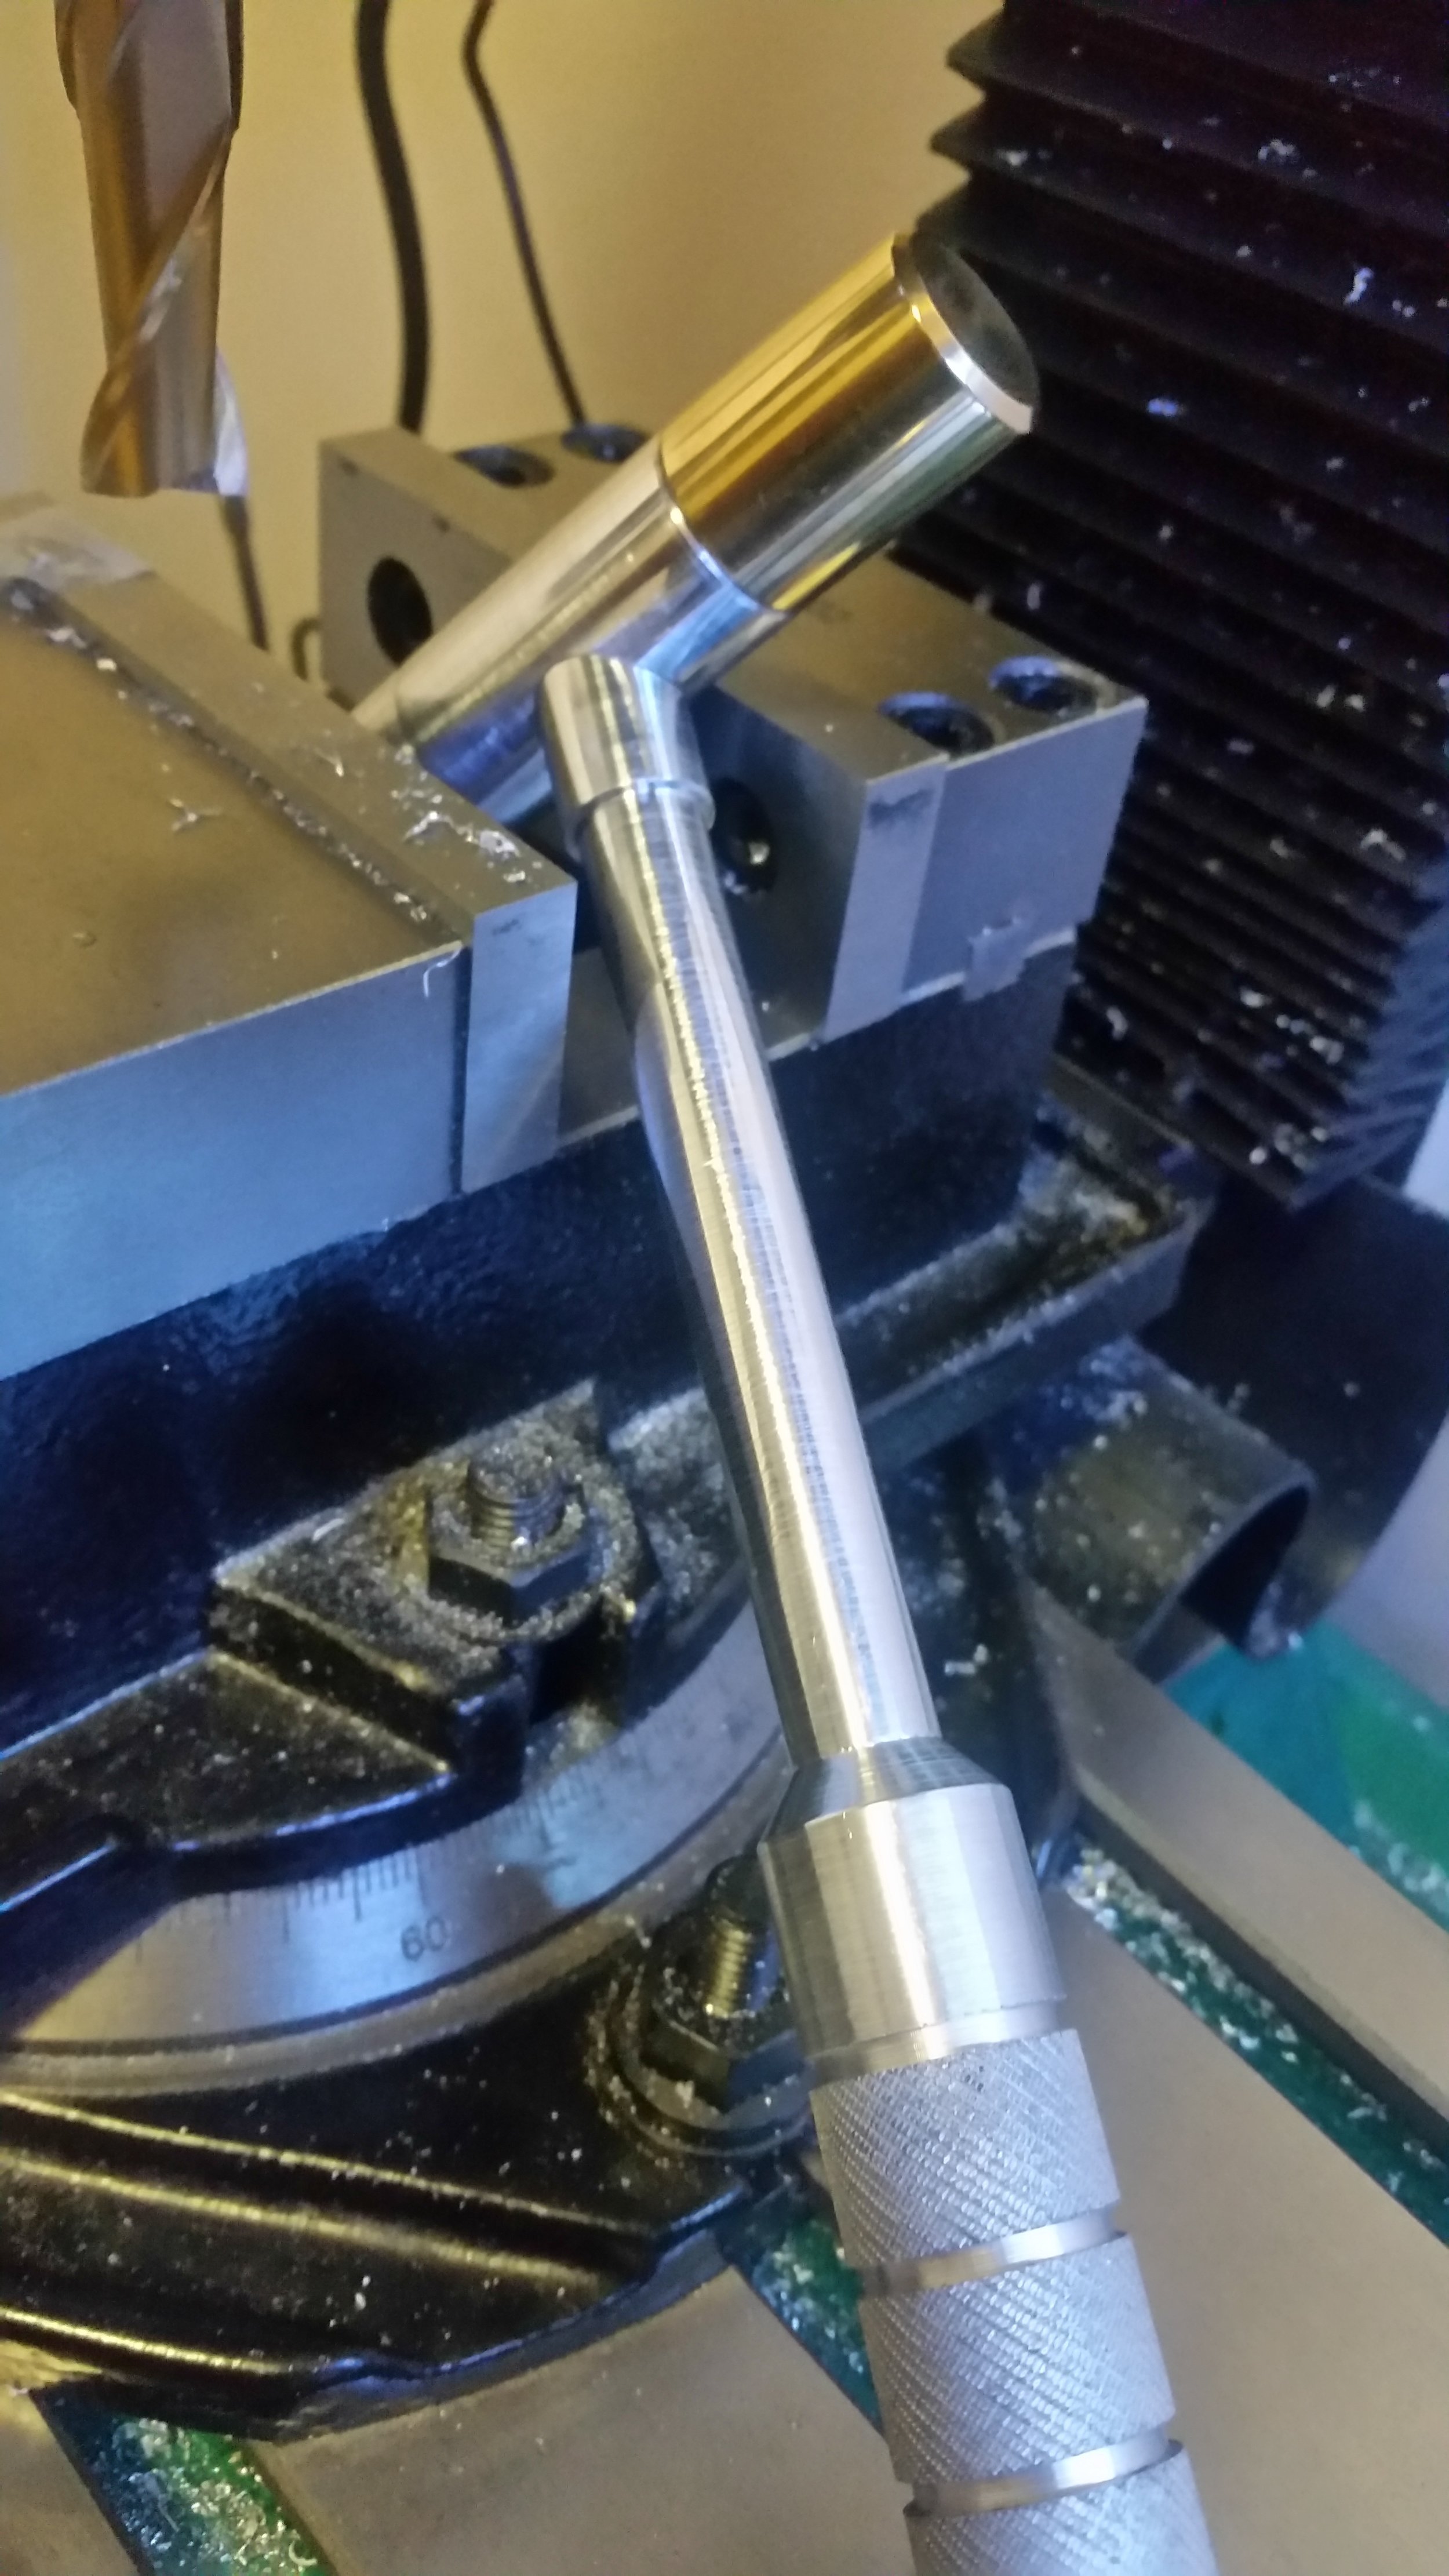
Functionally I could not be happier. Aesthetically, the hammer has proven very prone to picking up nicks and scratches in use. This is particularly an issue for the softer aluminum parts since they sit flush with the hammer heads and are thus not protected from any surface the hammer might be resting on.
If I ever get the chance to use this design in a shop class project I'll likely stick with the 2000 series aluminum and just provide a warning that dings are a fact of life for un-anodized aluminum tools. On the other hand, building a second version for myself, I'd be very tempted to switch over to a titanium for the handle and a 7000 series aluminum for the handle. There is also an argument for moving to a softer material for the polymer head, but that really just depends on its intended use case and the available stock.
The Process:
Before starting this project, I spent a while looking at other hammer builds, both commercial and by other students to get a feel for what kinds of things are possible or worthwhile in a hammer. The Projects I drew most heavily from are below in the "useful resources" section. That gave me a feel for generally what I wanted the hammer to look and feel like (tapered handle, knurled grip, interchangeable heads, etc).
The dimensions were based on hammers I was able to pick up and try at various places around campus (many thanks to Caltech's many shops for putting up with me and helping out). I really wanted this hammer to be small enough for me to carry around on a daily basis for scavenging, without being useless by virtue of being tiny. With that in mind, I ended up splitting the difference between a small claw hammer from the Blacker tool-room, and one of the ball-peen hammers in the student shop for the handle length. The grip length was based on a tracing of my hand on raw stock, scaled slightly to the nearest 1/8th.
I had originally planned to make the head 15/32", but after a bit of thought ended up scaling it up slightly to 7/8". The extra metal doesn't impact the weight too much, but having the hammer head be a standard stock size makes it much easier and faster to make replacement heads.
The Plan: