The lazy option...
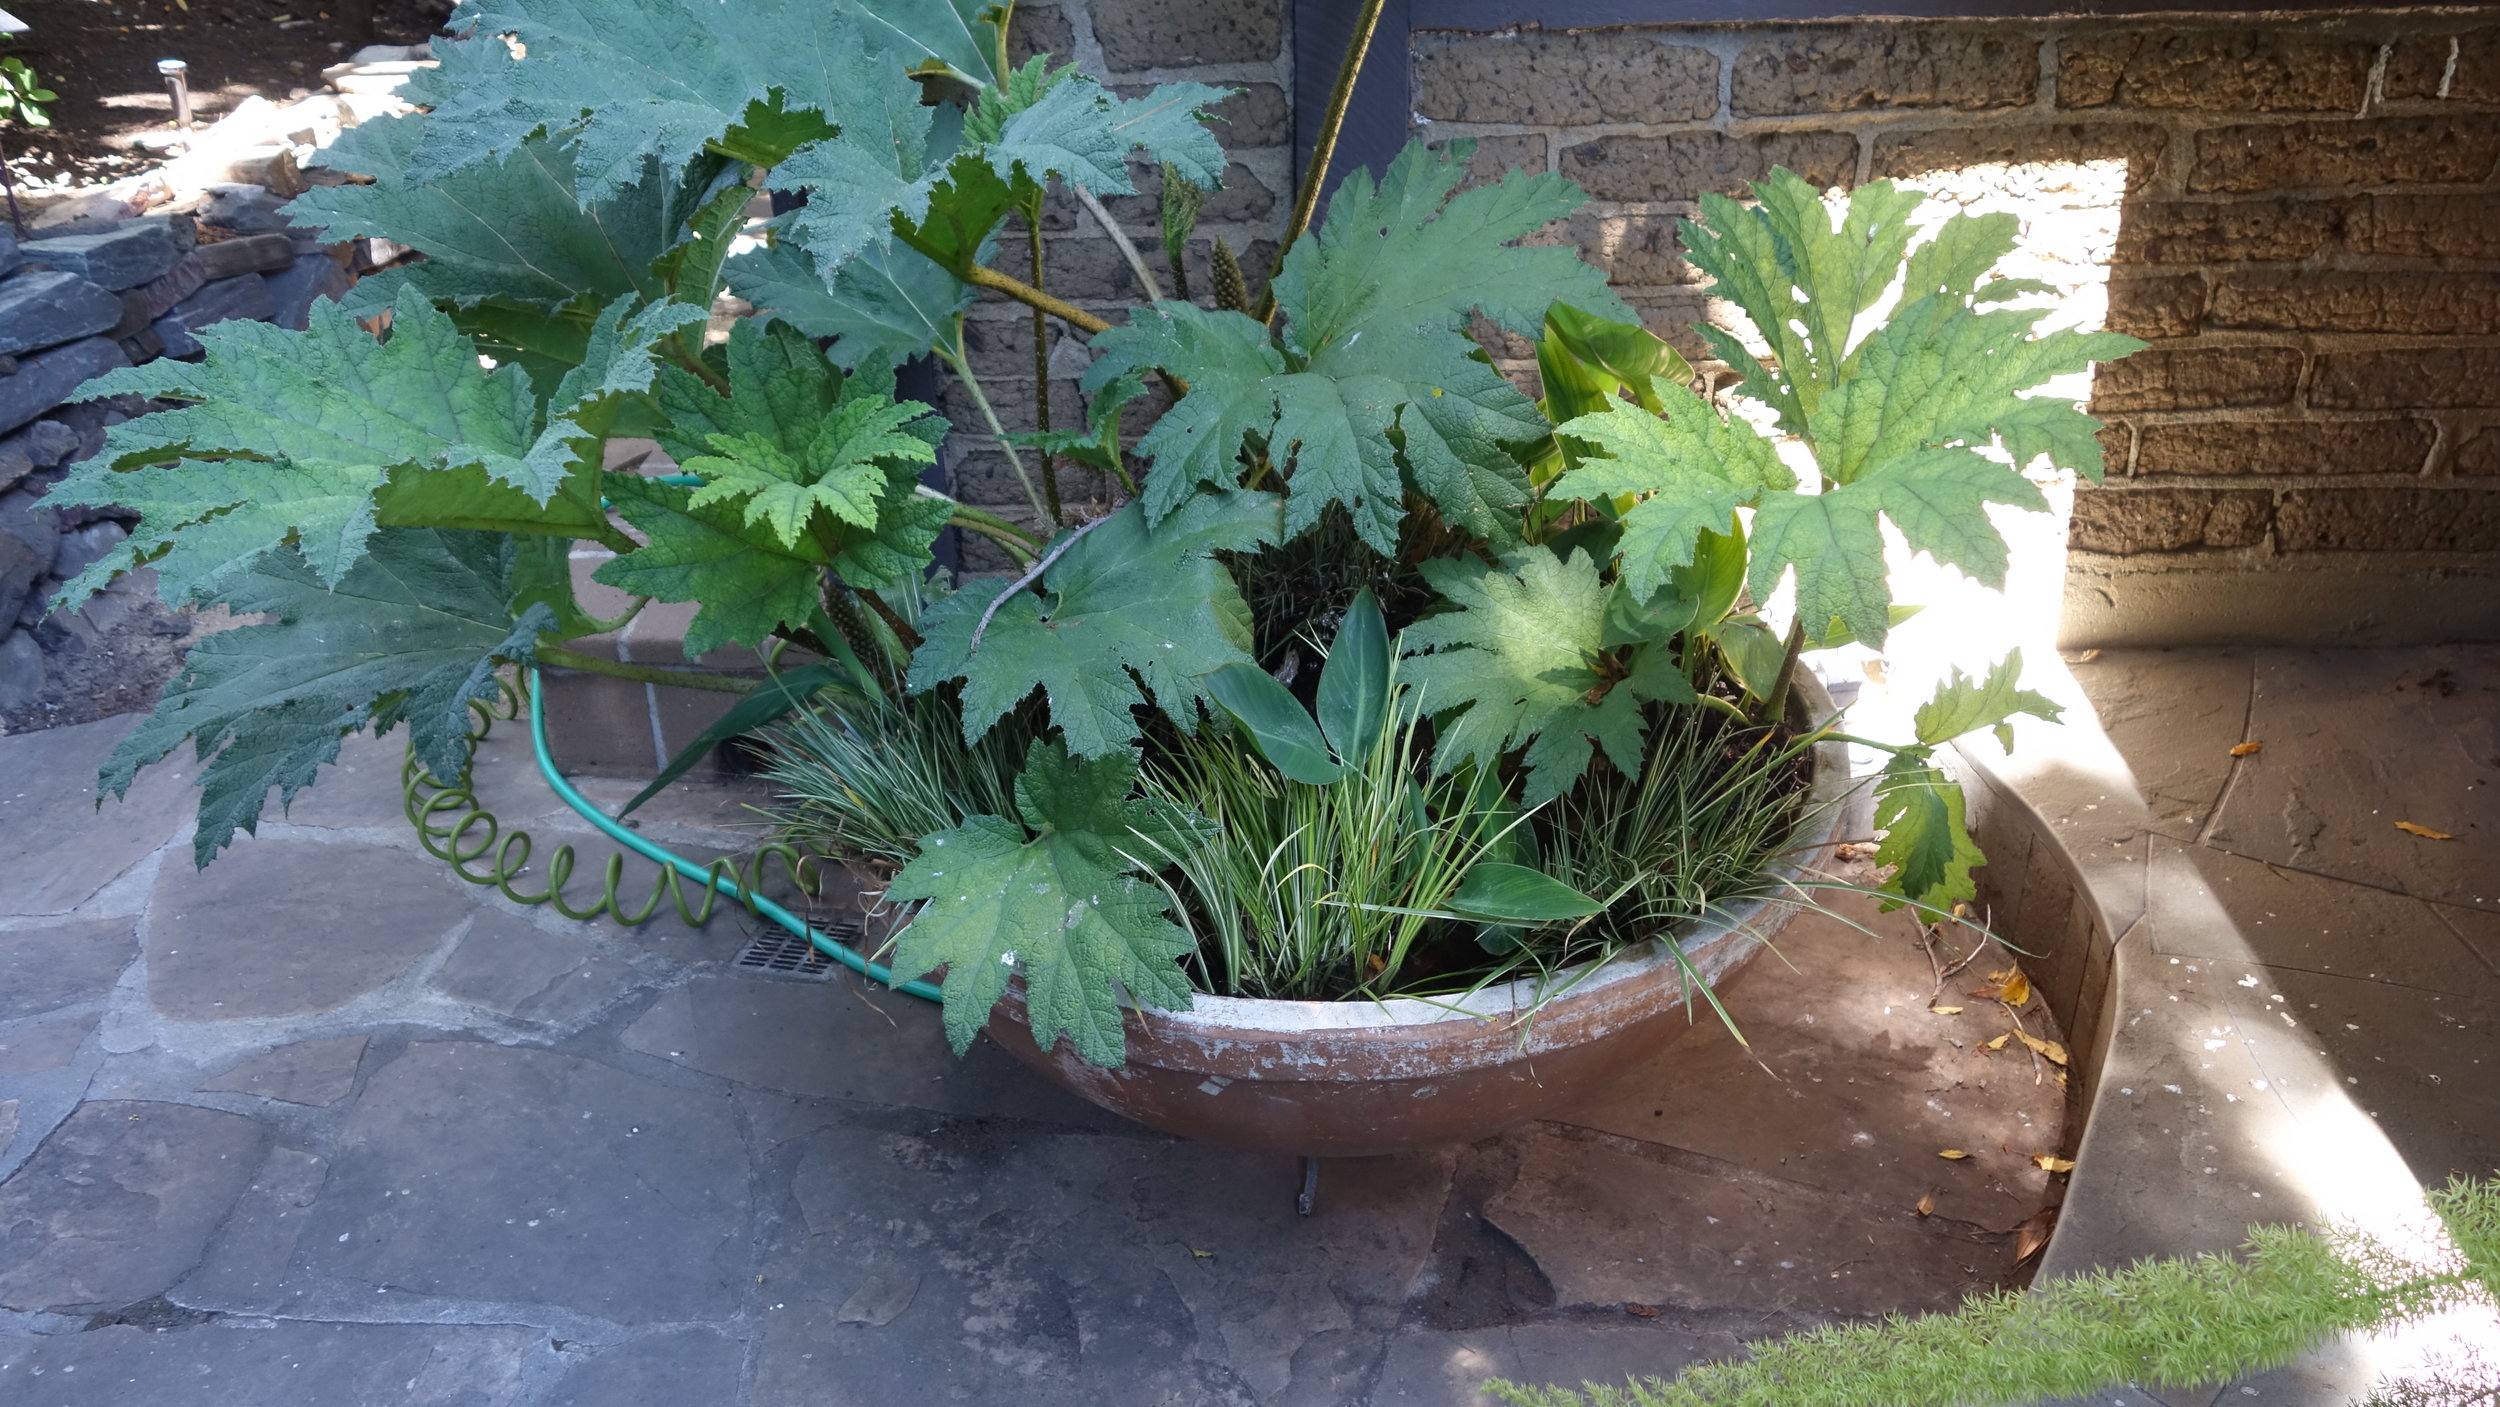
Front View
This post details my process for creating a level-triggered filling line for the water feature by my parent's front door. In the grand scheme of things filling the water feature is a process which takes maybe 5 minutes every few days, but if you have every found yourself standing in front of a fountain holding a garden hose and wondering if there is a better way, this post is for you.
Note: In large parts of the US tap water additives (notably chlorine and chloridimine) will kill goldfish and other complex organisms. Not relevent in this case, but something to keep in mind.
Design:
There's a full parts list below, but really this project is about connecting three things: A water level sensor (relay), a sprinkler solenoid, and a 24v AC power supply (transformer). The rest of the parts are there to either neck down the valve to fit hose/tubing, or to dress up the outside a bit. I also used some wire sheath to hide signal wiring and fill tubing. That's definitely window dressing, but I'd strongly recommend looking into it, you can get the stuff at home depot and it really takes the apparent professionalism to the next level.

Diagram 1
The actual wiring and plumbing setup is really simple (See Diagram 1). The solenoid valve sits between a pressurized water source (hose) and your desired output. While the fill sensor completes a circuit between the transformer and solenoid. Note that this only works if the sensor also functions as a relay. If it provides a voltage output, or variable resistance an arduino would be needed to activate the relay.
Materials:

Water level Sensor
Solenoid Valve
24v AC power supply
Wire (18+ gauge)
Fittings and tubing as appropriate.
Plumbers Tape
Zip Ties
Build:

Connect the fittings to valve - making sure to use Teflon tape where appropriate. This is easier before the wiring has been attached.
Then measure the distance between power and the solenoid as well as the distance between the solenoid and the water output/sensor locations.

Connect (solder) one lead of power supply to one sensor lead. Then connect the other sensor lead to one lead of the solenoid. Finally connect the remaining solenoid and power transformer leads. I found it cleanest to make all connections at the solenoid and hold them in place with zip ties and electrical tape.
Note: Depending on your measurements from the previous step it may be necessary to splice or shorten some of the leads.

Using your measurments from step 1, cut your plastic tubing to length (If appropriate). Then, cover both the tubing and sene wires with plastic sheaths. Zip tie the sheaths to the solenoid acording to your own sense of asthetics, and use the electrical tape to make a uniform shell (note: The electrical tape is a poor choice if water is inolved, if you expect the solenoid to get wet cosnider gurilla tape).

At this point, the system should be fully set up and ready for testing. After doing a few worktop tests, set up the system in it's final spot and let it sit for long enough to get a sense for if things are working as you expect. (This is optional if you are confident that everything will work)
If the aesthetics work the install is complete. Otherwise, move on to fashioning a more permanent fixture.