Summary:
Before beginning the second round of CNC fabrication, we fabricated two locating blocks, and added counterbored holes to our side panel fixture plate. This made the plate much easier to set up, and dropped our fixture setup time from around 30 minutes to around 5. We also added set-screws to the unused 1/4-20 holes. This didn’t really improve setup times but did make cleaning easier.
Update 4/17/2019: Adding the tramming blocks and flush mounting bolts was a fantastic ideas. I have used this fixture for easily 7-8 medium-low tolerance parts and consistently held 1-2 thou with no tramming.

Traming Blocks:
To make Traming a bit faster, I made up two blocks to locate the fixture plate against one of the T-Slots. The idea being that with the blocks pressed against the T-Slot, and the fixture plate pressed against the blocks, the entire setup would be trammed without any additional alignment. In practice, the plate tends to move by 4 thou or so when being tightened down so there is still a bit of tapping in required. Still faster than without though.

Fabrication:
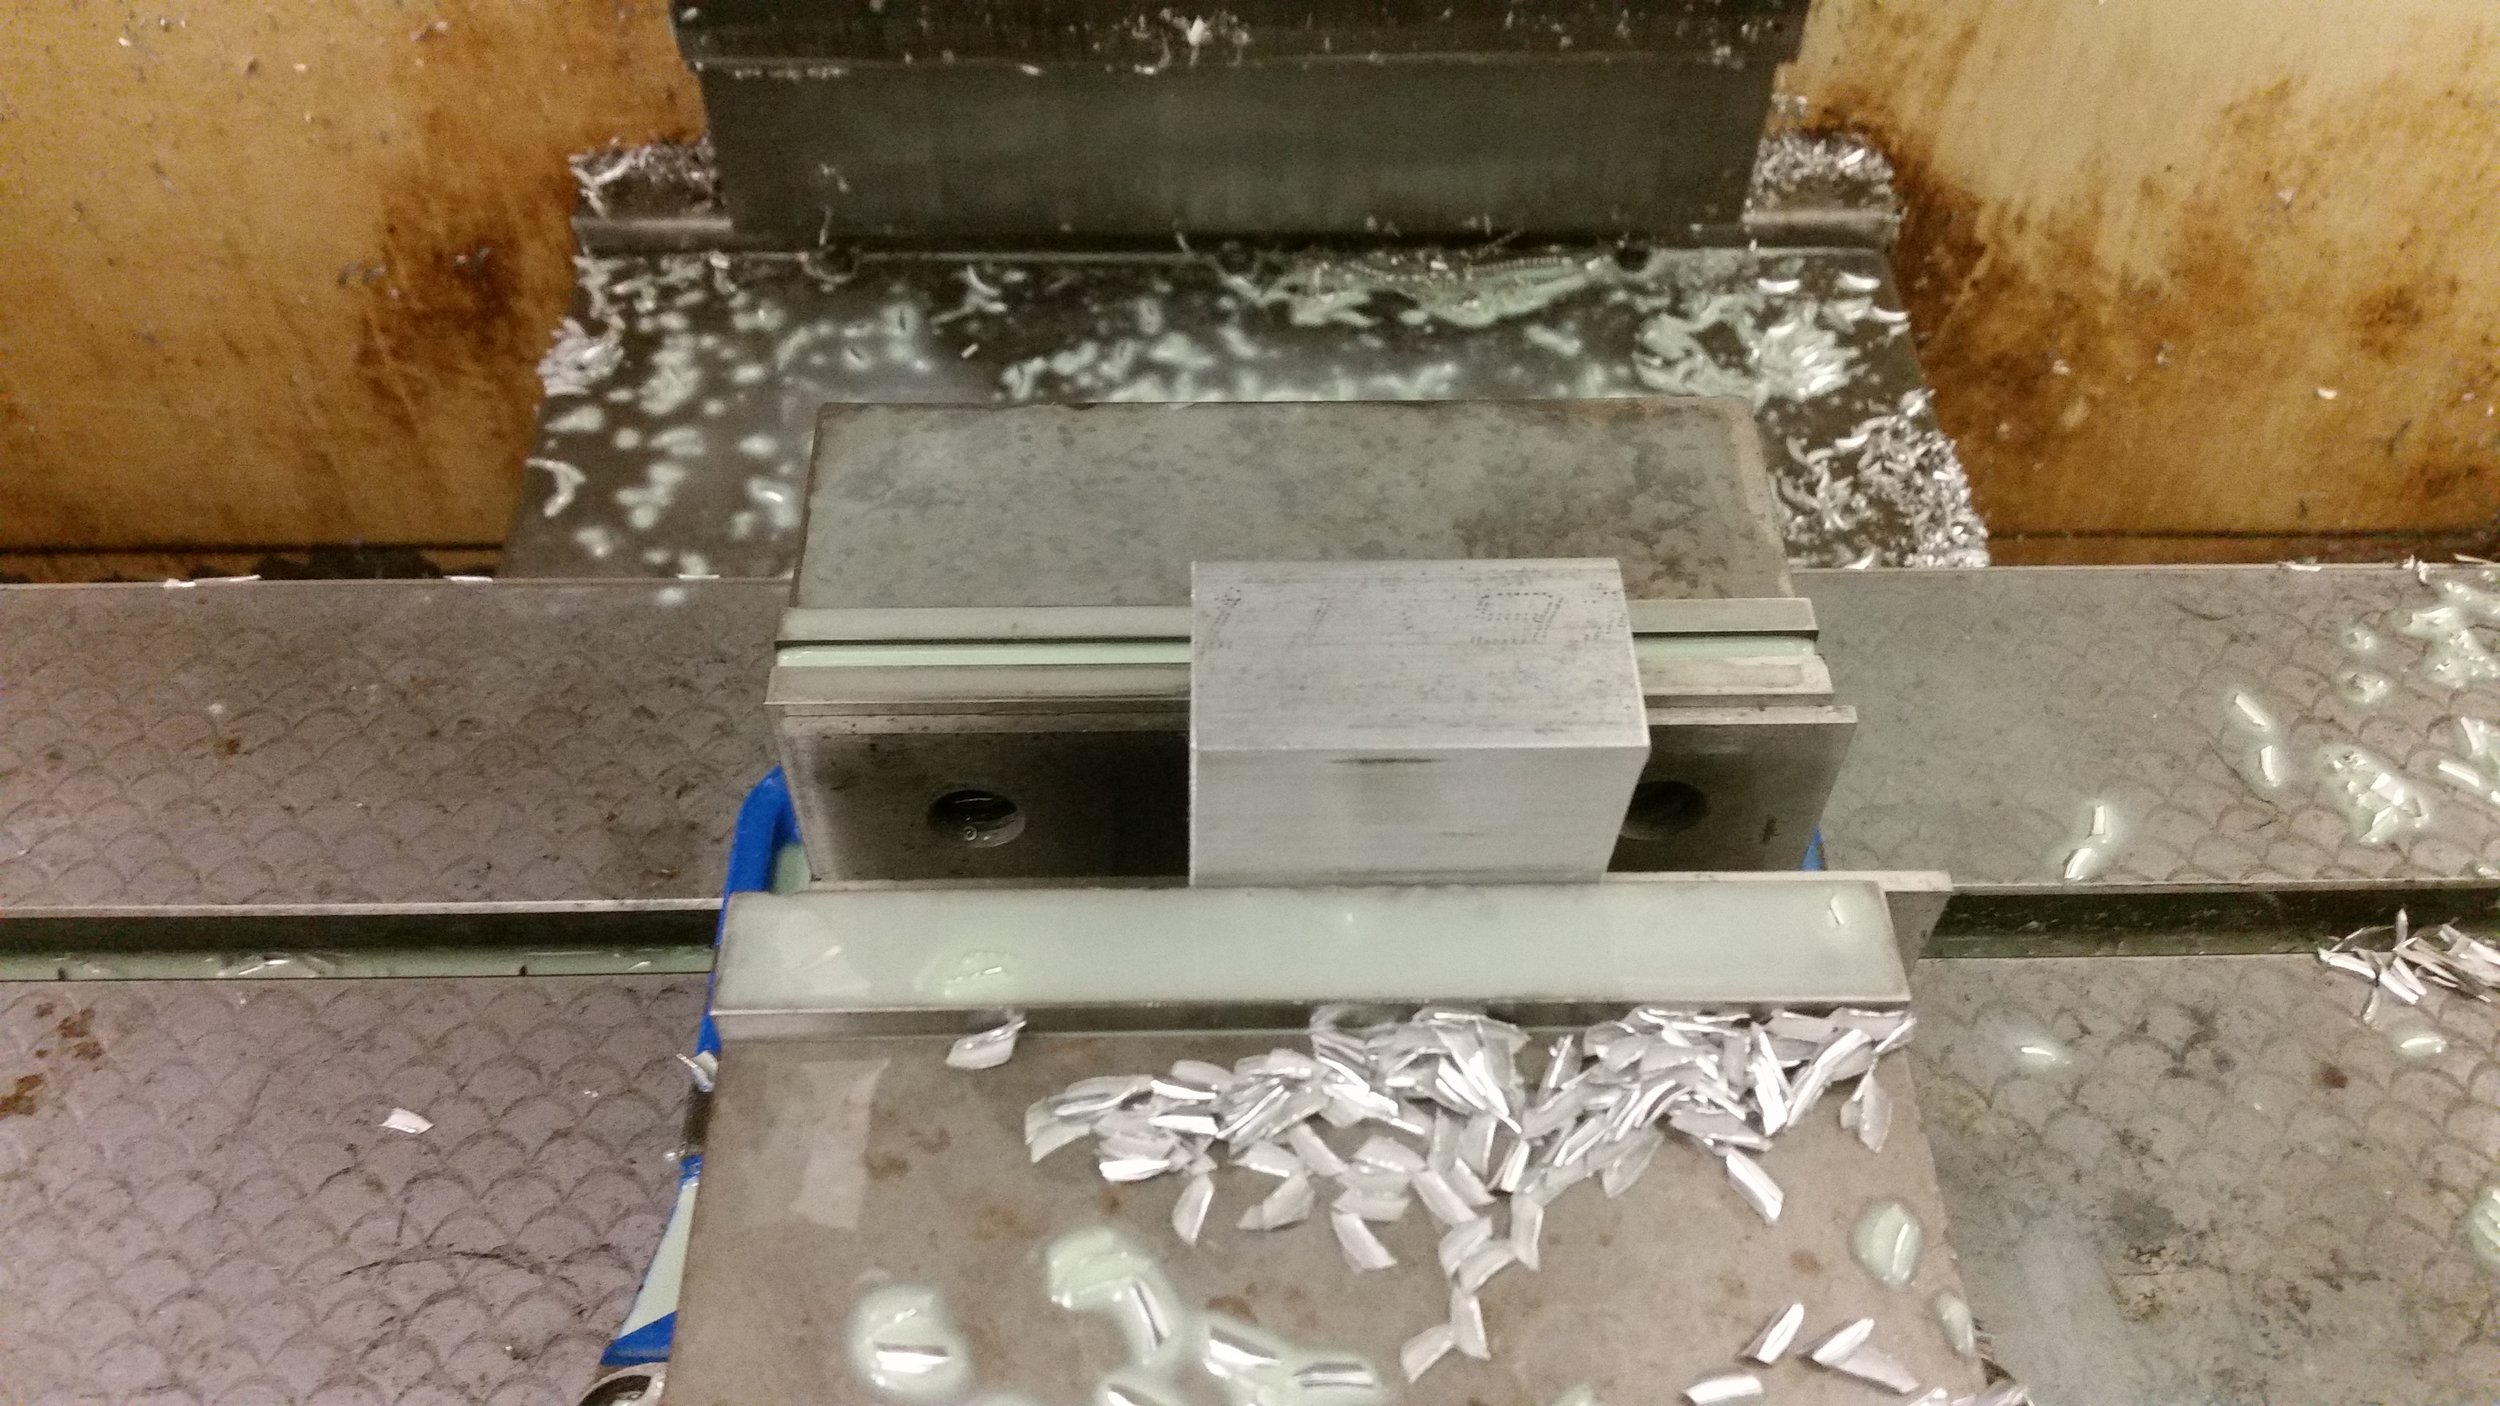
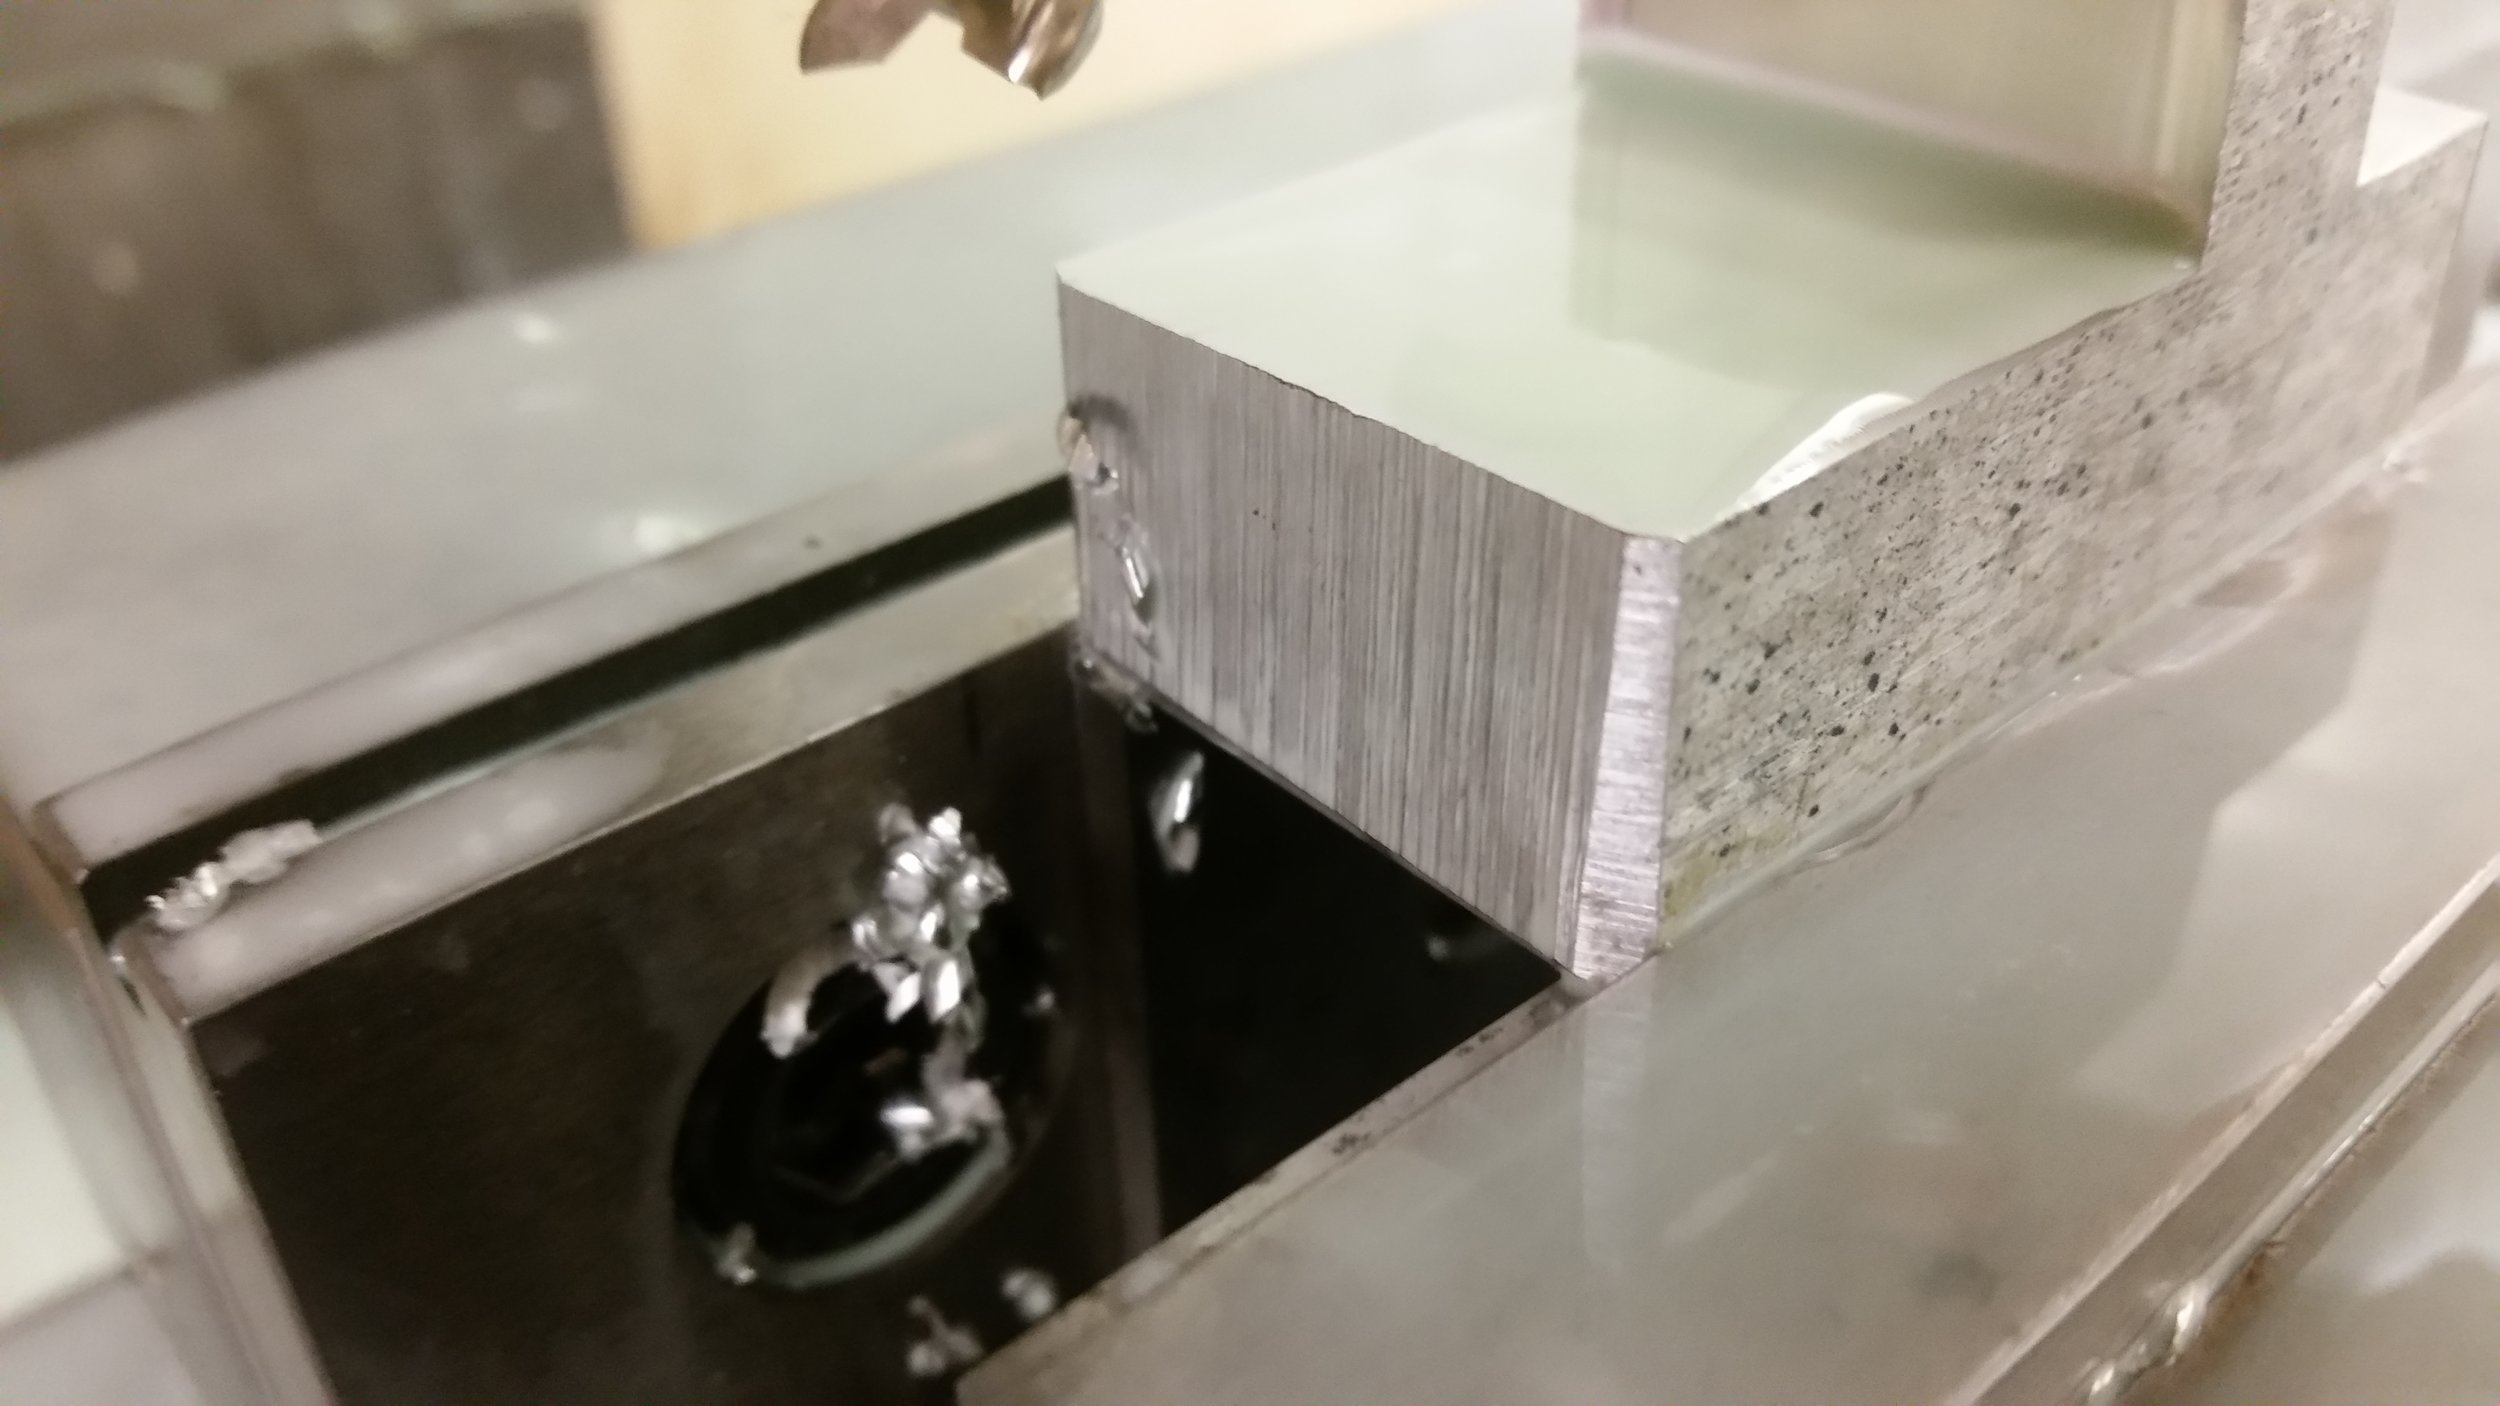
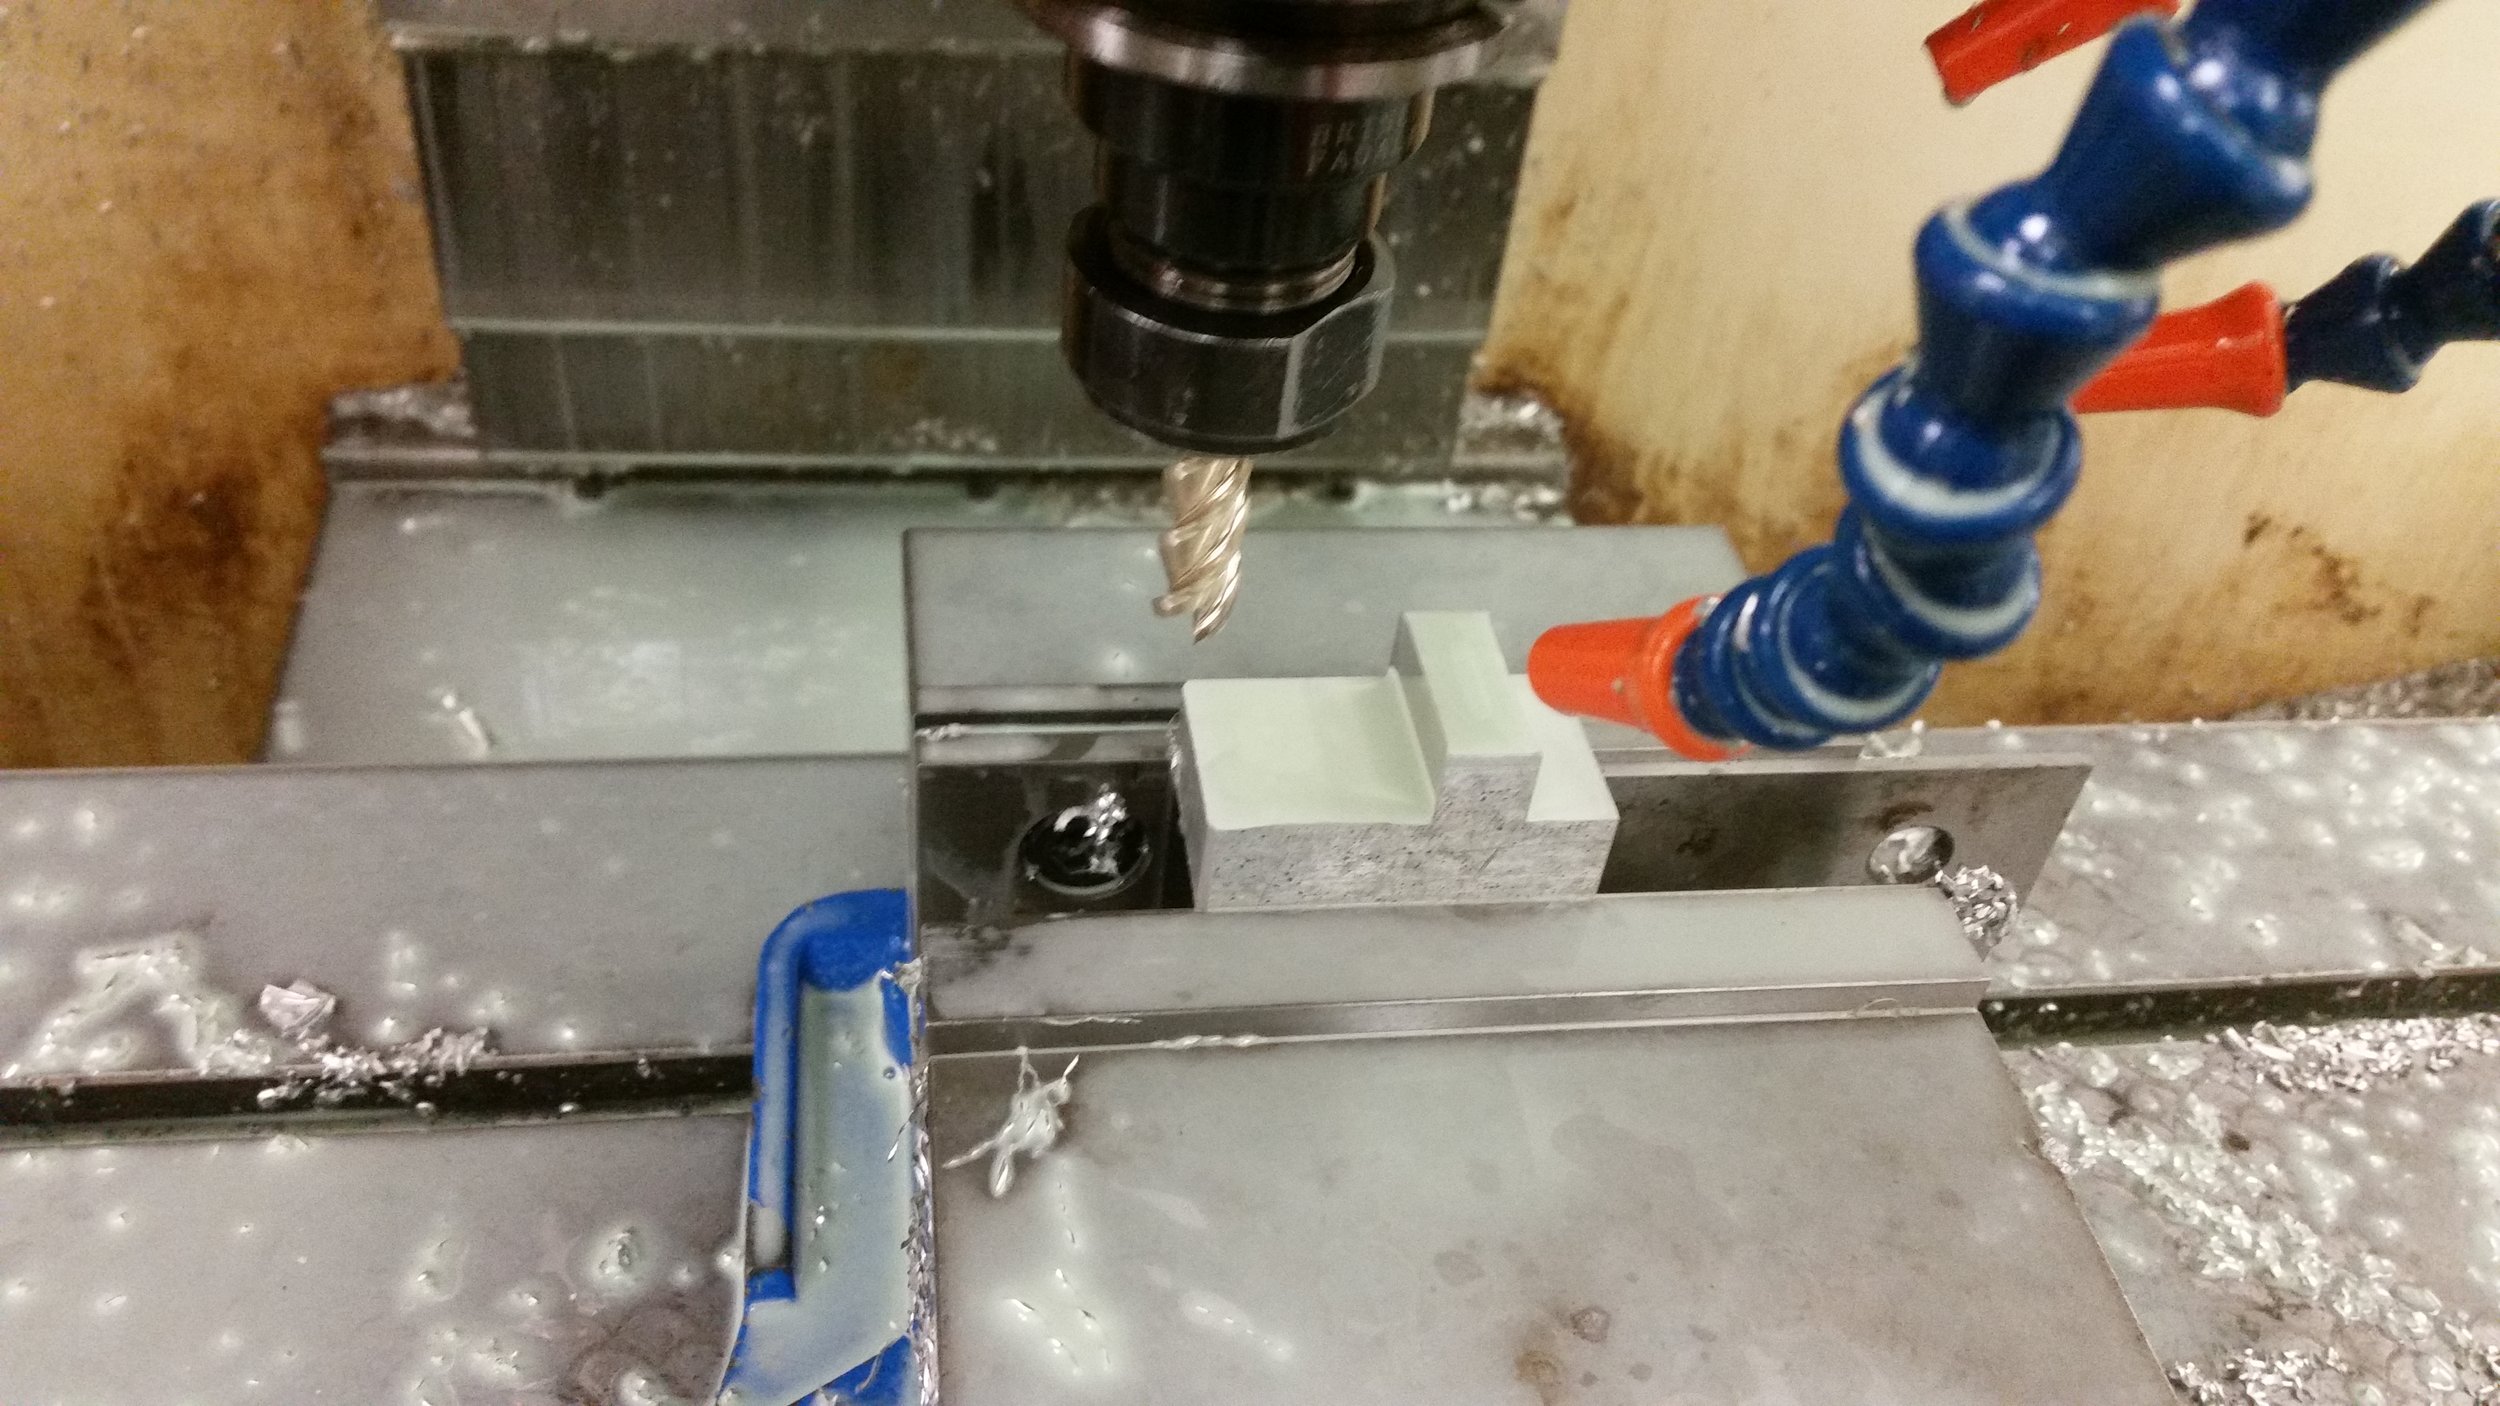
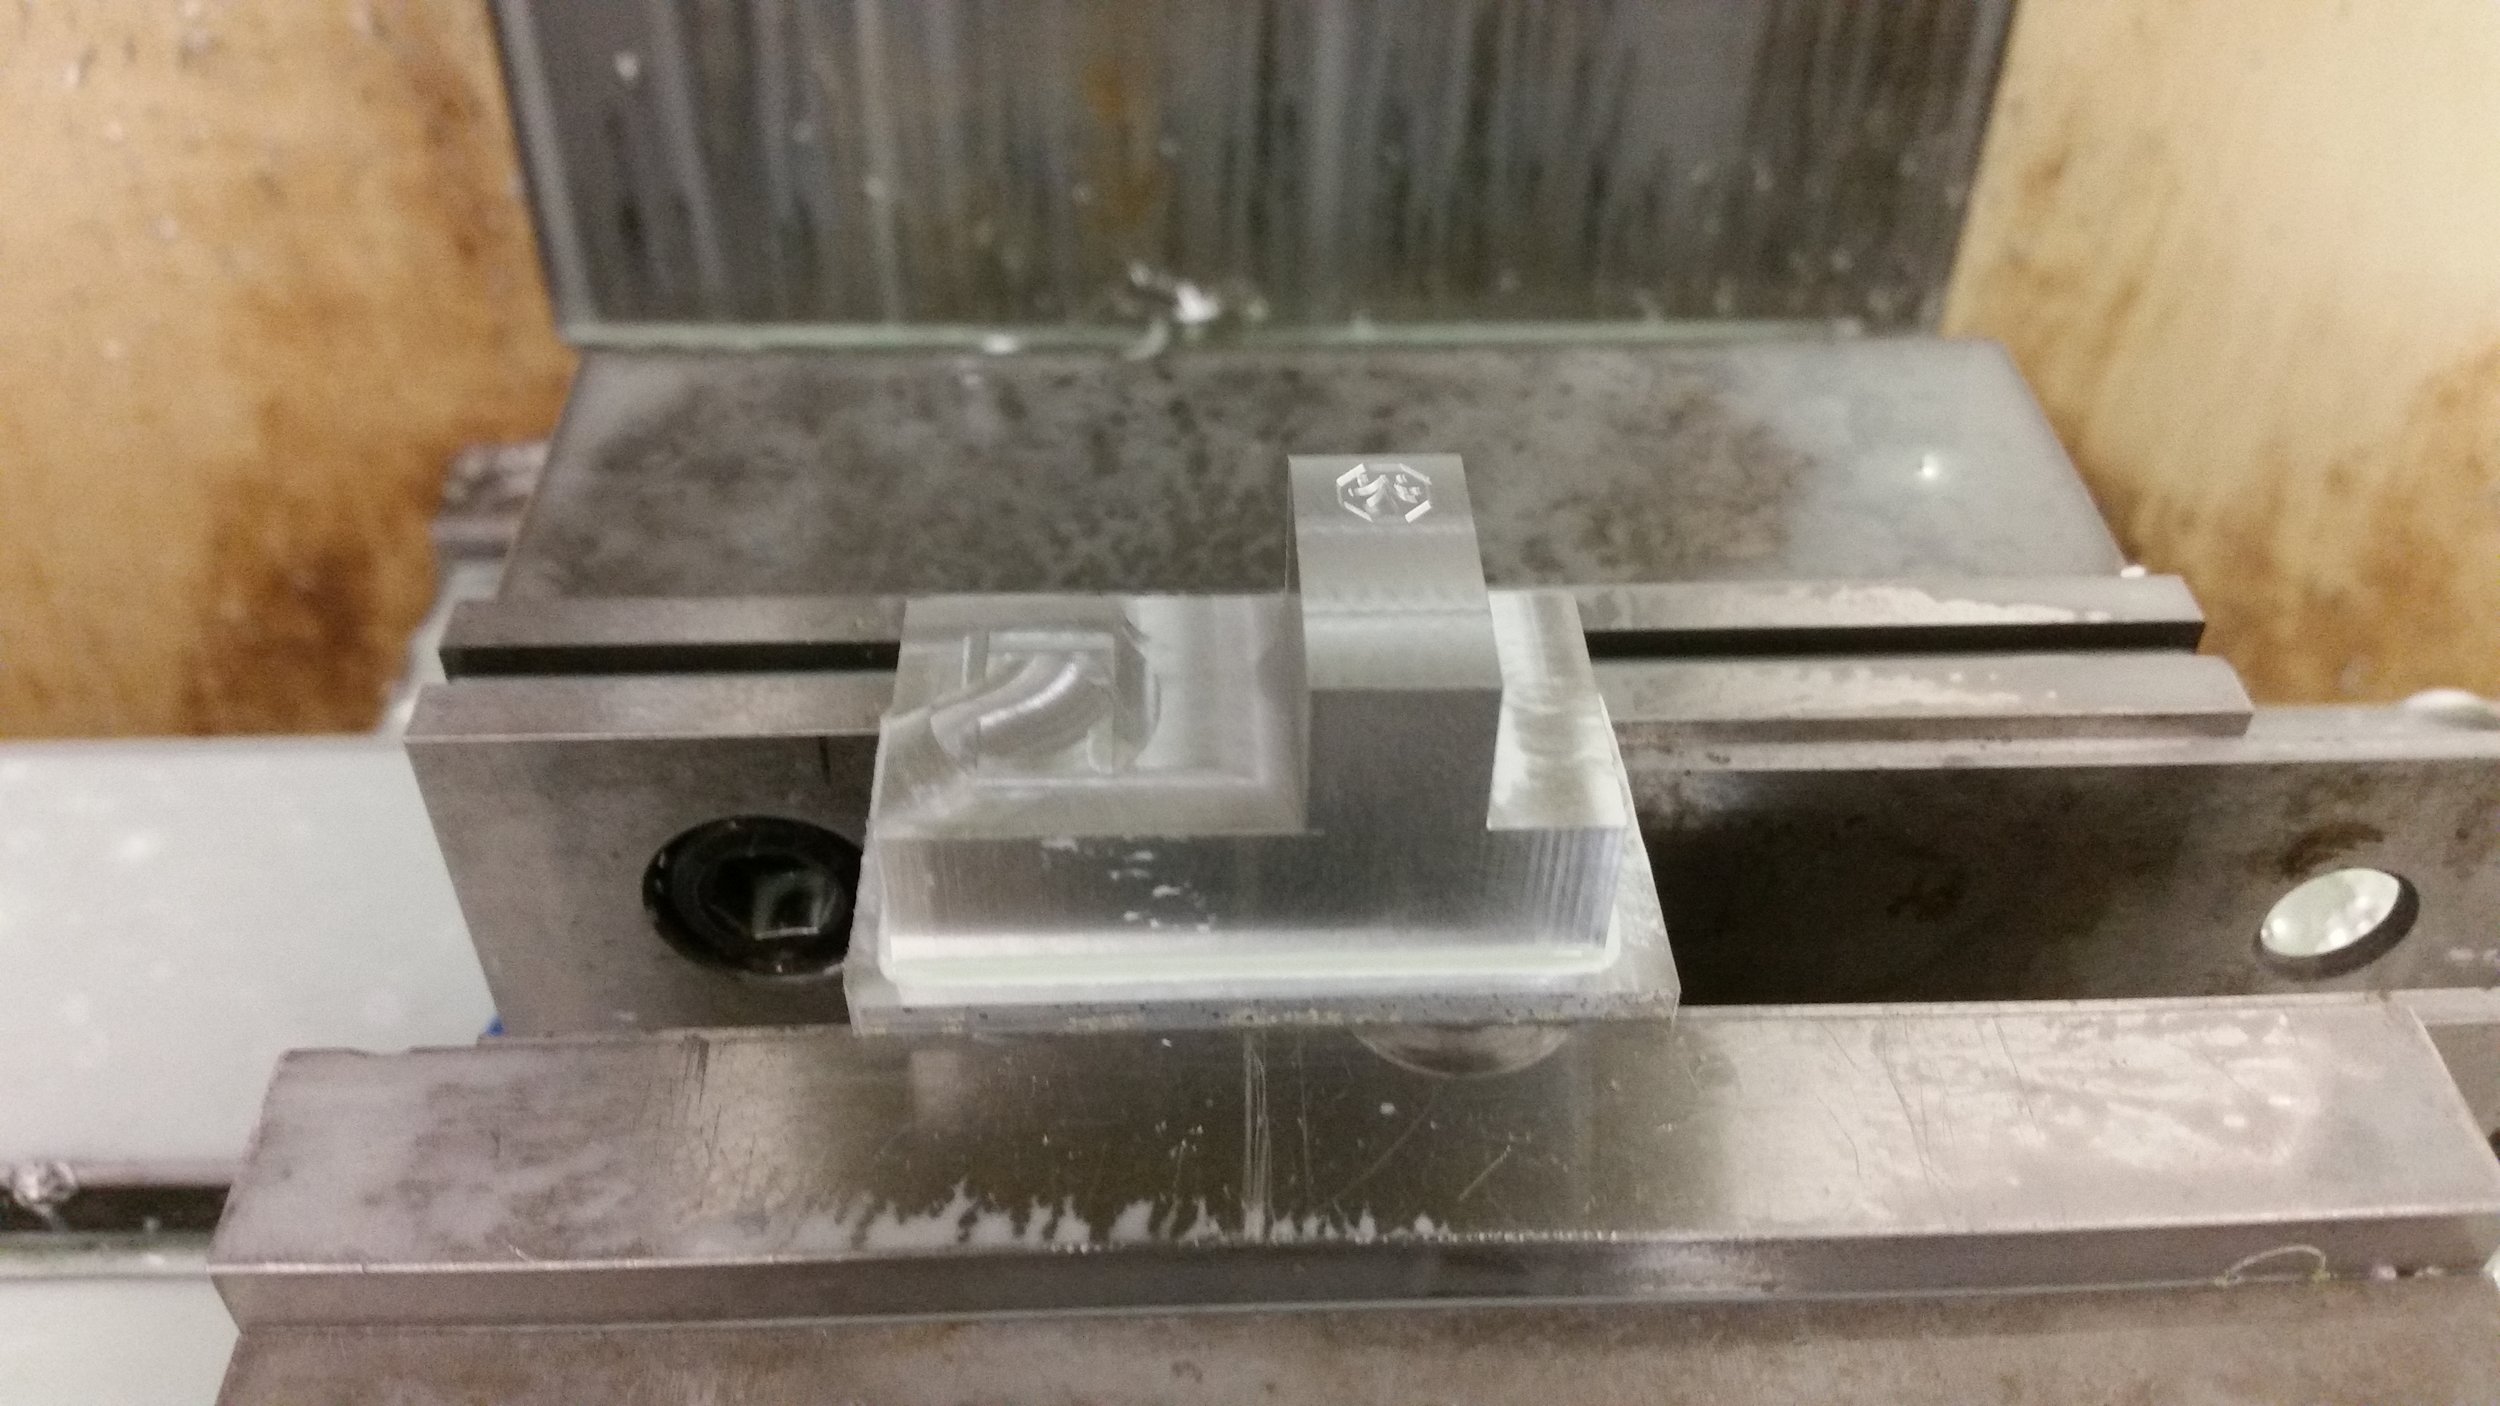
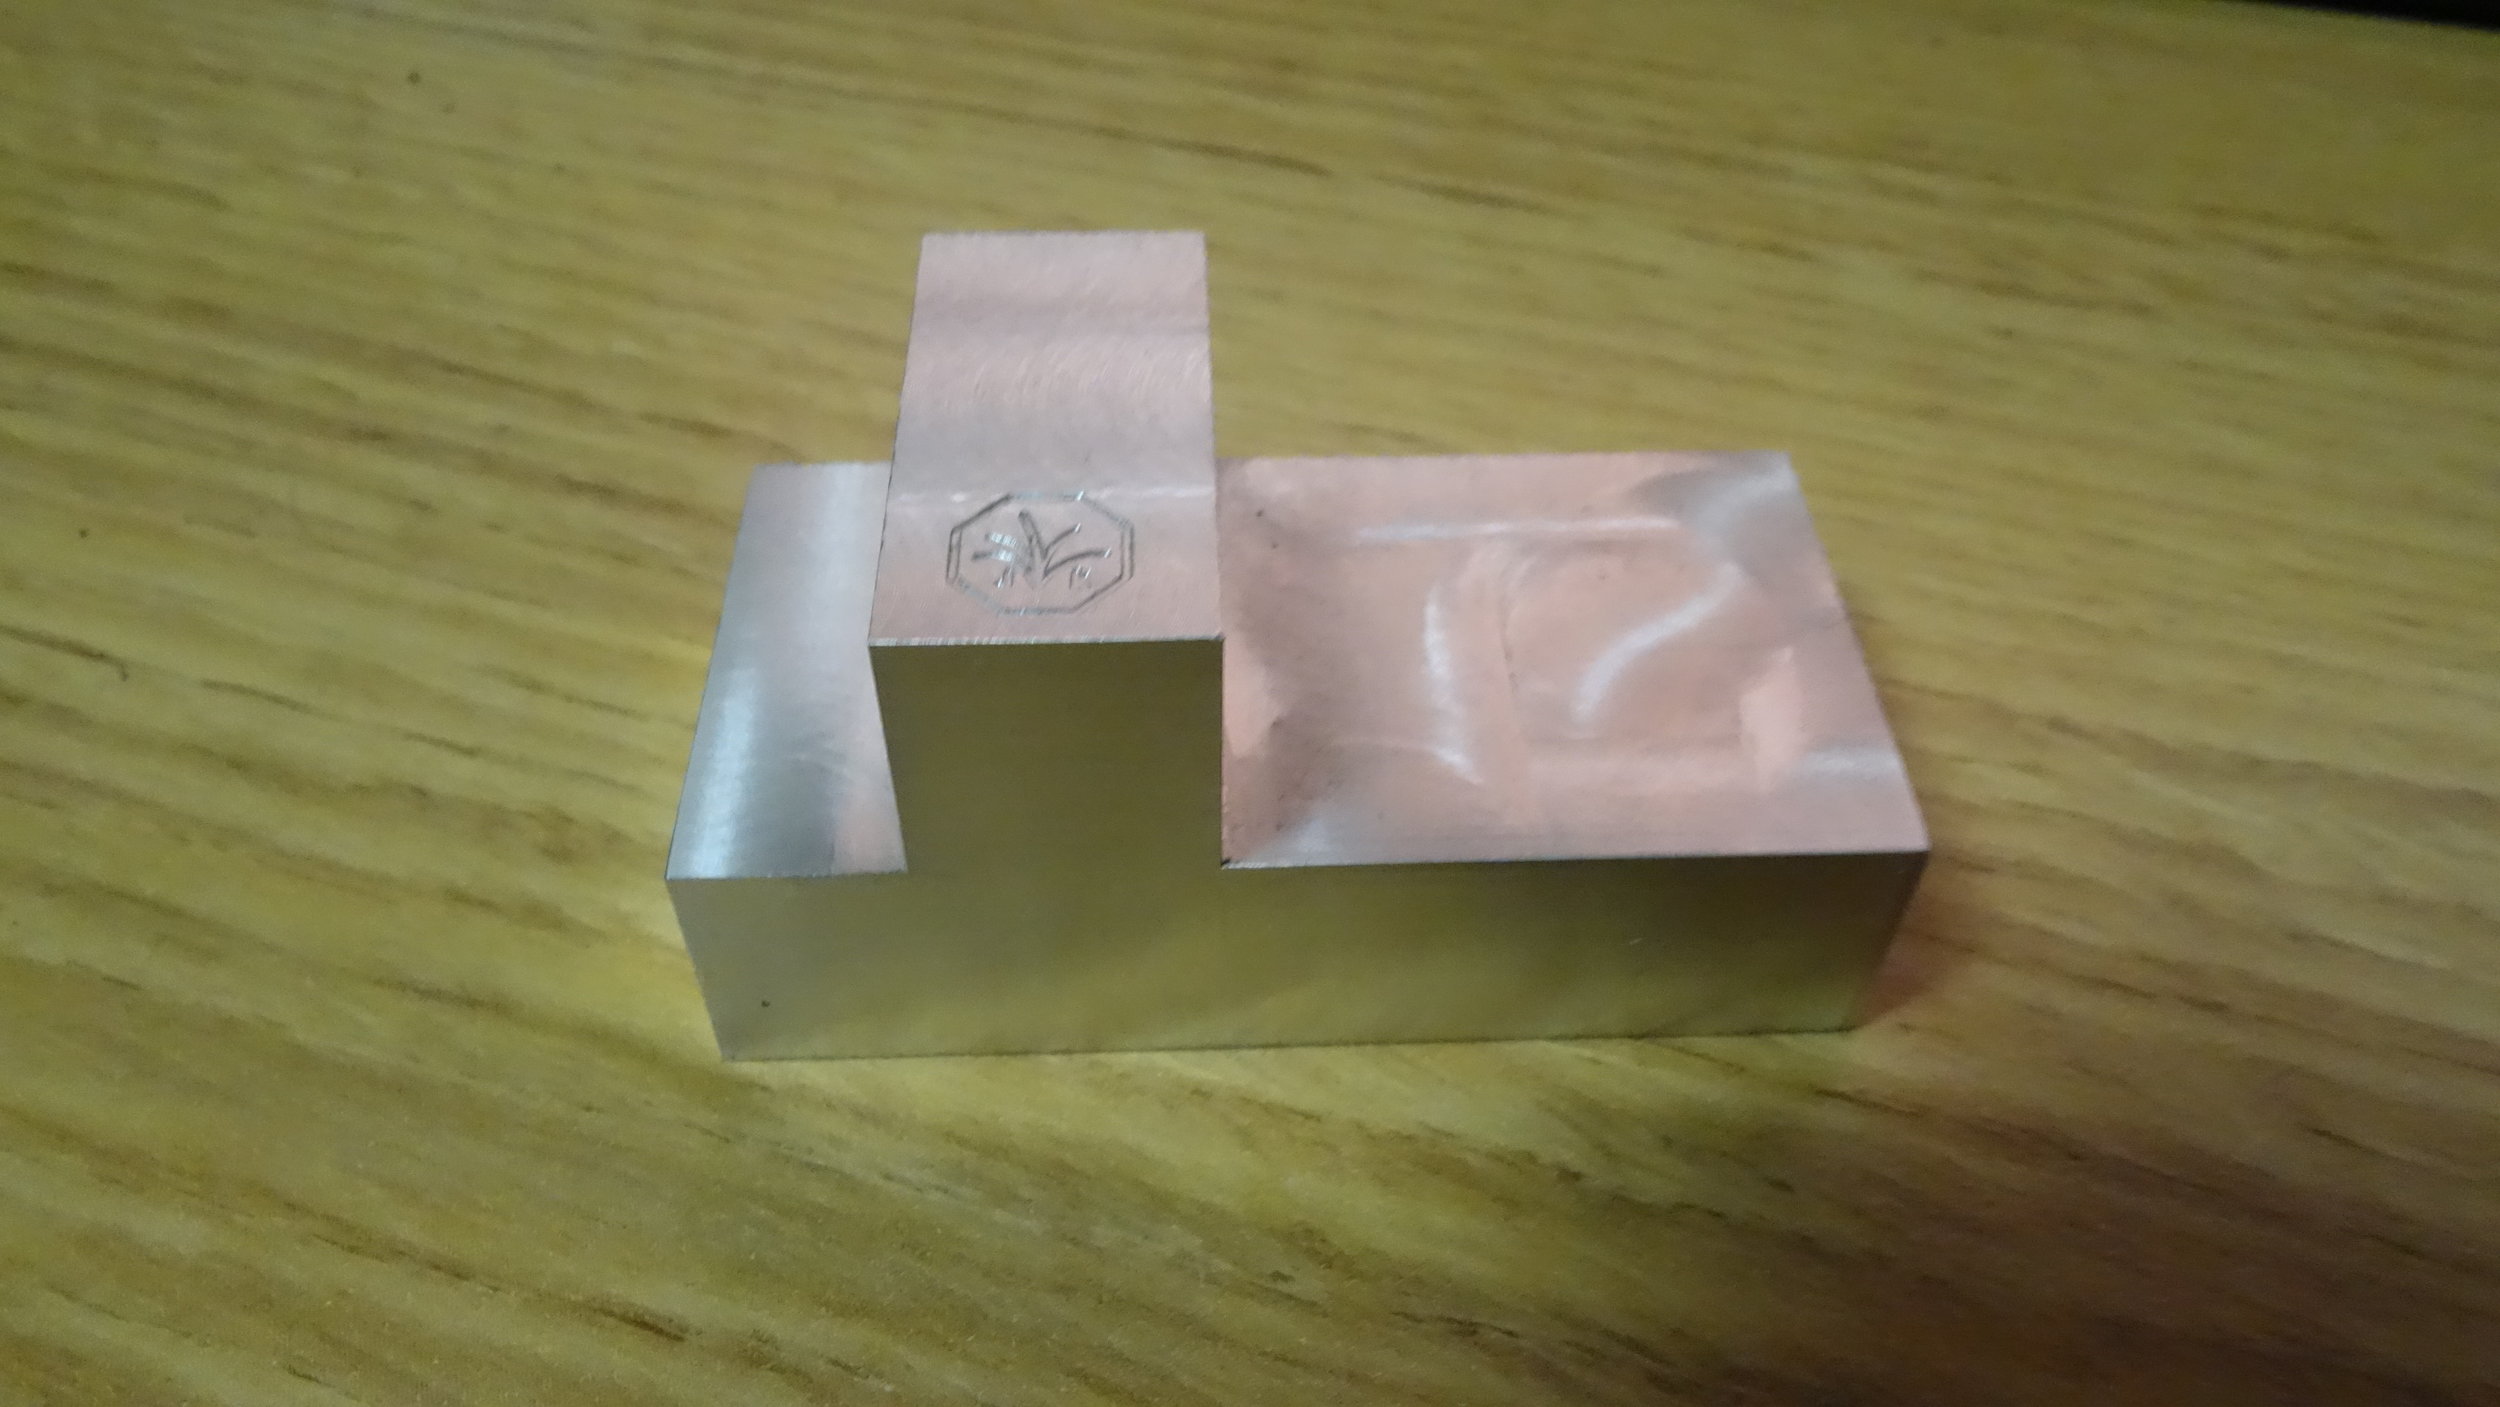
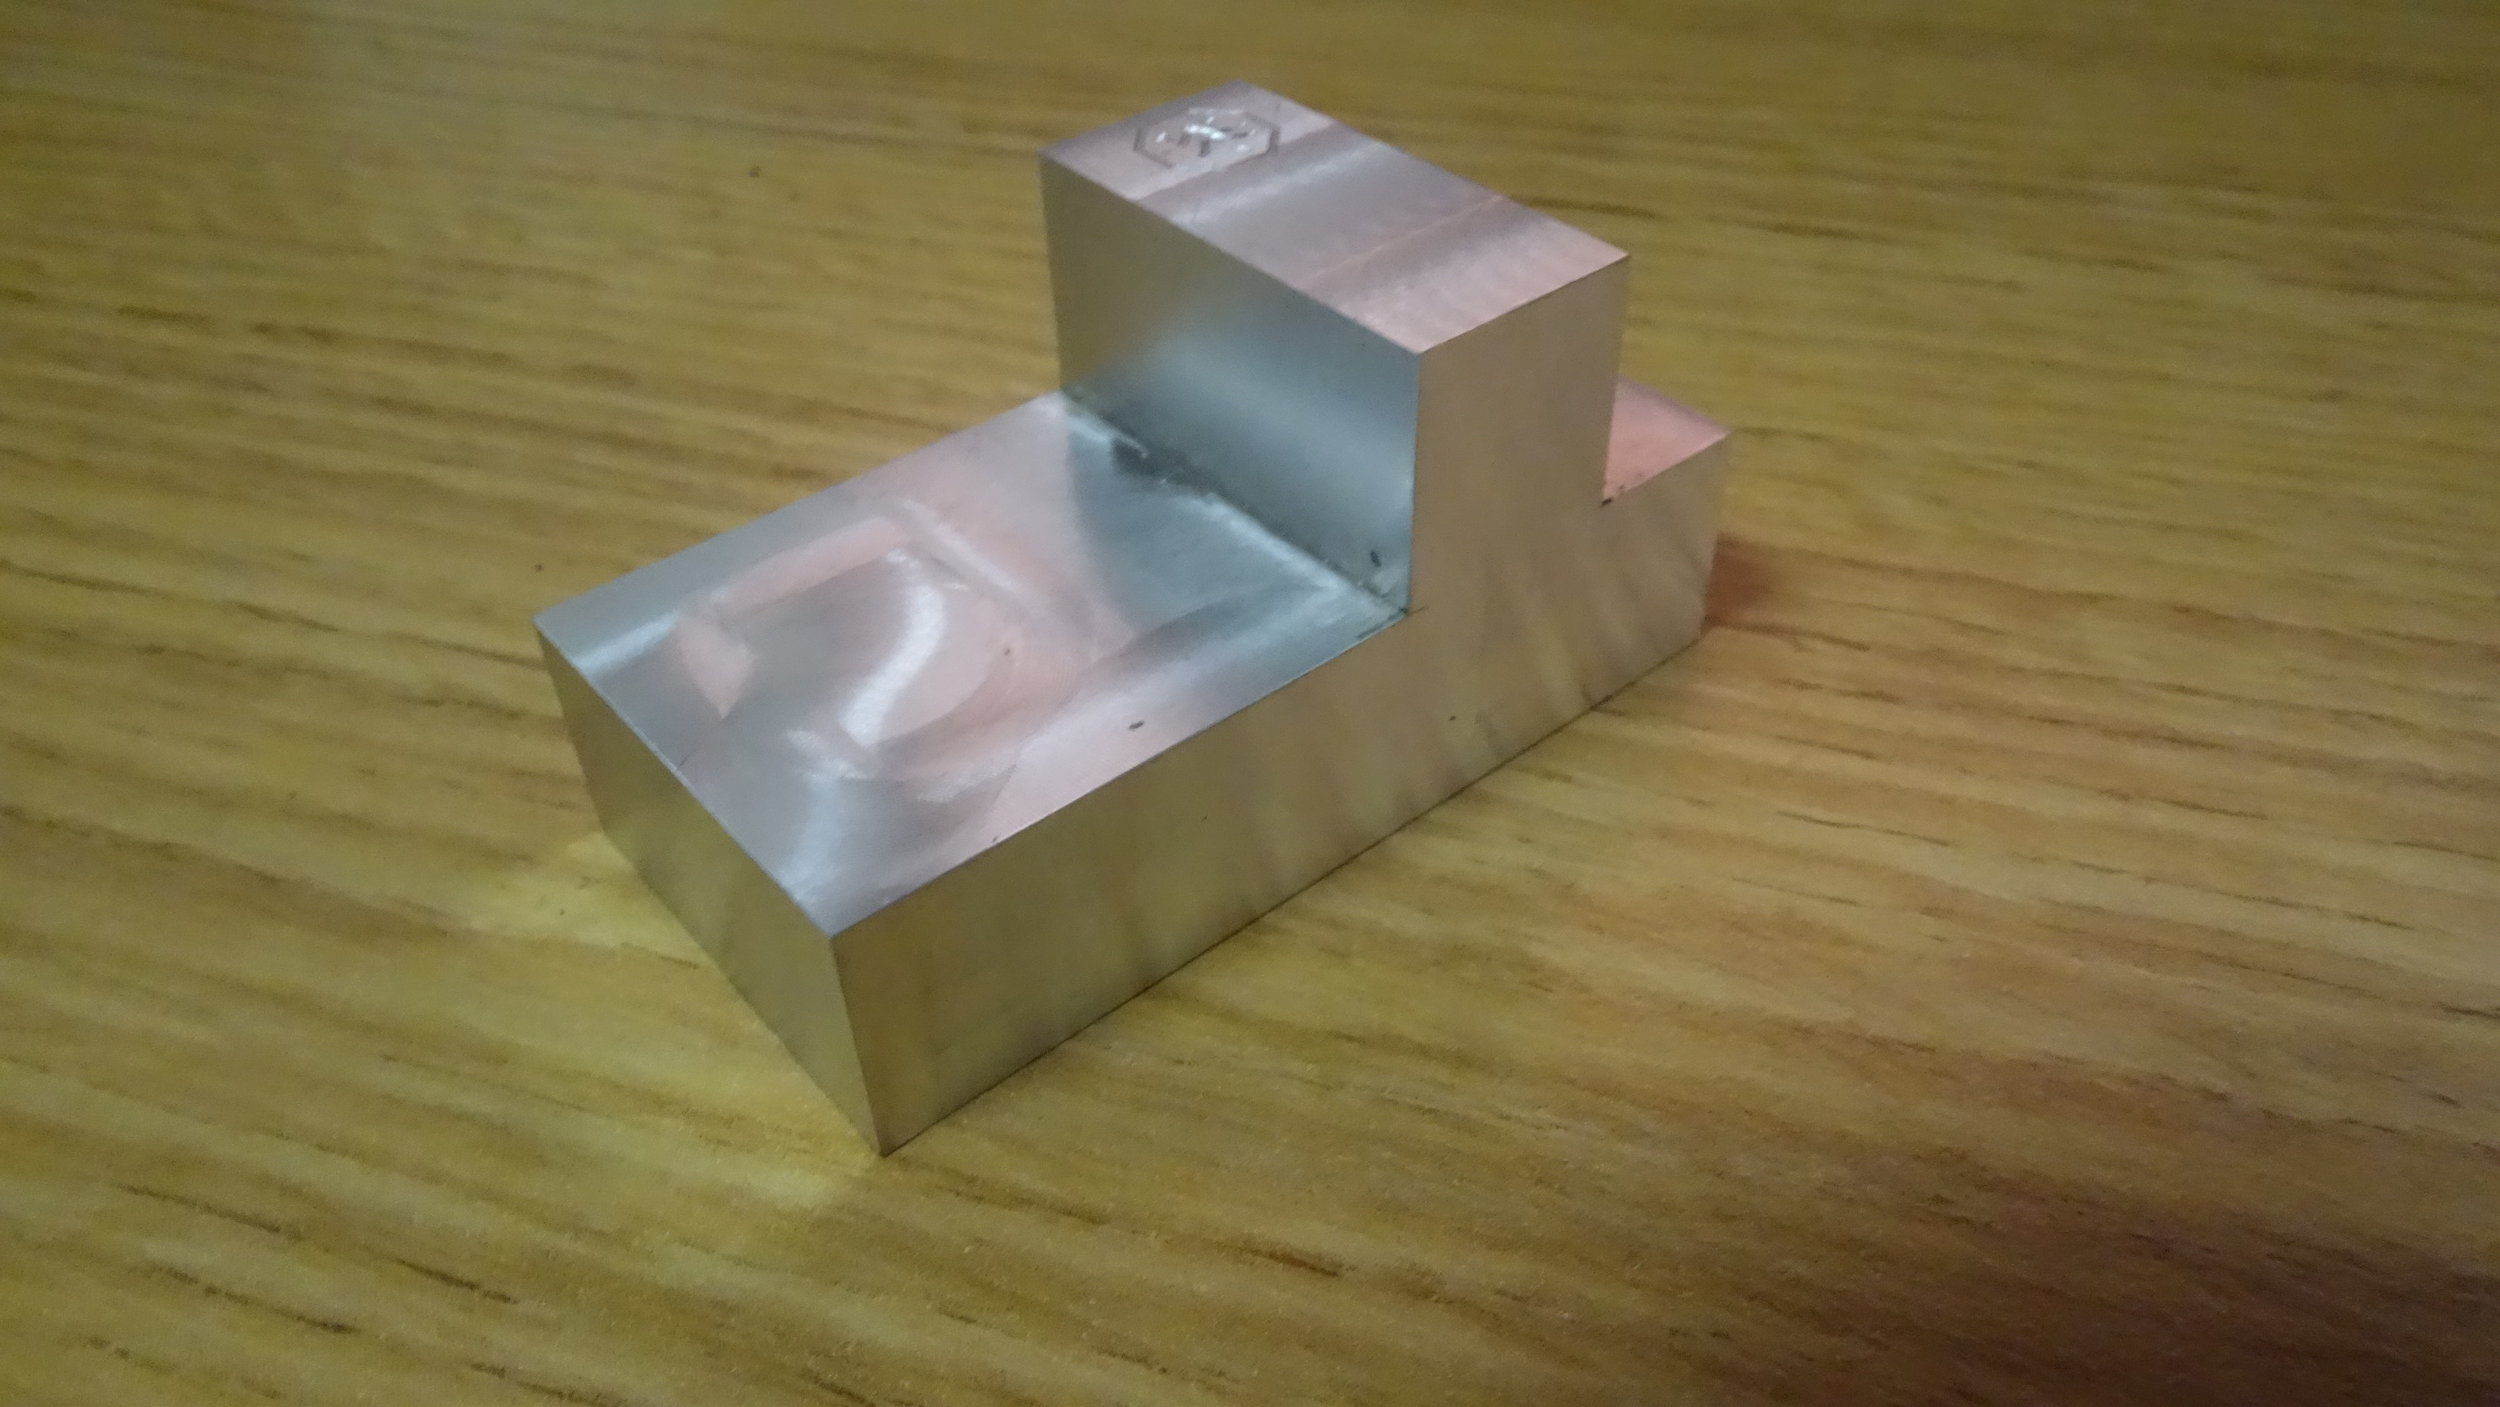
In the first setup, the stock is clamped in the middle of the vise by the lowest 1/8in of the stock. The top geometry, outer profile, and engraving are then cut with a 1/2in endmill and 20 thou ballmill. The part was the flipped and placed with the retention ridge against the edge of the parallels. The top 130 thou was then faced off to produce a squared part with all 6 (or 10 depending how you count) sides faced.
Reflections:
Overall, not huge time savings. Learning how to tram properly (tighten one corner than tap the other) made a much bigger difference. Still, it was a good way to turn low value time at the beginning of term into high value time later on. Would do it again in a similar situation.